Introduction
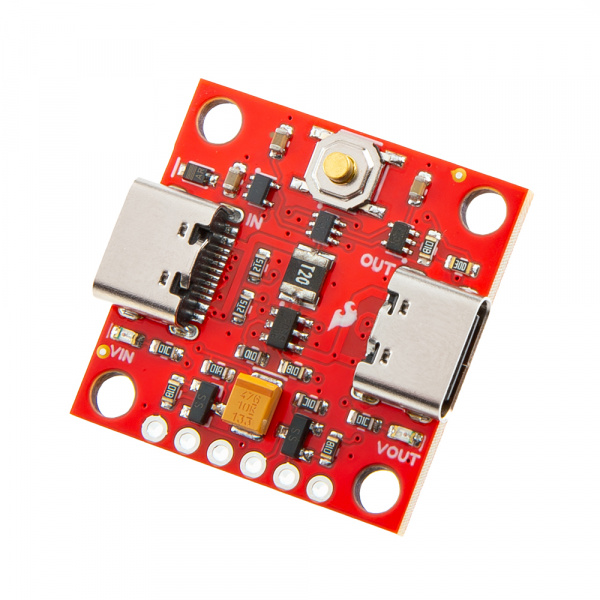
The SparkFun Soft Power Switch is a passive, hard on/off switch with software feedback and control. In other words, it's like the on/off switch on a laptop. A simple press will turn the system on. Another press can (with MCU intervention) turn off the system. And if things go really wrong, pressing and holding the button for ~10 seconds will force a power-down. If you're building something with an enclosed Thing Plus board and need a good power button, this is the board you need. This version has USB-C connectors but we also have a version with JST 2mm battery connectors.
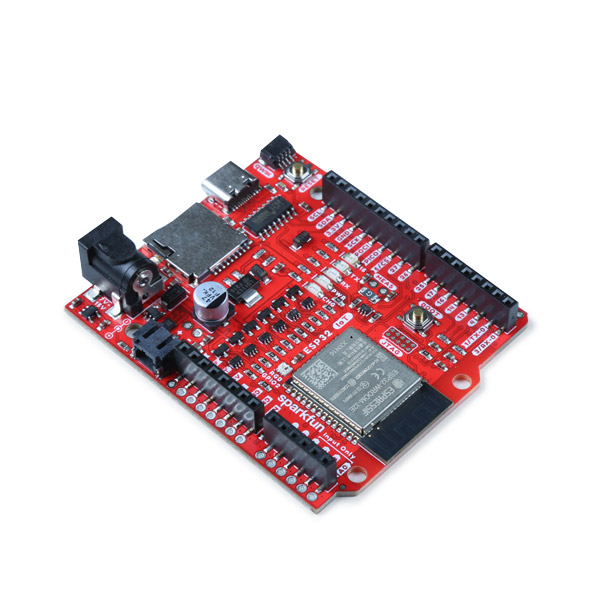
In this tutorial, we'll go over the hardware and how to hookup the SparkFun Soft Power Switch - USB-C to an Arduino. We will also go over an Arduino example to get started.
Required Materials
To follow along with this tutorial, you will need the following materials. You may not need everything though depending on what you have. Add it to your cart, read through the guide, and adjust the cart as necessary.
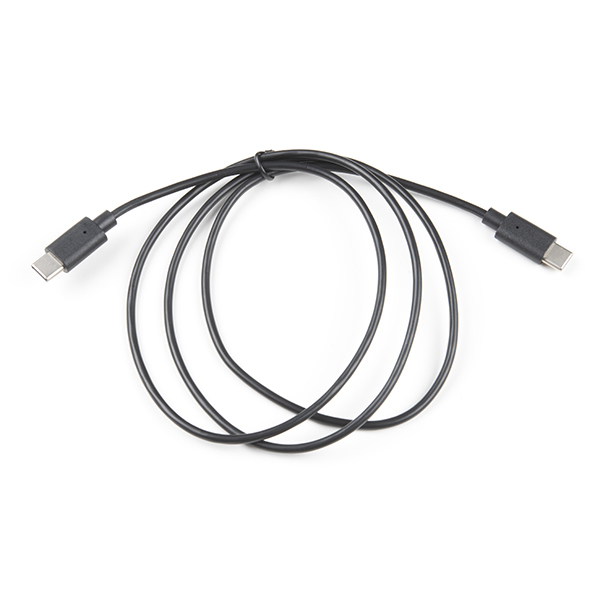
USB C Cables
For those that want to take advantage of the USB-C connectors, you can grab the following cables from the catalog.
Tools
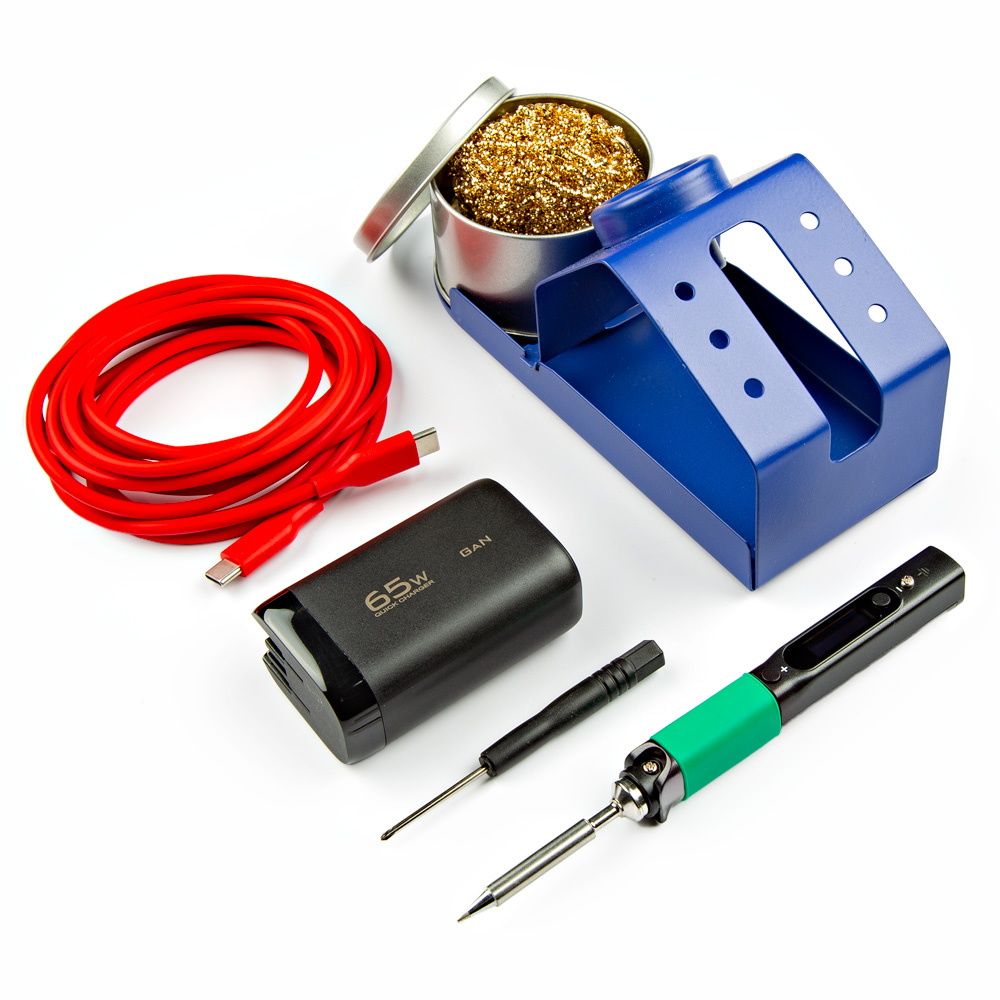
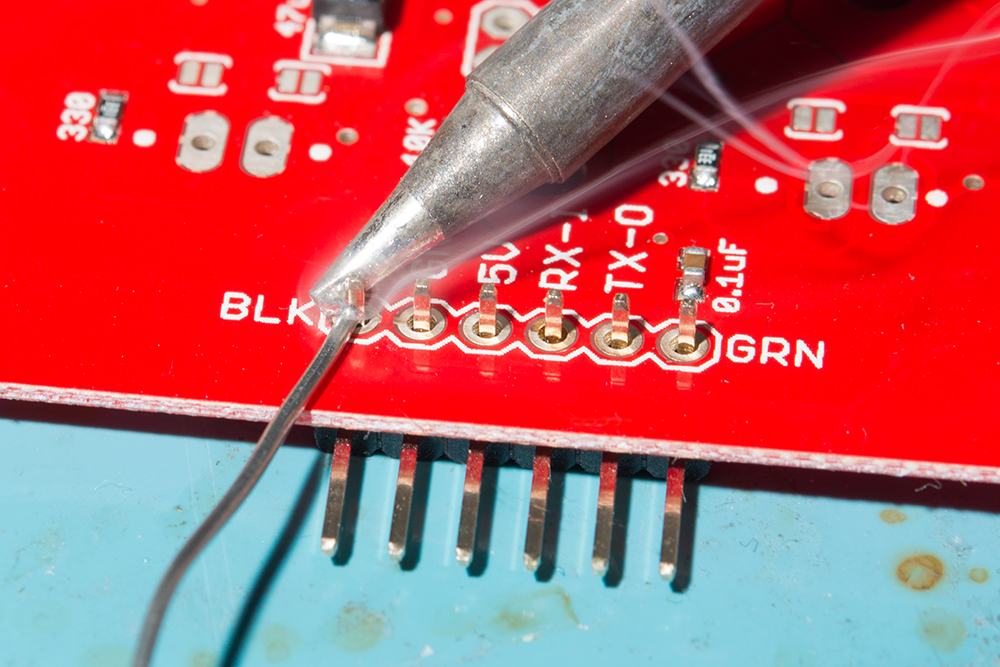
For users connecting to the plated through holes, you will need a soldering iron, solder, and general soldering accessories.
Prototyping Accessories
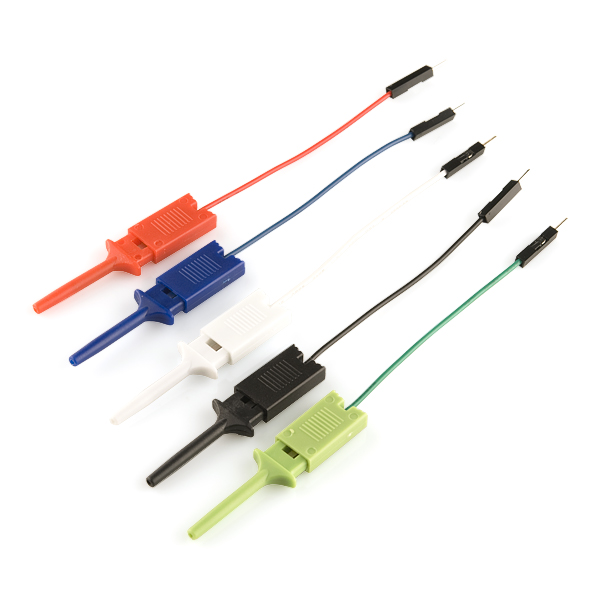
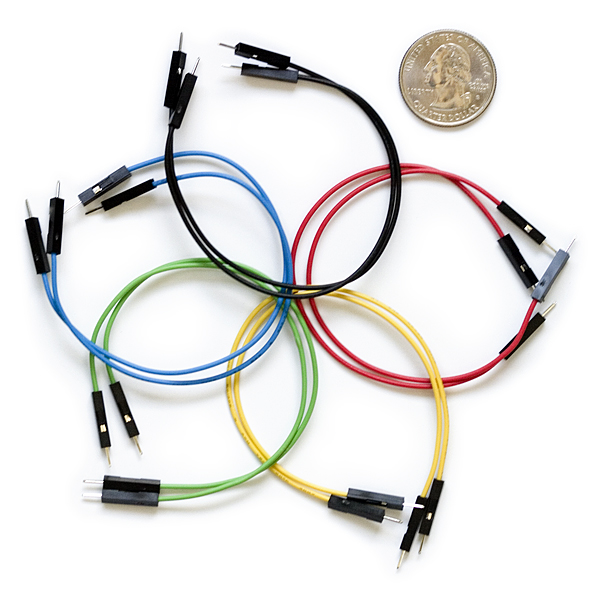
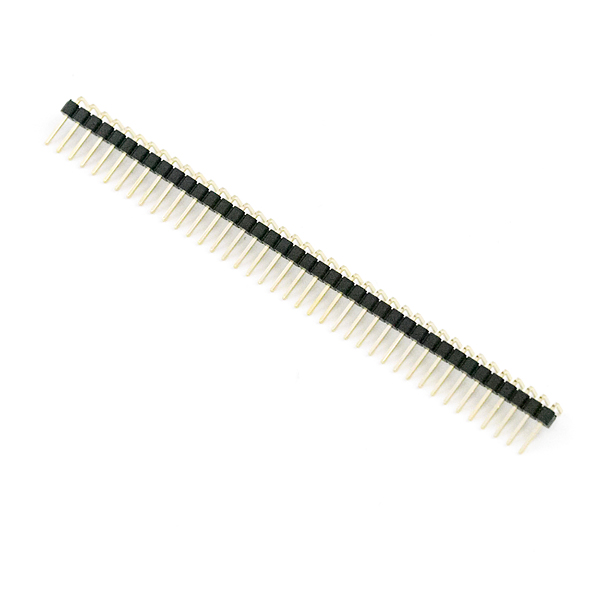
Depending on your setup, you may want to use IC hooks for a temporary connection. However, you will want to solder header pins to connect devices to the plated through holes for a secure connection.
Suggested Reading
If you aren’t familiar with the following concepts, we also recommend checking out a few of these tutorials before continuing.
