Info
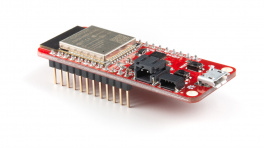
This guide is specific to the ESP32 Thing Plus (USB-C) board variant. For the variants with the USB micro-B connector, please refer to the ESP32 Thing Plus hookup guide.
Introduction🔗
-
ESP32 WROOM Thing Plus (USB-C)
SKU: DEV-20168
-
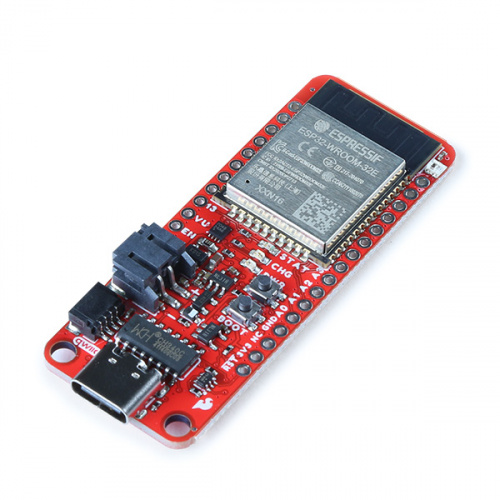
The SparkFun ESP32-WROOM Thing Plus (USB-C) enjoys all the features of our previous ESP32 Thing Plus (Micro-B) boards, but with a few improvements. For this variant, we have included an SD card slot, upgraded to a USB-C connector, integrated an RGB status LED and battery fuel gauge, and provided two voltage regulators; offering separate 700mA current sources for the board and Qwiic connector. The board still retains its standardized 28-pin Feather footprint, 2-pin JST battery connector, and Qwiic connector like our other Thing Plus boards.
The ESP32-WROOM module on the board provides a rich set of peripherals, ranging from capacitive touch sensors, Hall sensors, SD card interface, Ethernet, high-speed SPI, UART, I2S, and I2C. With Espressif's ESP32 comprehensive development platform and Bluetooth low-energy support (i.e BLE, BT4.0, Bluetooth Smart) these boards are jam-packed with possibilities!
Purchase from SparkFun
Tip
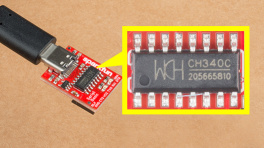
The CH340C serial-to-UART bridge is used on this board. Therefore, a different driver installation is required from previous versions of the ESP32 Thing Plus.
Warning
Not Yet Implemented: The Arduino core for the ESP32 microcontroller is still a work in progress. There are a handful of peripherals and features that have yet to be implemented, including:
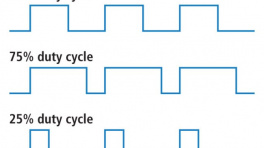
- Analog Output (
analogWrite([pin], [value]))- Alternative: LED Control API
- Pulse Counter
- SDIO
Timer/Real-Time Clock- Alternative: ESP32Time Arduino library
- TWAI
The peripherals are available (if, also, still in their infancy) in the IoT Development Framework for the ESP32. If your application requires any of the features above, consider giving the ESP-IDF a try! (Updated: June 2022.)
Required Materials🔗
To get started, users will need a few items. Now some users may have a few of these items, feel free to modify your cart accordingly.
- SparkFun Thing Plus - ESP32 WROOM (USB-C)
- USB 3.1 Cable A to C - 3 Foot - The USB interface serves two purposes: it powers the board and allows users to upload programs. (*If your computer doesn't have a USB-A slot, then choose an appropriate cable or adapter.)
- Computer with an operating system (OS) that is compatible with all the software installation requirements.
 USB 3.1 Cable A to C - 3 FootCAB-14743 |

SparkFun Thing Plus - ESP32 WROOM (USB-C)WRL-20168 |
Headers & Accessories🔗
Headers are great for development purposes, letting users swap parts with just a set of jumper wires. If you would like to add headers to your board, check out some of the options for the Thing Plus or Feather form factor boards below. For a full selection of our available Headers or Soldering Tools, click on the associated links.
 Break Away Headers - StraightPRT-00116 |
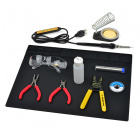
SparkFun Beginner Tool KitTOL-14681 |
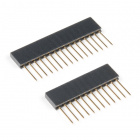
Feather Stackable Header KitPRT-15187 |
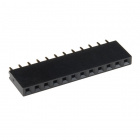
Photon Header - 12 Pin FemalePRT-14321 |
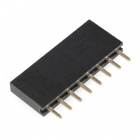
Header - 8-pin Female (PTH, 0.1")PRT-11895 |
Tip
New to soldering? Check out our Through-Hole Soldering Tutorial for a quick introduction!
Li-Po Battery🔗
For mobile applications, users will want to pick up a single-cell LiPo battery from our catalog. Below, are a few available options:
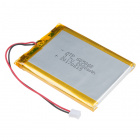 Lithium Ion Battery - 2AhPRT-13855 |
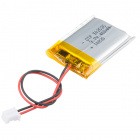
Lithium Ion Battery - 400mAhPRT-13851 |
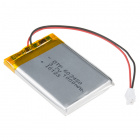
Lithium Ion Battery - 1AhPRT-13813 |
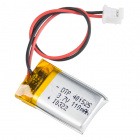
Lithium Ion Battery - 110mAhPRT-13853 |
Jumper Modification🔗
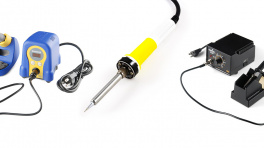
To modify the jumpers, users will need soldering equipment and/or a knife.
 Solder Lead Free - 100-gram SpoolTOL-09325 |

Weller WLC100 Soldering StationTOL-14228 |

Chip Quik No-Clean Flux Pen - 10mLTOL-14579 |

Hobby KnifeTOL-09200 |
Tip
New to jumper pads? Check out our Jumper Pads and PCB Traces Tutorial for a quick introduction!
Suggested Reading🔗
As a more advanced development board, we will skip over the more fundamental tutorials (i.e. Ohm's Law and What is Electricity?). However, below are a few tutorials that may help users familiarize themselves with various aspects of the board.


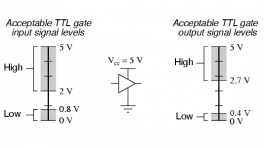
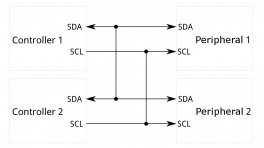
One of the new, advanced features of the board is that it takes advantage of the Qwiic connect system. We recommend familiarizing yourself with the Logic Levels and I2C tutorials. Click on the banner above to learn more about Qwiic products.
