Introduction
-
IoT Brushless Motor Driver
SKU: ROB-22132

-
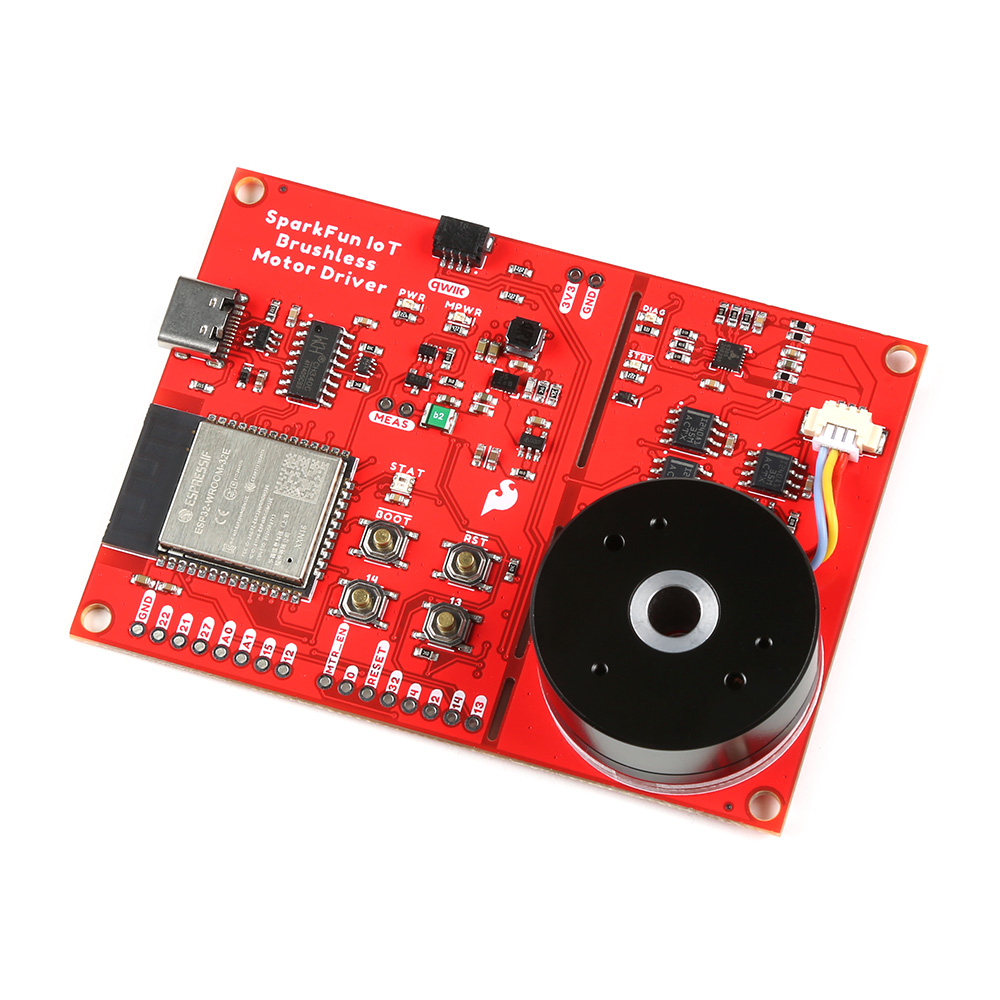
The SparkFun IoT Brushless Motor Driver is an all-in-one development platform. It includes all the components to create a simple IoT device or learn about control systems. On the boaard, users will find an ESP32 microcontroller, a TMC6300 motor driver, a gimbal motor, a TMAG5273 hall-effect sensor, three INA240A1 inline current sensors, an MCP6021T low-side current sensor, two user buttons, a Qwiic connector, a 3-pin JST connector (for the gimbal motor), and a WS2812 RGB LED.
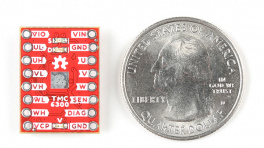
The TMC6300 from ADI + Trinamic is a powerful and easy-to-use three-phase motor driver with up to 2A (1.4ARMS) of total drive current. Separate high-side and low-side control of the three half-bridges allows for incredible control of each phase of the motor commutation. We've found the Arduino Simple Field Oriented Control library to work well with the TMC6300 motor driver.
However, a field-oriented control (FOC) algorithm requires some feedback to close and optimize the control loop. Therefore, we integrated a TMAG5273 hall-effect sensor and INA240A1 current sensor amplifiers (both manufactured by Texas Instruments) into the design of the IoT motor driver board. This allows users to incorporate a position sensor and current sensing into the FOC algorithm or any feedback control loop they choose to implement.
 Purchase from SparkFun
Required Materials
To get started, users will need a few items. Now some users may already have a few of these items, feel free to modify your cart accordingly.
- Computer with an operating system (OS) that is compatible with all the software installation requirements.
-
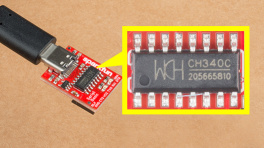
USB 3.1 Cable A to C - 3 Foot - Used to interface with the IoT Brushless Motor Driver (1)
- If your computer doesn't have a USB-A slot, then choose an appropriate cable or adapter.
-
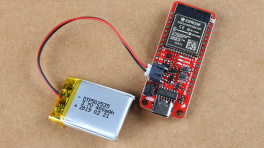
SparkFun IoT Brushless Motor Driver (ESP32 WROOM, TMC6300) (1)
- The included gimbal motor requires a 6 to 8V power supply. However, for zero-load, low-speed testing, we have found the power from the USB connection to be sufficient.
Jumper Modification
To modify the jumper, users will need soldering equipment and/or a hobby knife.
New to jumper pads?
Check out our Jumper Pads and PCB Traces Tutorial for a quick introduction!
Suggested Reading
As a more sophisticated product, we will skip over the more fundamental tutorials (i.e. Ohm's Law and What is Electricity?). However, below are a few tutorials that may help users familiarize themselves with various aspects of the board.
-
How to Install CH340 Drivers
-
ESP32 Thing Plus (USB-C)
-
TMC6300 BLDC Motor Driver
-
Installing the Arduino IDE
-
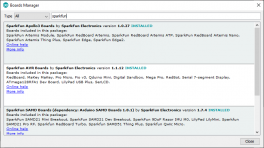
Installing Board Definitions in the Arduino IDE
-
Installing an Arduino Library
-
Logic Levels
-
Pulse Width Modulation
-
Analog vs. Digital
-
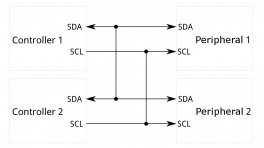
I2C
-
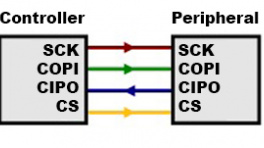
SPI
-
Serial Communication
-
How to Solder: Through-Hole Soldering
-
How to Work with Jumper Pads and PCB Traces
-
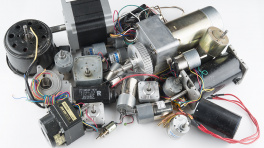
Motors and Selecting the Right One
-
Alternating Current (AC) vs. Direct Current (DC)
Need to control a different type of motor?
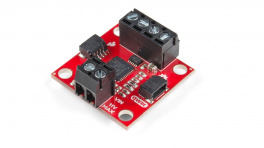
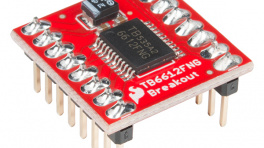
This tutorial is primarily focused on utilizing the TMC6300 motor driver to control a 3-phase brushless DC (BLDC) motor. We would recommend users explore other products for these specific motors and actuators. Below, are additional product tutorials and resources for our other actuator and motor types:


