Introduction
The SparkFun Magnetic Imaging Tile - 8x8 uses an array of 64 hall effect sensors to convert magnetic fields to the visual spectrum. That's right! You can now see magnetic fields in real time! As is to be expected, there are caveats: the magnetic sensors used on the tile are some of the most sensitive on the market but you need to be within 1 to 2 centimeters of the tile to get a good image.
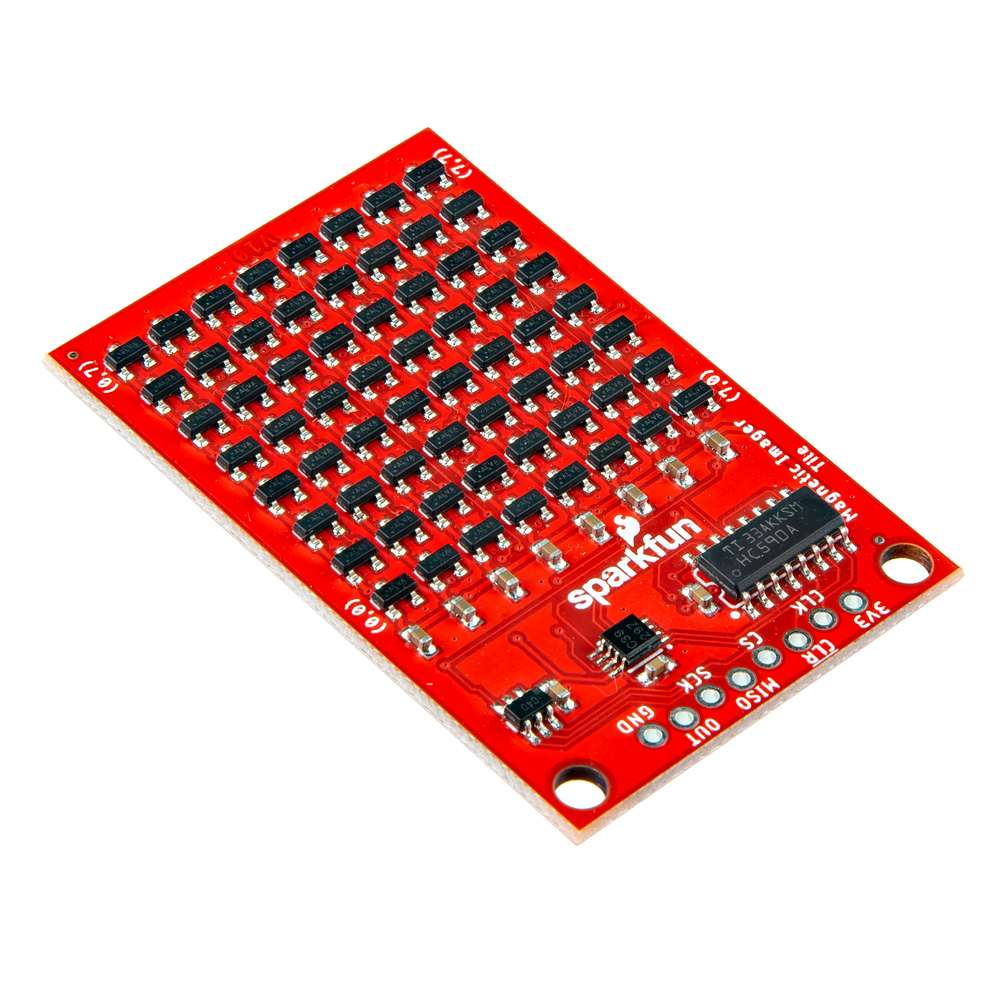
The demo shown in the animated GIFs don't quite give the Magnetic Imaging Tile justice! The frame rate of gifs is too low! Please see Peter's demo video for some amazing visuals.
In this tutorial, we'll go over the hardware and how to hookup the sensor to an Arduino. We will also go over an Arduino and Processing example to get started.
Required Materials
To follow along with this tutorial, you will need the following materials. You may not need everything though depending on what you have. Add it to your cart, read through the guide, and adjust the cart as necessary.
Other Microcontrollers
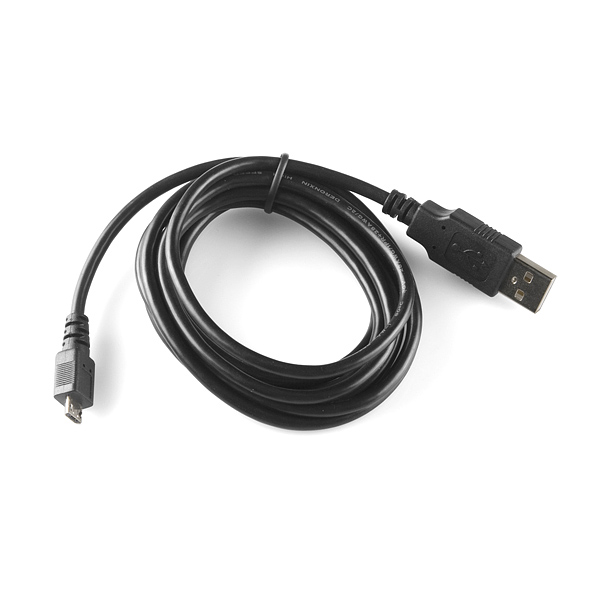
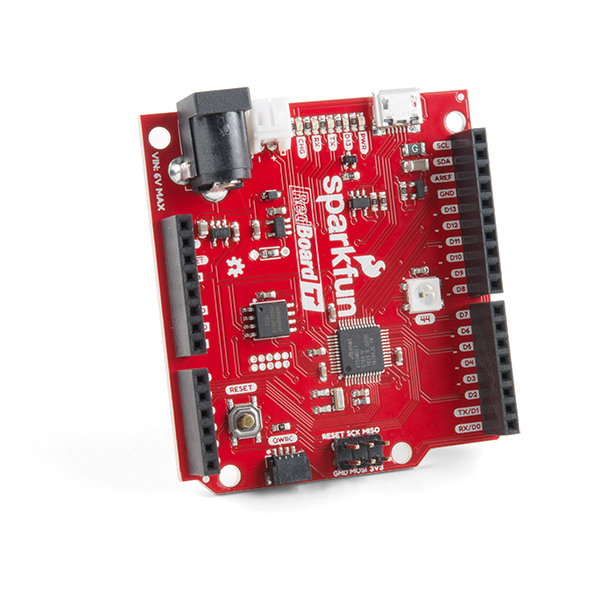
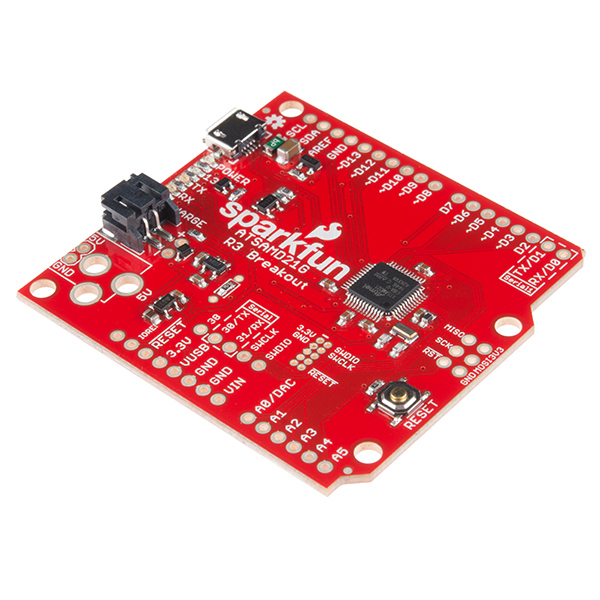
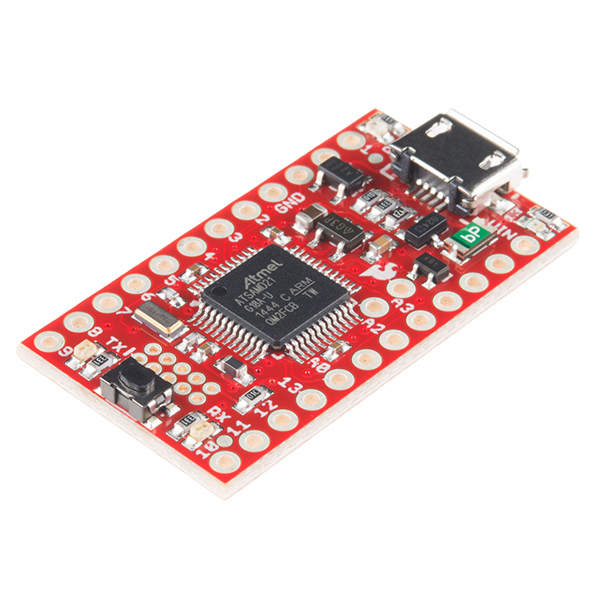
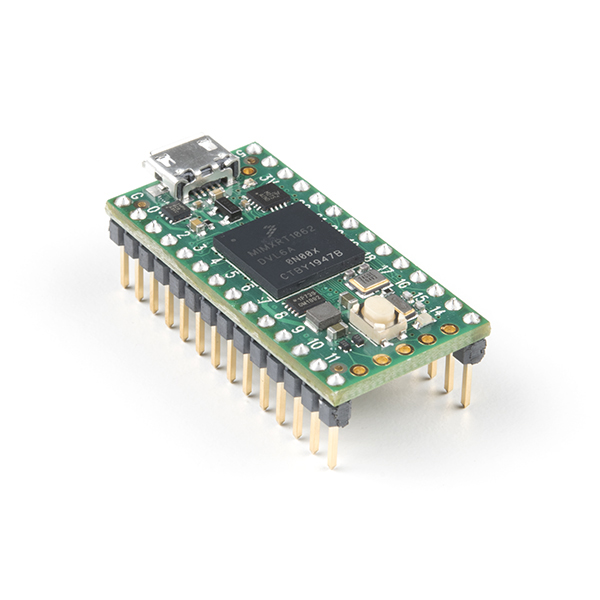
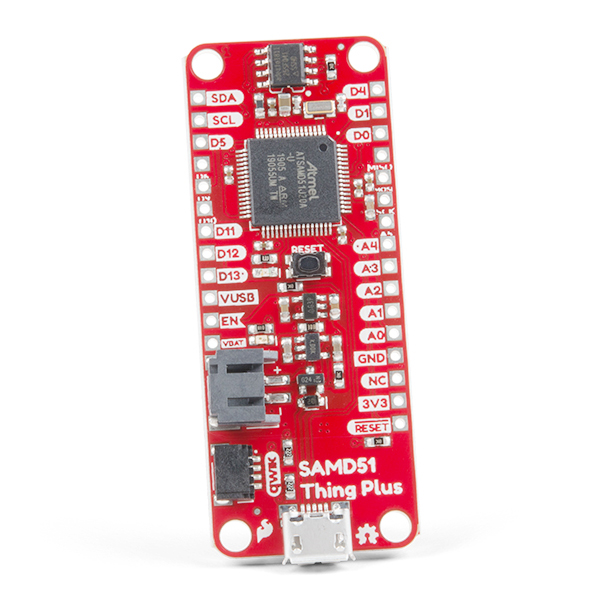
We'll be using the RedBoard Turbo - SAMD21 Development Board for the examples in this tutorial. The Arduino code also compatible with SAMD microcontrollers like the SAMD21 Dev Breakout, SAMD21 Mini Breakout, and SparkFun Thing Plus - SAMD51. You can also use a Teensy as well. Just make sure to solder headers (or wires) to the board and include a compatible USB cable with the development board.
While the ChipKit MAX32 is not listed in the SparkFun catalog, you can also use it with the Magnetic Imaging Tile.
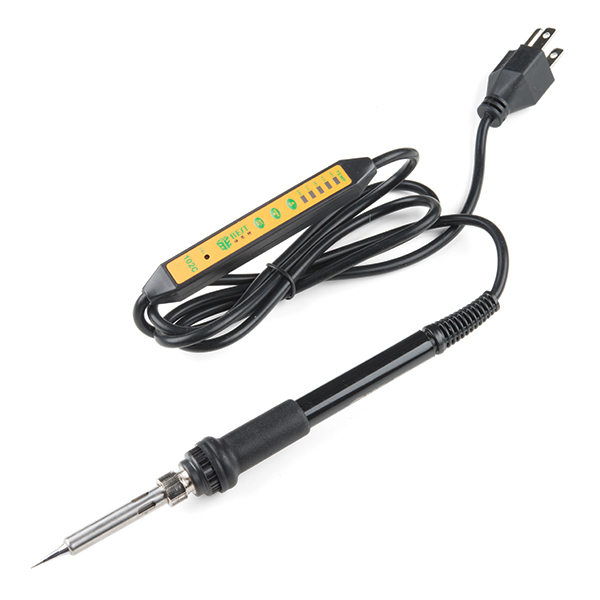
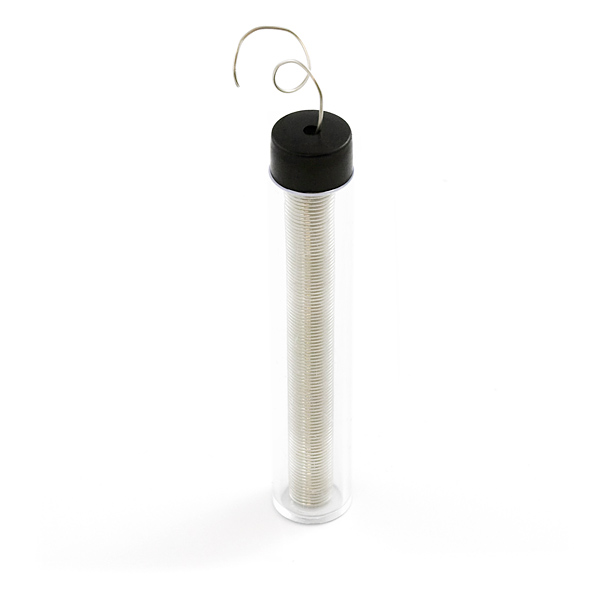
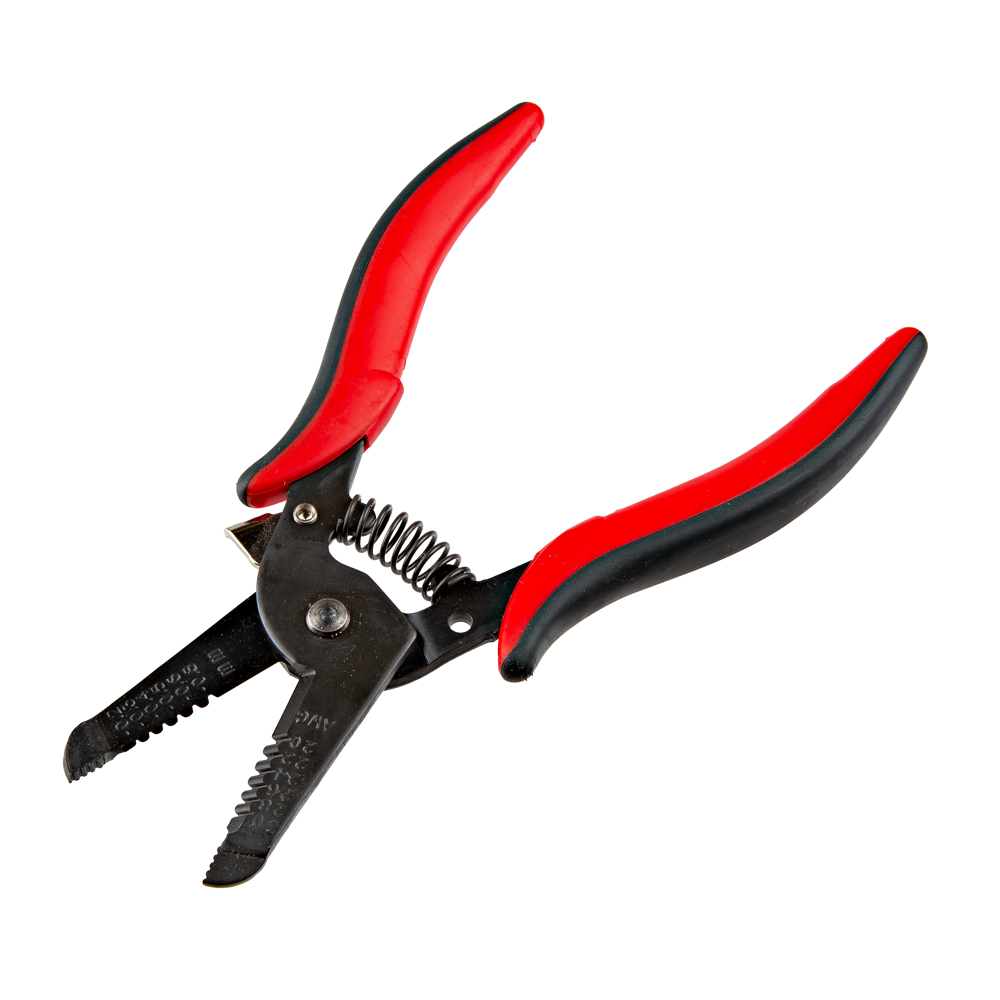
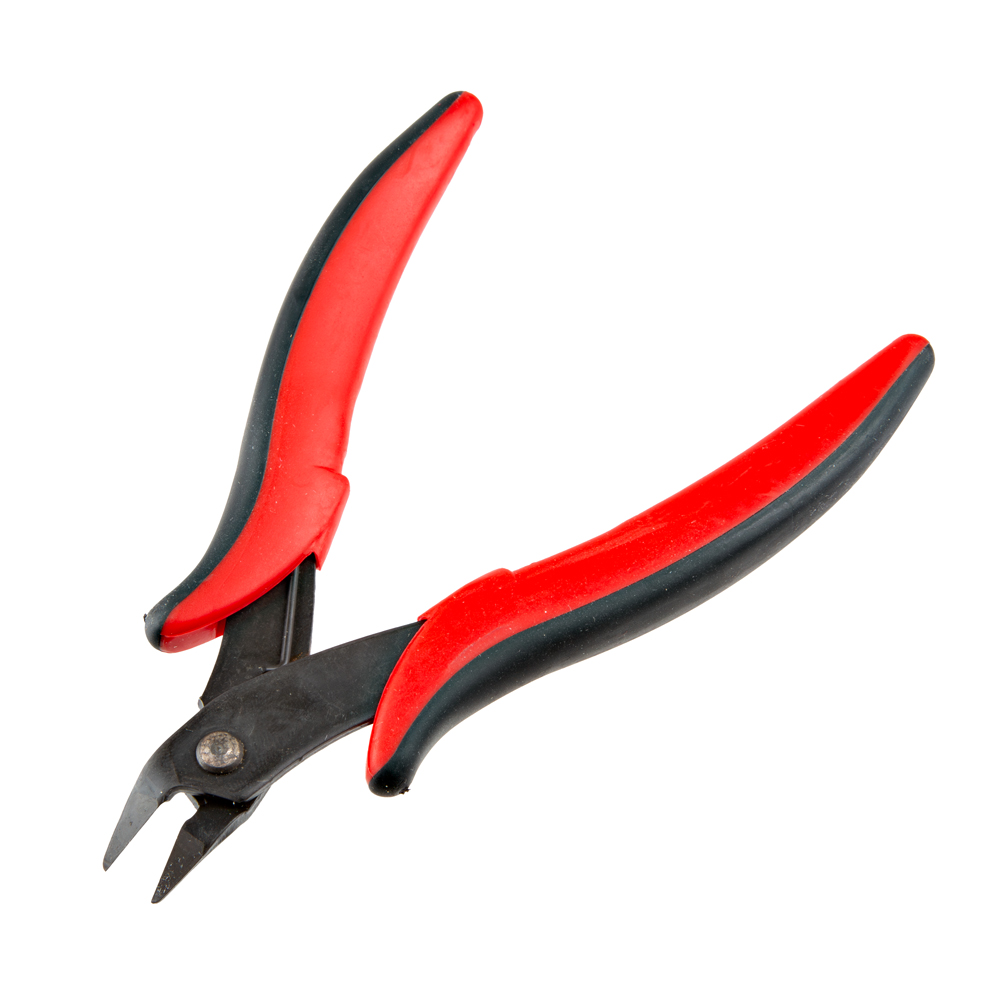
Tools
You will need a soldering iron, solder, and general soldering accessories for a secure connection when using the plated through holes.
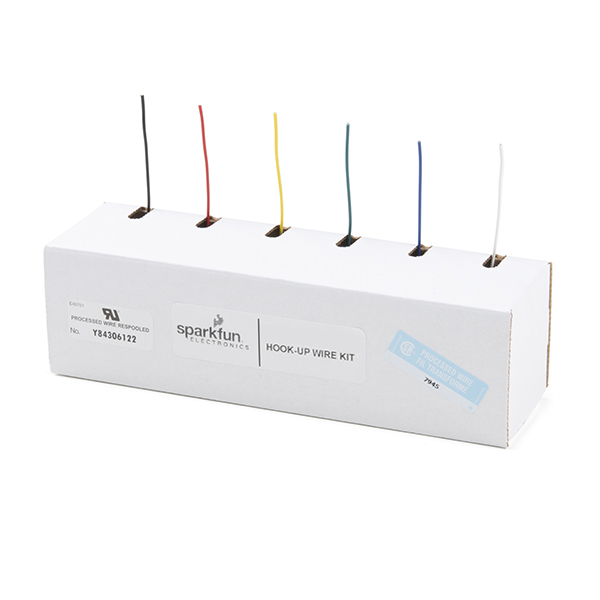
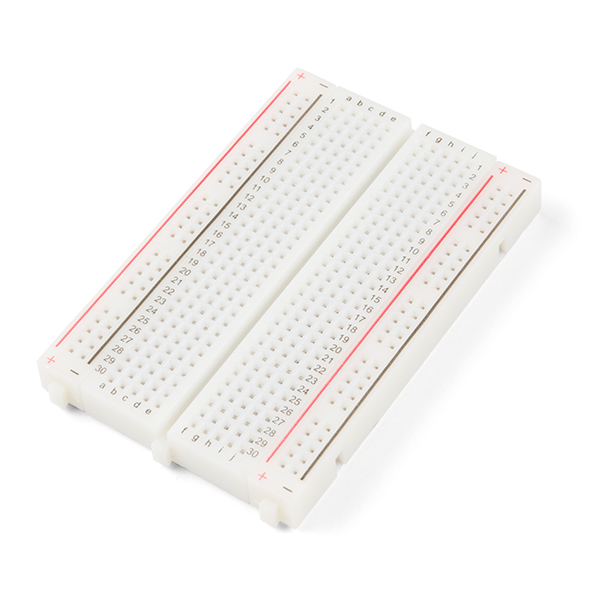
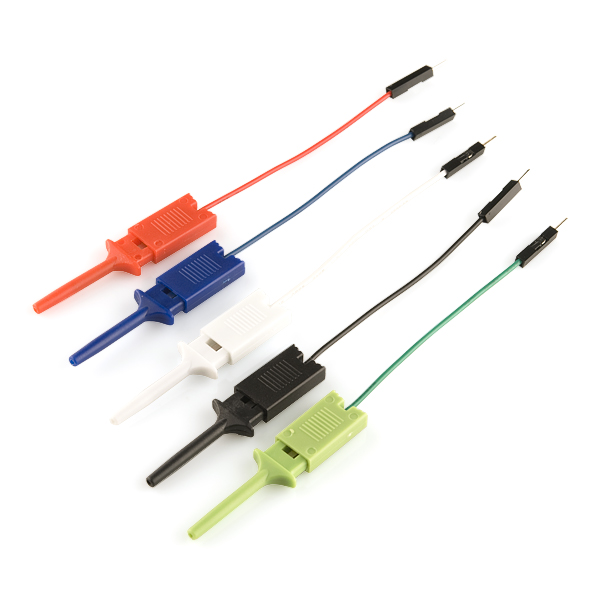
Prototyping Accessories
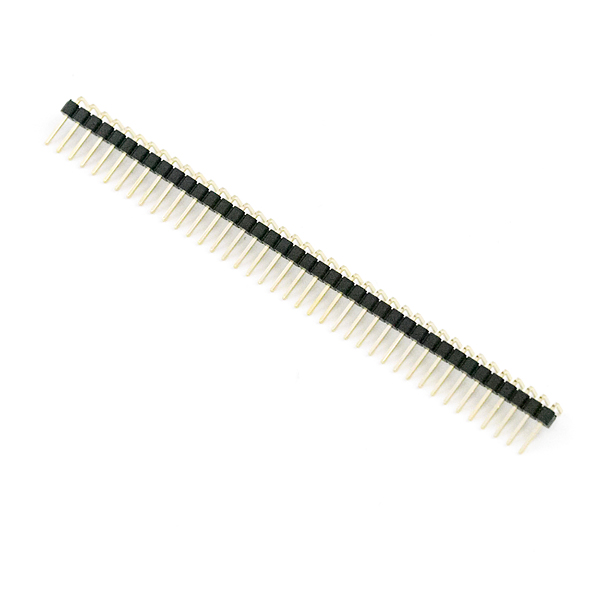
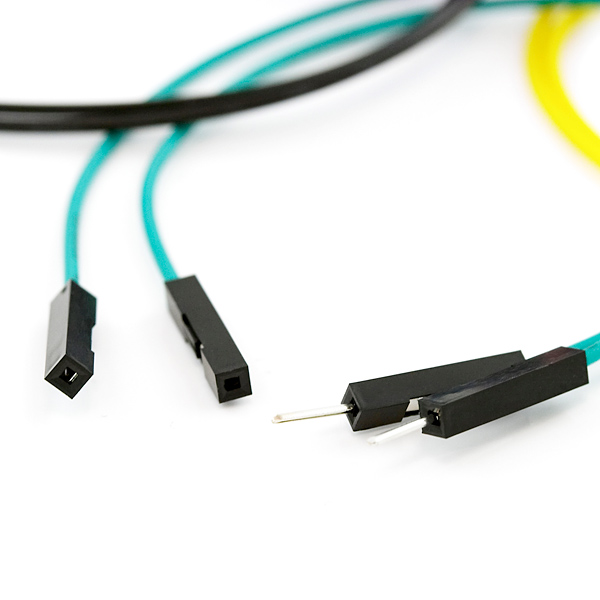
Depending on your setup, you may want to use IC hooks for a temporary connection. However, you will want to solder header pins to connect devices to the plated through holes for a secure connection. We opted for right angle headers for the SparkFun Magnetic Imaging Tile as well as M/F jumpers to connect to the SparkFun RedBoard Turbo - SAMD21 Development Board to reduce the amount of soldering.
Suggested Reading
If you aren’t familiar with the following concepts, we also recommend checking out a few of these tutorials before continuing.


Note
This is a collaboration with Peter Jansen of the "Open Source Science Tricorder Project". All credit goes to him! You can read about his work on the project on Hack A Day.