Introduction
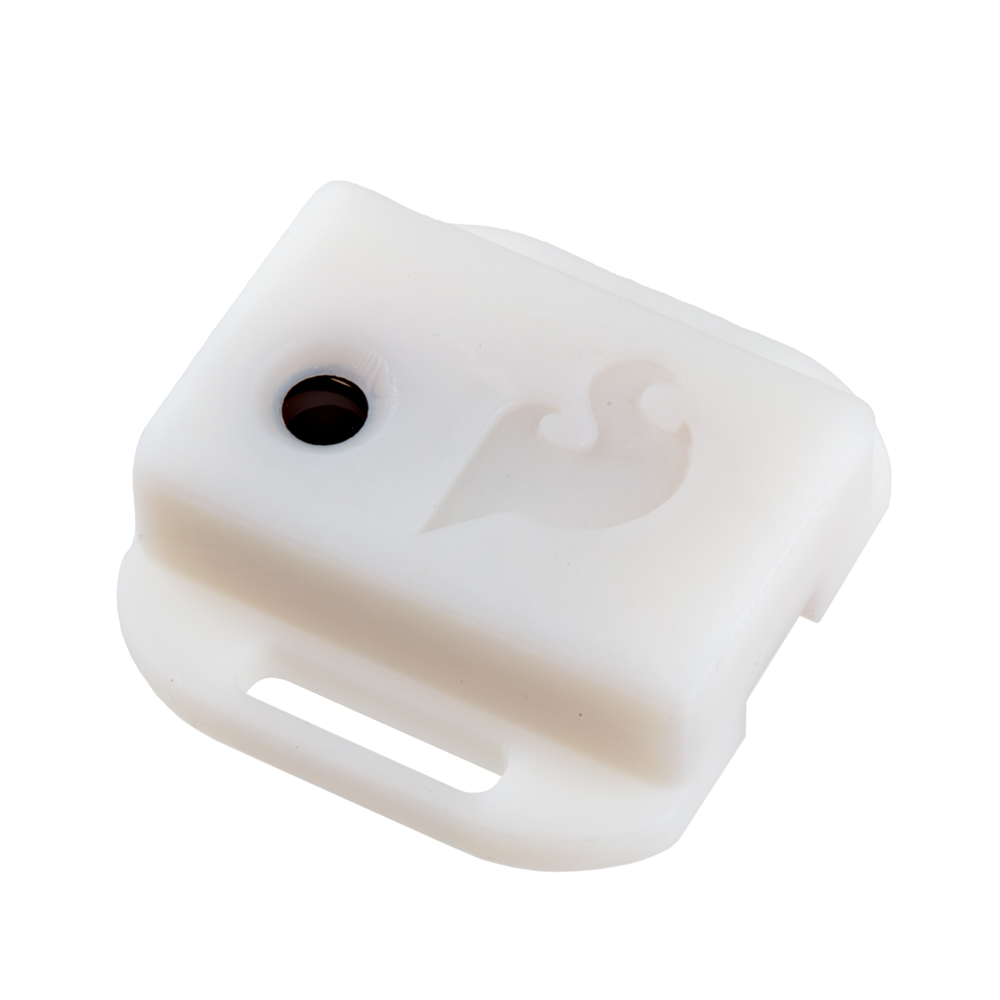
The SparkFun Qwiic Air Quality PM1/PM2.5/PM10 Sensor - BMV080 is an ultra-small, fan-less air quality sensor for sensing PM1 and PM2.5 particulate matter! Within the enclosure is a breakout board that breaks out Bosch's BMV080, the world's smallest PM1, PM2.5 and PM10 air quality sensor. The sensing element measures merely 4.2mm x 3.5mm x 3.1mm (W x L x H), which is more than 450 times smaller than any comparable device on the market. The innovative design is based on ultra-compact lasers with integrated photodiodes. The sensor applies sophisticated algorithms to measure PM1, PM2.5 and PM10 concentrations directly in free space, without requiring an intrusive fan.
In this tutorial, we'll go over the hardware and how to hookup the sensor to an Arduino. We will also go over examples from the Arduino Library to get started.
Required Materials
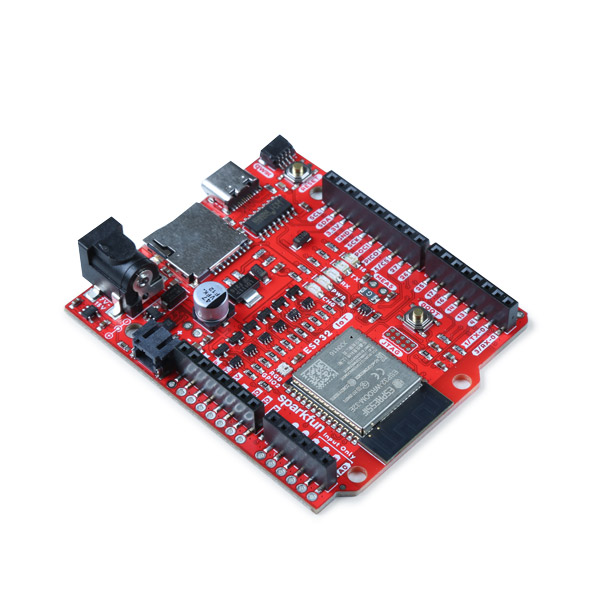
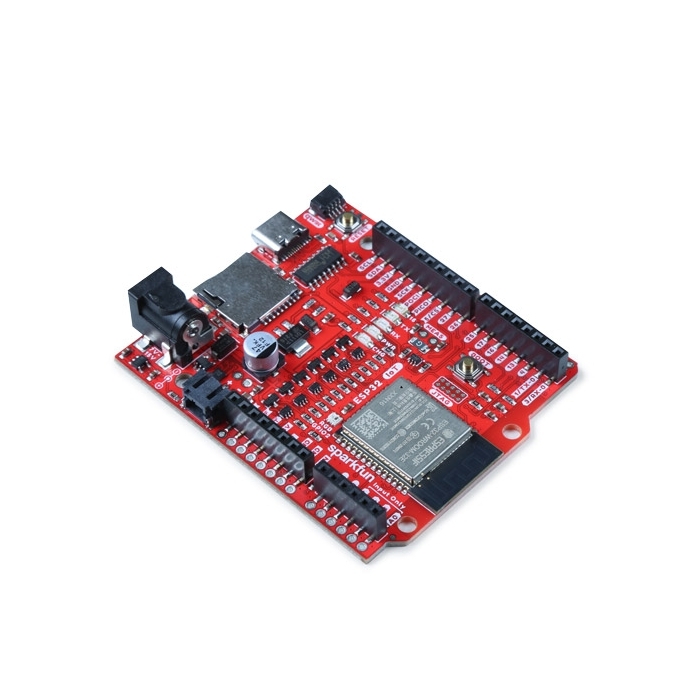
This tutorial is written to use the SparkFun Particulate Matter Sensor - BMV080 with the SparkFun IoT RedBoard - ESP32. If you want to follow along exactly with the tutorial, you'll need the BMV080 along with the following items:
Other Microcontrollers
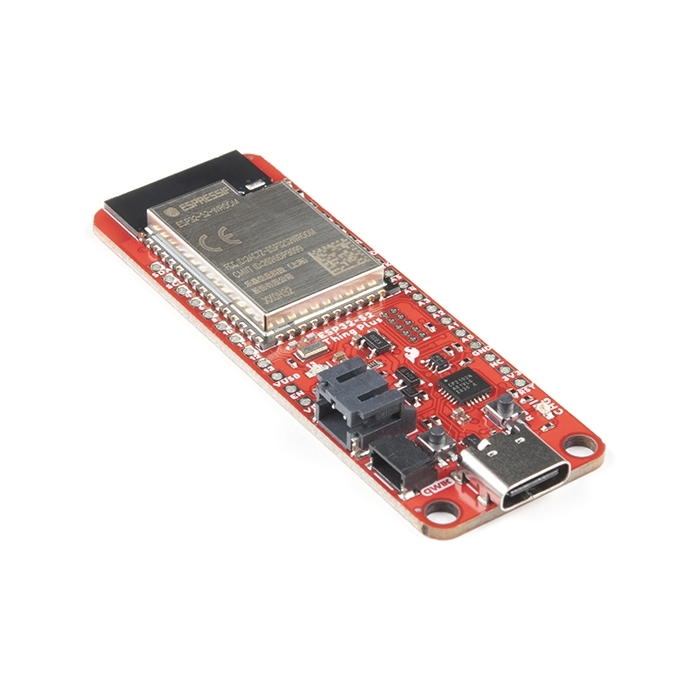
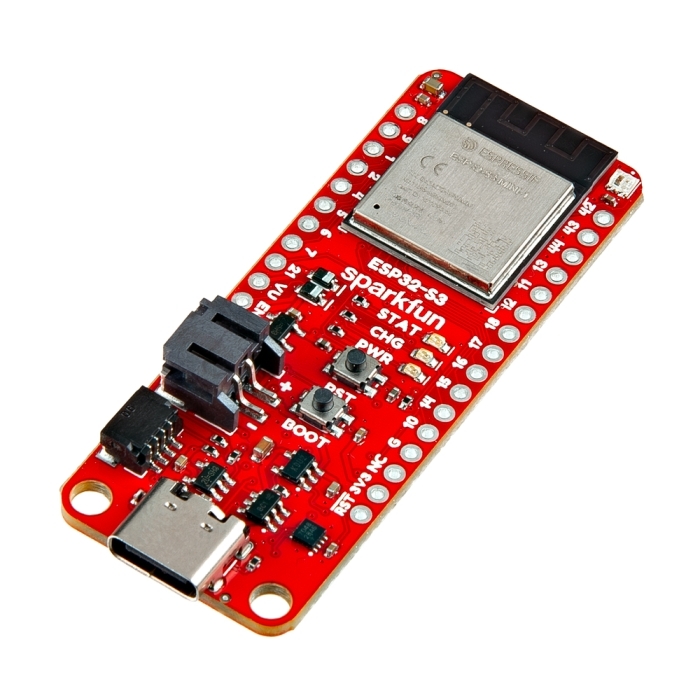
We recommend using any board with an ESP32 (such as the ESP32-WROOM, ESP32-S2, and ESP32-S3). We'll be using the RedBoard IoT RedBoard - ESP32 Development Board for the examples in this tutorial.

Qwiic Accessories
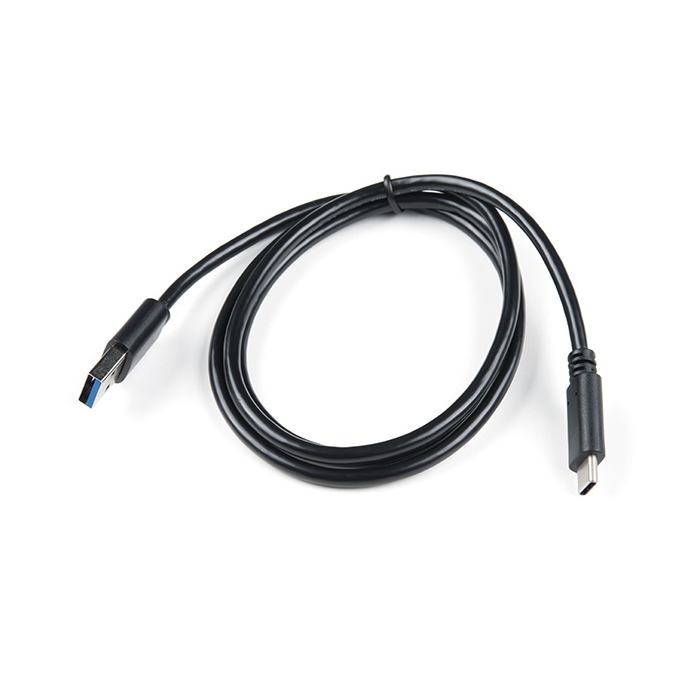
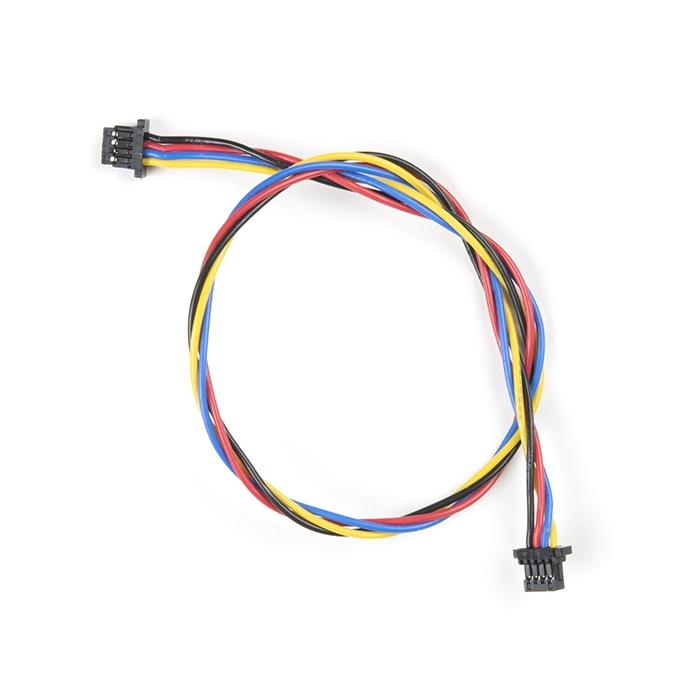
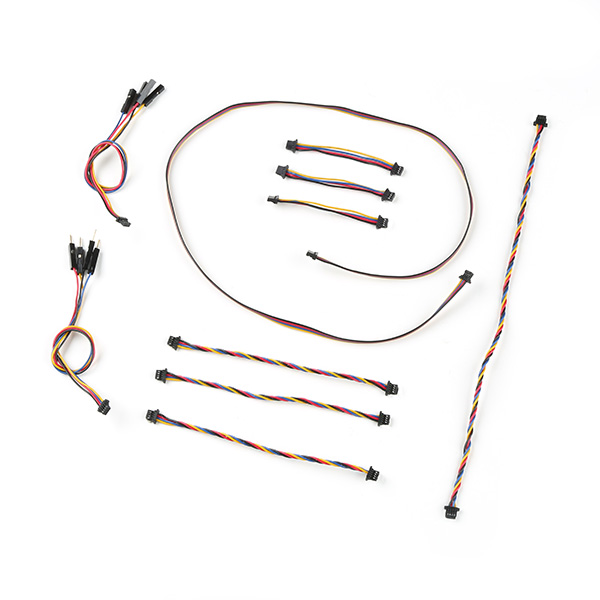
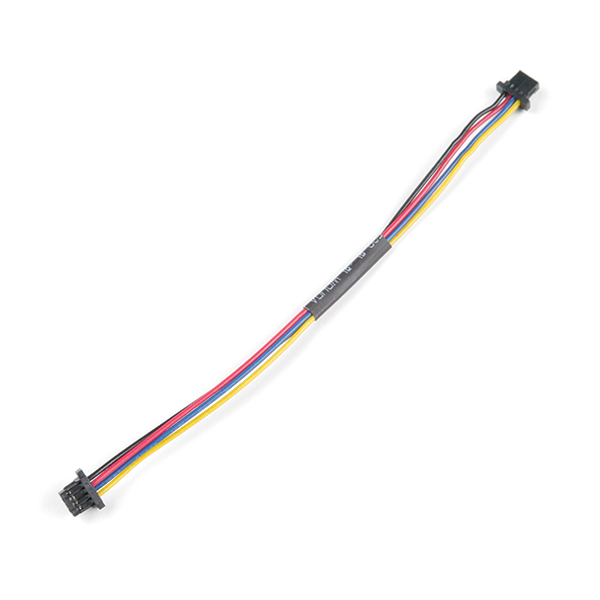
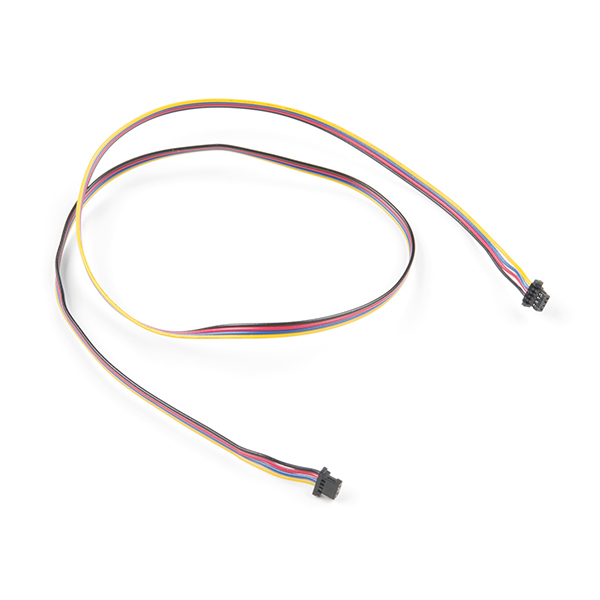
For those that want to take advantage of the Qwiic connector, you'll want to grab a Qwiic cable. Besides the one listed earlier, there are a variety of other cable lengths available in the SparkFun catalog to choose from.
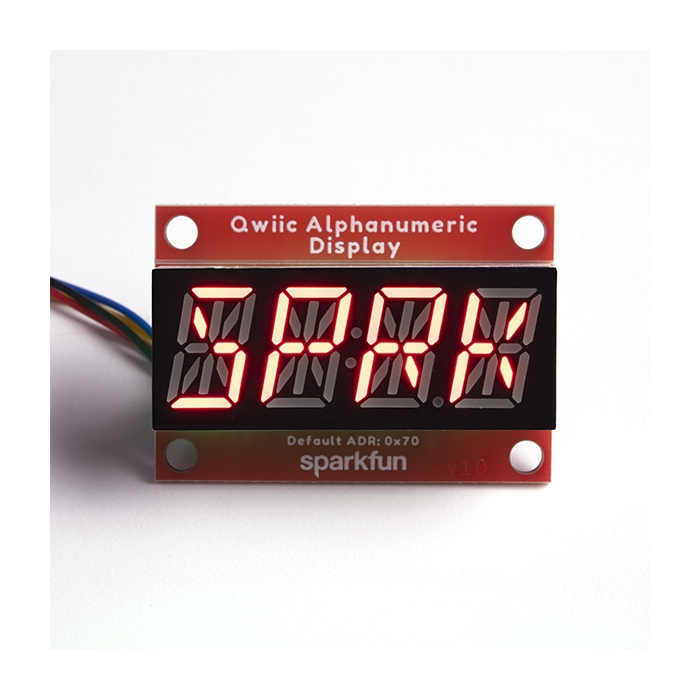
You'll also want a Qwiic MultiPort when daisy chaining more than one BMV080 or adding additional Qwiic-enabled devices. Adding displays will allow you to view the amount of particulate mater in the air.


Tools (Optional)
Note
When soldering directly to the PTHs, you will need to be careful of the 3D printed enclosure! You will want to carefully remove the board from the enclosure before soldering.
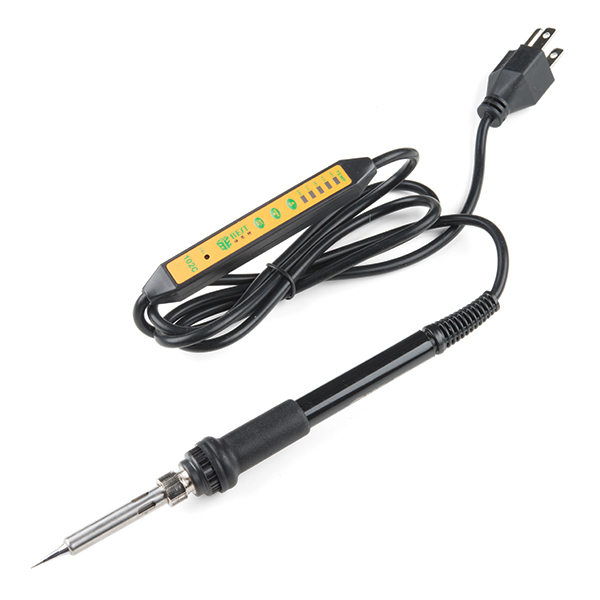
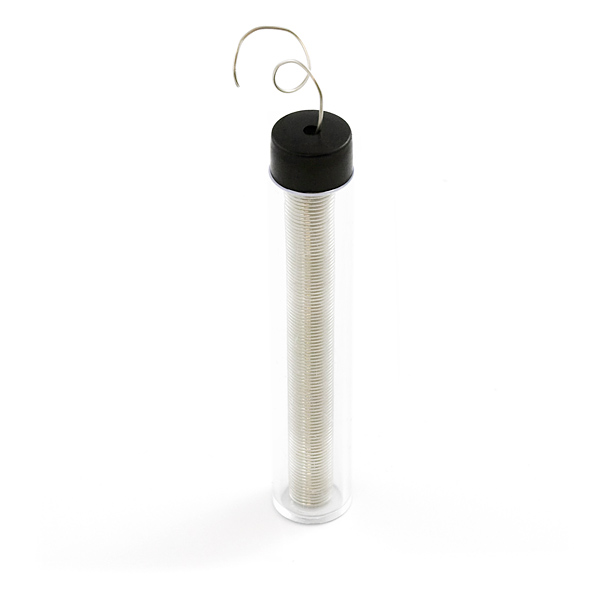
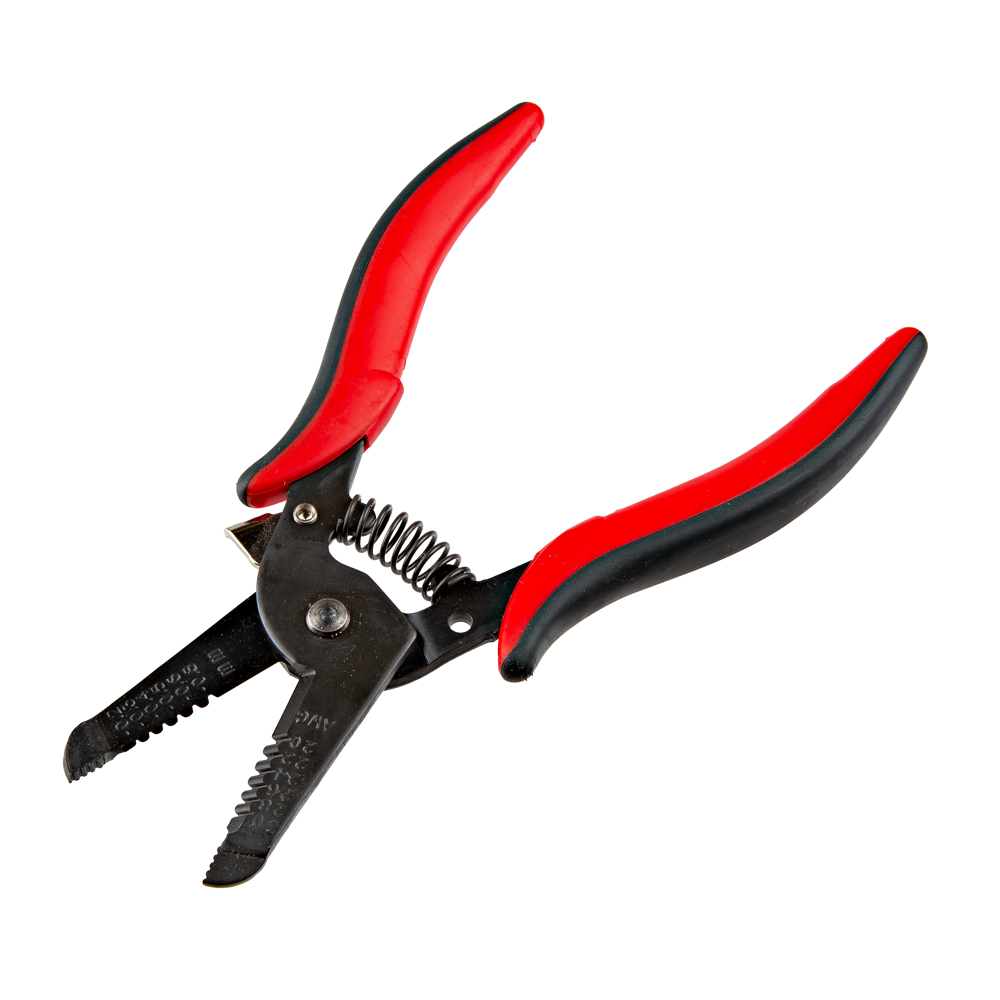
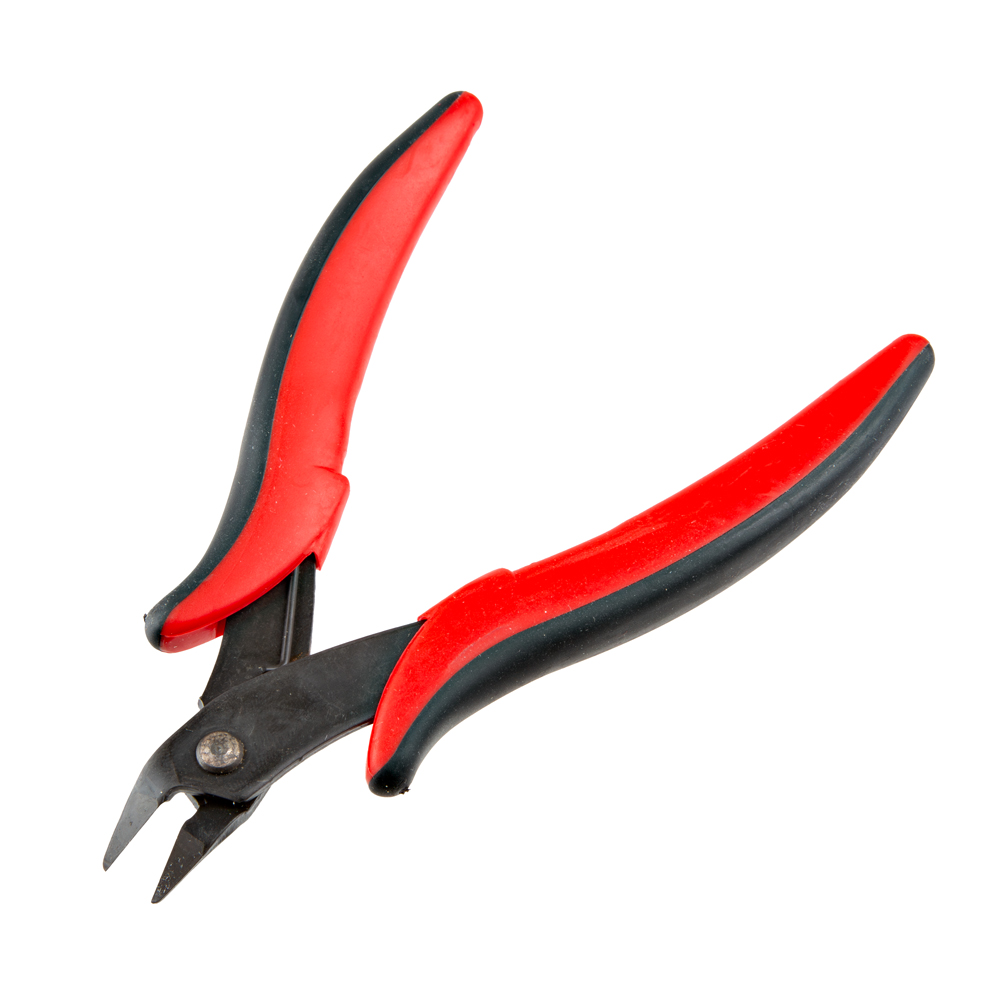
You will need a soldering iron, solder, and general soldering accessories for a secure connection when using the plated through holes.

For users that are using the BMV080 in SPI mode or mounting the enclosure, make sure to grab the iFixit Moray Driver Kit. A precision flathead with 0.1mm tip is needed to remove the sensor from the enclosure. We also recommend using Phillips screwdriver with #0 tip and 4-40 standoffs when mounting the enclosure.


Prototyping Accessories (Optional)
Note
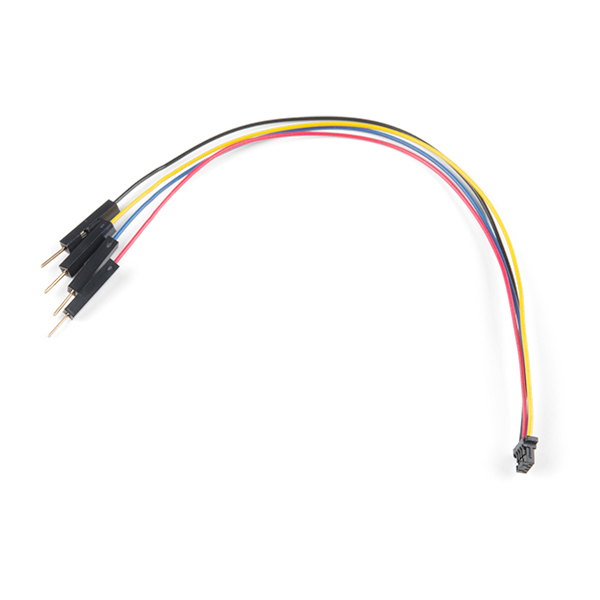
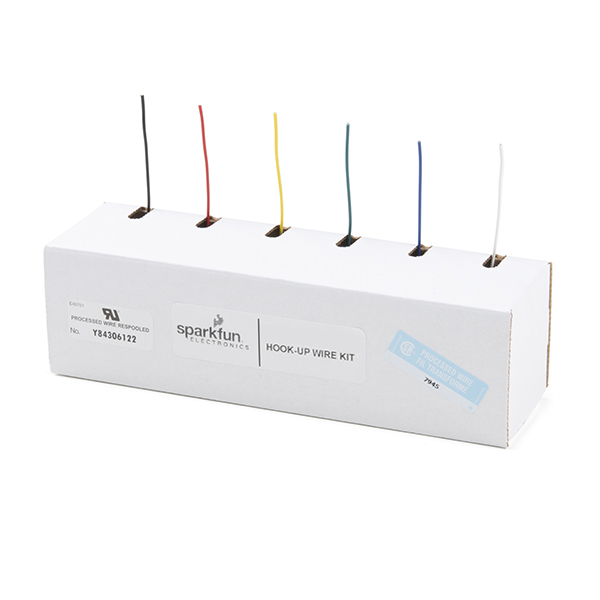
Due to the size of the 3D printed enclosure, you will not be able to place the sensor on a breadboard. We recommend using M/F jumper wires should you decide to solder male header pins on the sensor. Of course, when soldering the sensor to a protoboard, you could solder to the other side of the protoboard to access the pins.
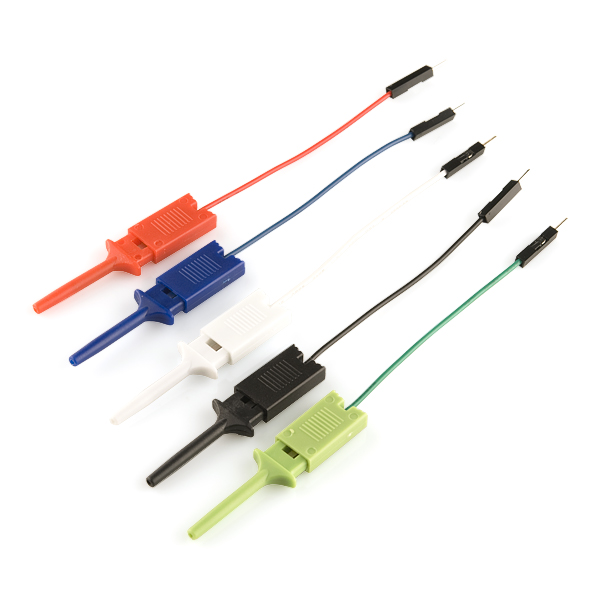
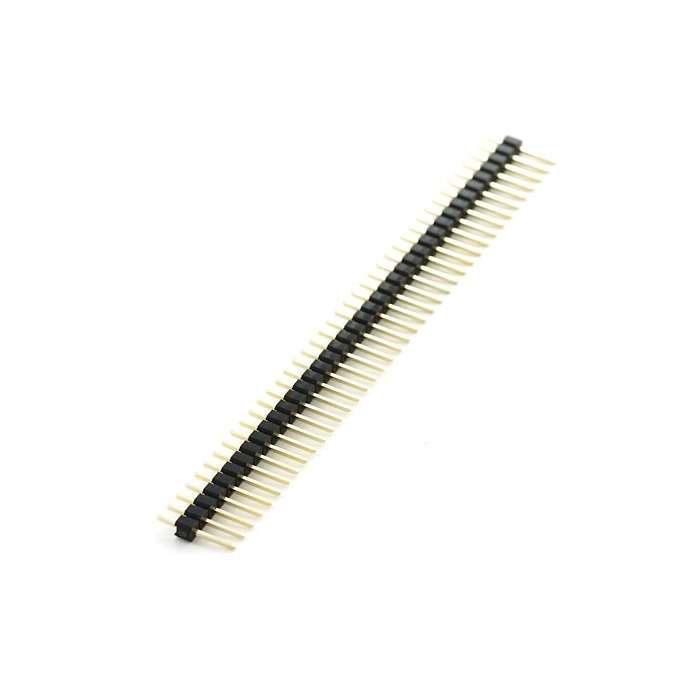
Depending on your setup, you may want to use IC hooks for a temporary connection when the sensor is removed from enclosure. However, you will want to solder header pins to connect devices to the plated through holes for a secure connection. We opted for straight male headers for the SparkFun Qwiic Air Quality PM1/PM2.5/PM10 Sensor - BMV080 as well as M/F jumpers to connect to the RedBoard IoT Development Board to reduce the amount of soldering.
Suggested Reading
If you aren't familiar with the Qwiic Connection System, we recommend reading here for an overview.

If you aren’t familiar with the following concepts, we also recommend checking out a few of these tutorials before continuing.