Introduction
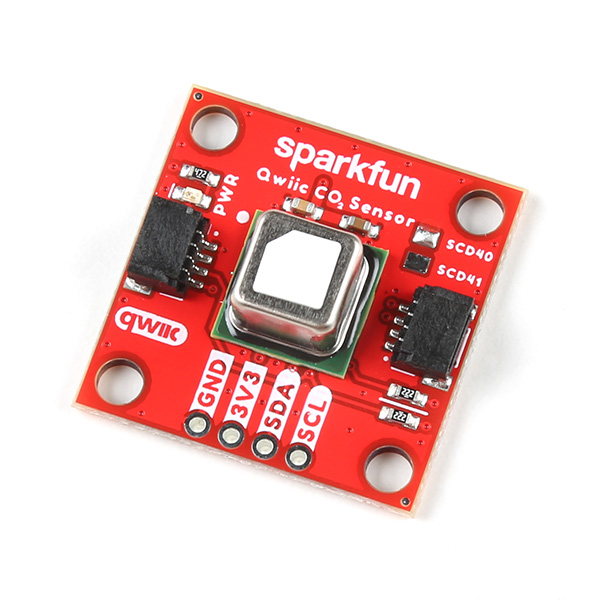
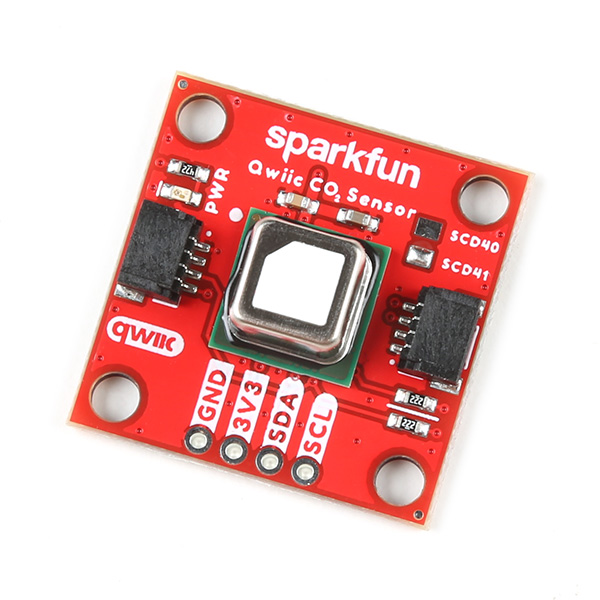
The SparkFun CO2, Humidity and Temperature Sensor - SCD4X (Qwiic) breakouts feature the SCD40 and SCD41 CO2 sensors from Sensirion™. The SCD4X sensors use Sensirion's PASens™ photoacoustic measurement system that combines the use of narrow-band IR light and a microphone inside the sensing package that results in a high-quality sensor that measures CO2 concentrations from 0 to 40,000ppm. The sensors also have an integrated humidity and temperature sensor to provide environmental conditions to improve accuracy. The SCD40 has the best accuracy from 400 to 2,000ppm and the SCD41 has the best accuracy from 400 to 5,000ppm.
These sensors also feature automatic self-calibration routines to automatically adjust to their sensing environments over seven day calibration period. For best results, Sensirion recommends taking continuous readings for at least one hour a day of 'fresh air' for the calibration period to complete.
In this guide we'll go over the details of the SCD4x sensors and other hardware present on these breakout boards, how to assemble it into a Qwiic circuit and how to use it with the SparkFun SCD4x Arduino Library.
Required Materials
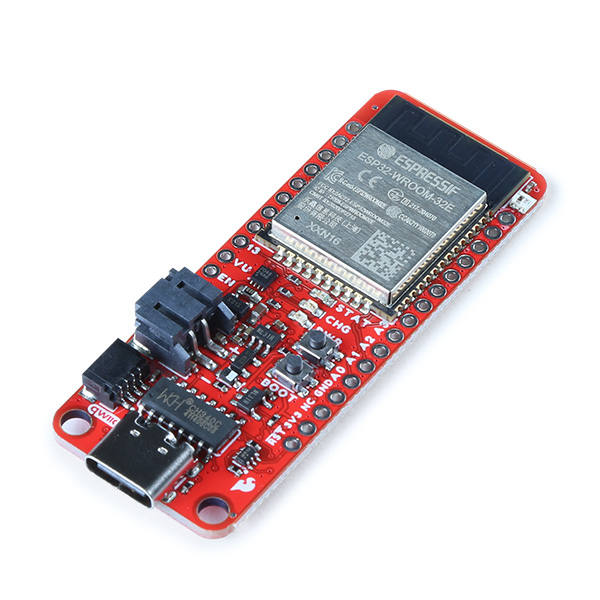
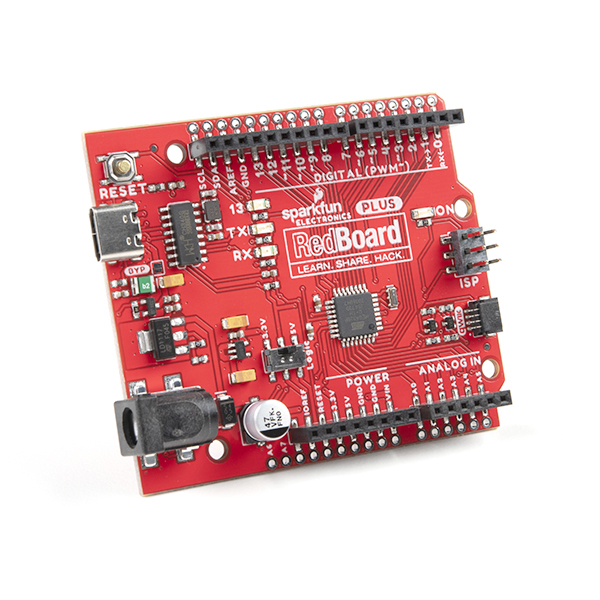
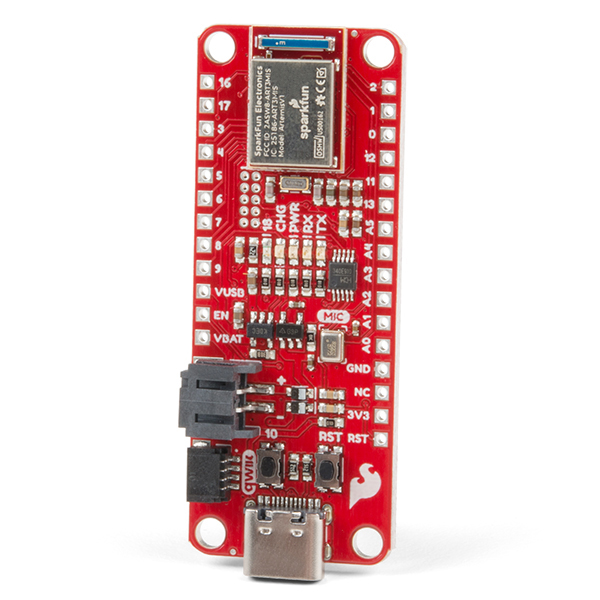
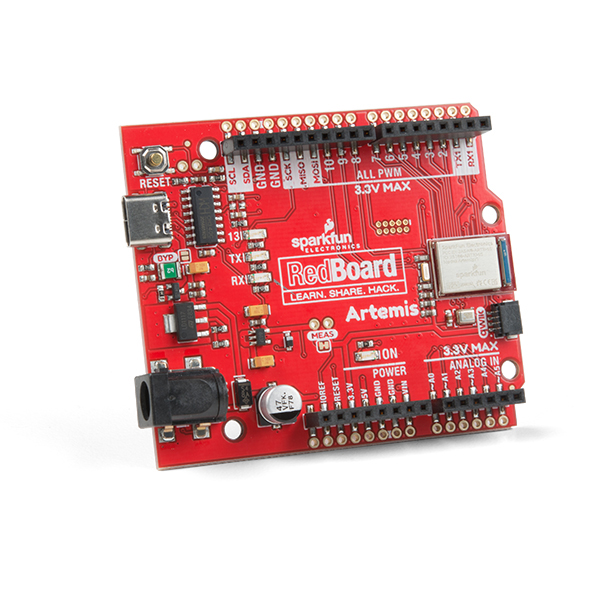
To follow along with this guide you will need a microcontroller to communicate with these SCD4X breakouts. Below are a few options that come Qwiic-enabled out of the box:
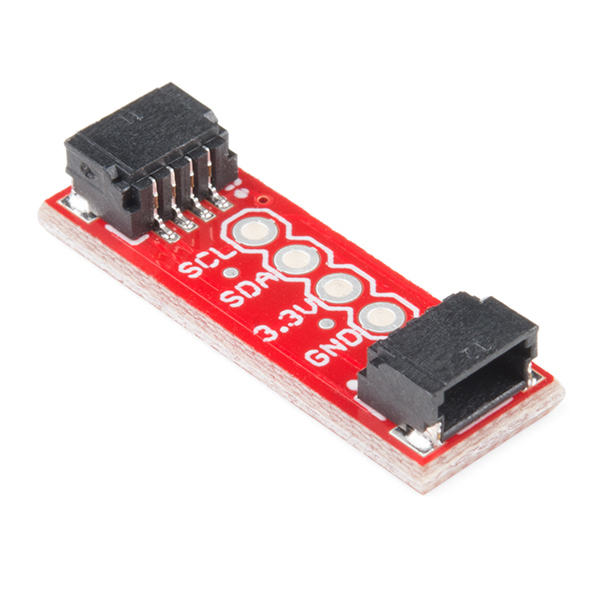
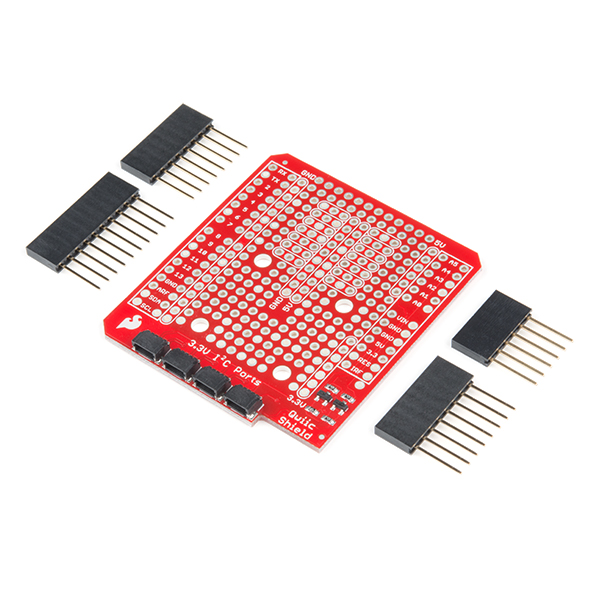
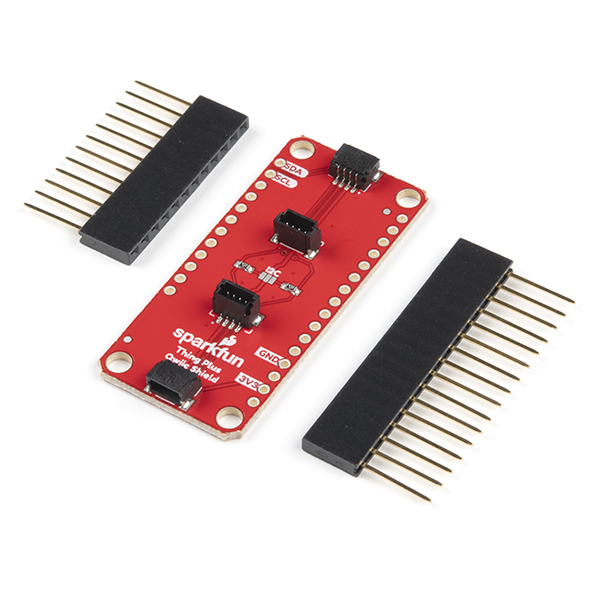
If your chosen microcontroller is not already Qwiic-enabled, you can add that functionality with one or more of the following items:
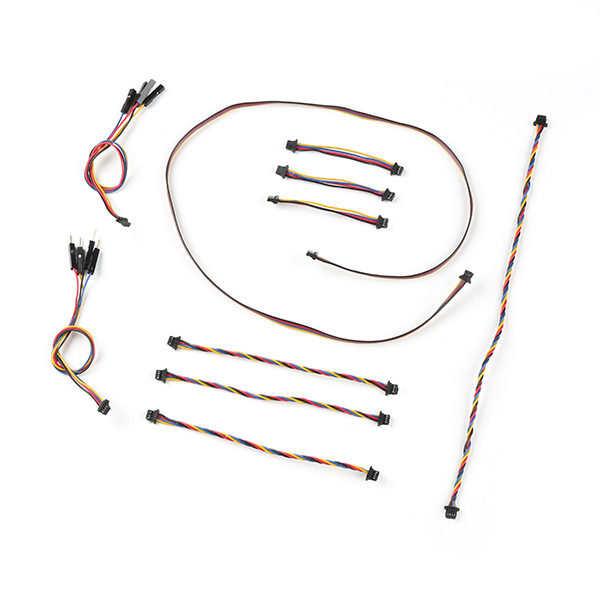
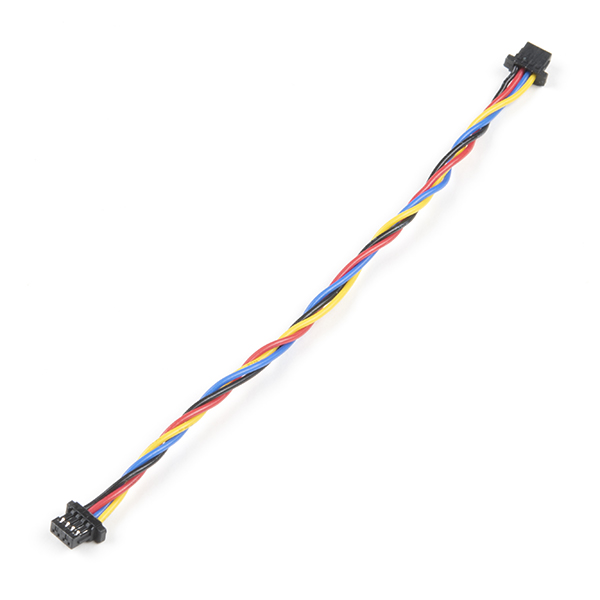
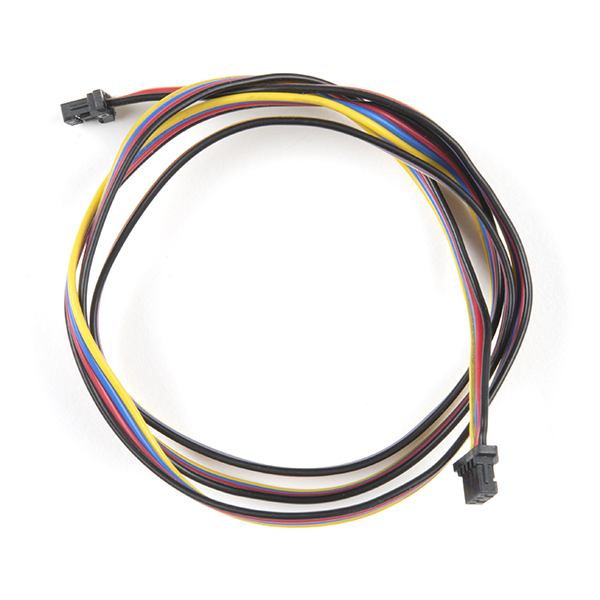
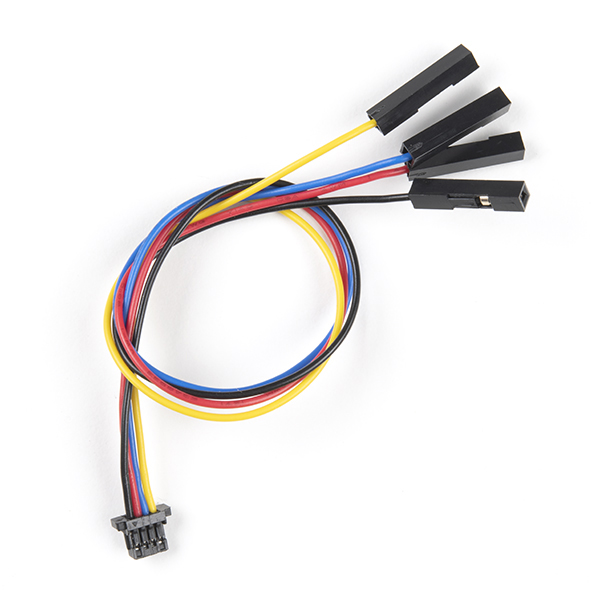
You will also need at least one Qwiic cable to connect your SCD4X breakout to your microcontroller:

Optional Materials
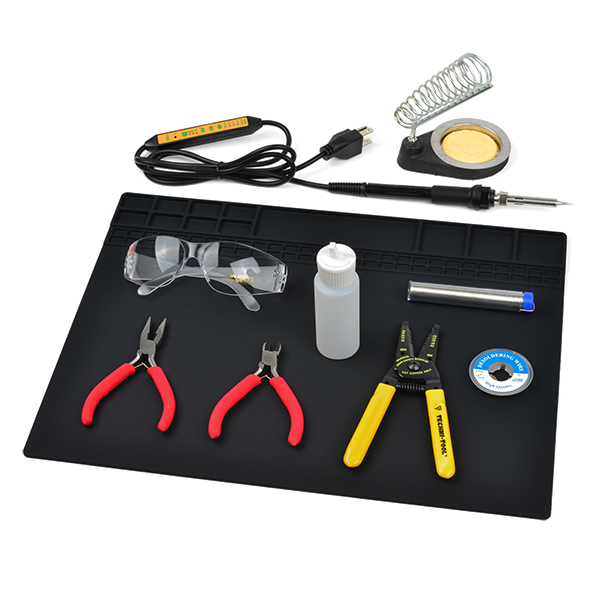
If you prefer a soldered connection or want to modify the solder jumpers on this board, you may need some of the products listed below:

Suggested Reading
We designed this board for integration into SparkFun's Qwiic connect system. Click on the banner below to learn more about the SparkFun Qwiic Connect System.

Before getting started with this Hookup Guide, you may want to read through the tutorials below if you are not familiar with the concepts covered in them or want a refresher. If you are using either of the Qwiic Shields linked above, we recommend reading through their respective Hookup Guides before continuing with this tutorial:


Hardware Overview
Let's take a closer look at the SCD4X sensors and hardware on these sensor breakouts.
SCD40 and SCD41 CO2 Sensors
The SCD4x CO2 sensors use Sensirion's PASense™, a photoacoustic measurement system, to accurately measure CO2 concentration using a combination of a narrow band of IR light and a microphone. The sensors also have a built-in humidity and temperatuer sensor using Sensirion's CMOSens™ technology to provide environmental data and compensate for environmental conditions in CO2 measurement. For a detailed overview of the SCD4X sensors, refer to the datasheet.

Note: The PCB design is shared between the SCD40 and SCD41 and the version is indicated by the solder pad above the sensor.
Now you may be curious as to just what photoacoustic measuring actually is. Photoacoustic measuring uses light (photo) and sound/vibrations (acoustic) in tandem to measure the the photoacoustic effect when energy is absorbed by particles (in the case of these sensors, CO2 molecules). The SCD4X has an IR emitter with a filter to shine a specific IR light into the sensing area. CO2 molecules inside the sensing area absorb energy from the emitted IR light and vibrate. The microphone inside the sensing area picks up this acoustic vibration and then this data is processed to report CO2 concentration. This is just a quick and basic explanation of the photoacoustic process used in these sensors. For detailed information on Sensirion's PASens and CMOSens technology, refer to their technology page.
The SCD4X sensors accept a supply voltage between 2.4V to 5.5V though they run on 3.3V in standard Qwiic circuits. The sensors draw max of 205mA@3.3V with an average draw of 18mA@3.3V with periodic measurements in normal mode (3.5mA@3.3V in low power mode). While in Single Shot mode and taking one measurement every five minutes, the SCD41 draws only 0.5mA@3.3V.
Both sensors have identical operating characteristics outside of their ideal measurement ranges, measurement accuracy, and feature set. The SCD40's ideal measurement range is 400ppm to 2,000pm with an accuracy of ±50ppm + 5% of the reading and the SCD41 has an ideal measurement range of 400ppm to 5,000ppm with an accuracy of ±40ppm + 5% of the reading. The SCD41 also includes a single-shot mode for low power applications. The table below outlines the rest of the SCD4X's sensing parameters:
| Parameter | Units | Min | Typ | Max | Notes |
|---|---|---|---|---|---|
| CO2 Output Range | ppm | 0 | - | 40,000 | |
| CO2 Measurement Accuracy | ppm | - | ±(50 + 5%) | - | SCD40 accuracy |
| - | ±(40 + 5%) | - | SCD41 accuracy | ||
| Humidity Range | %RH | 0 | - | 100 | |
| Humidity Accuracy | %RH | - | ±6 | - | 15°C - 35°C, 20%RH - 65%RH |
| - | ±9 | - | -10°C - 60 °C, 0%RH - 100%RH | ||
| Temperature Range | °C | -10 | - | 60 | |
| Temperature Accuracy | °C | - | ±0.8 | - | 15°C - 35°C |
| - | ±1.5 | - | -10°C - 60°C |
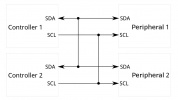
Qwiic/I2C Interface
The boards route the SCD4X's I2C interface to a pair of Qwiic connectors as well as a 0.1"-spaced plated through-hole (PTH) header.

The SDC4X's has a 7-bit unshifted address of 0x62. The I2C bus has a start up time after hard and soft resets of 1000ms and supports clock speeds up to 100kHz.
LED
The sole LED on these boards is a red Power LED indicating when power is supplied to the board.

Solder Jumpers
The breakouts have a pair of solder jumpers labeled PWR and I2C. The PWR jumper completes the Power LED circuit. Open the jumper to disable the Power LED and reduce current draw of the board. The I2C jumper pulls the SDA/SCL lines to VCC (typically 3.3V) through a pair of 2.2kΩ resistors. Open the jumper to disable the pullup resistors if needed.

Board Dimensions
These breakouts match the 1" x 1" (25.4mm x 25.4mm) Qwiic breakout standard and have four mounting holes that fit a 4-40 screw.

Hardware Assembly
Now that we're familiar with the SCD4X sensors and these breakouts, it's time to assemble it into a circuit.
Qwiic Assembly
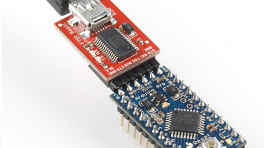
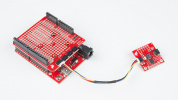
SparkFun's Qwiic system makes assembling a circuit a breeze. Simply plug the breakout into your chosen microcontroller with a Qwiic cable. After assembling your circuit, it should look similar to the photo below:

SparkFun CO2 Humidity and Temperature Sensor - SCD40 (Qwiic) plugged into the RedBoard Qwiic
Reminder, for ideal results, make sure to fully calibrate the SCD4X by taking continuous measurements for one hour every day for seven days.
Soldered Assembly
Those who prefer a traditional soldered assembly should solder wires or header pins to the PTH header on the side of the board. If you're not familiar with through-hole soldering or would like a refresher, take a look at our Through-Hole Soldering Tutorial:

Software Setup and Programming
Attention
If this is your first time using Arduino, please read through our tutorial on installing the Arduino IDE. If you have not installed an Arduino library before, we recommend you check out our installation guide.
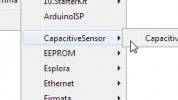
We've written an Arduino library for the SCD4X sensors to make it easy to get CO2 data from these sensors along with other settings and features for these breakouts. Users can download the library through the Arduino Library Manager by searching for "SparkFun SCD4x" like the screenshot below shows:

Those who prefer to manually install it can download a ZIP of the library by clicking the button below:
With the library installed let's move on to looking at a few of the examples included in it.
Example Code
The SparkFun SCD4X Arduino Library includes several examples to start receiving CO2 concentration, temperature and humidity data from the SCD4X. Let's take a closer look at a few of the examples included with the library.
Example 1 - Basic Readings
The first example in the library demonstrates how to initialize the SCD4X on the I2C bus to poll data from the sensor using periodic measurements every five seconds. Open the example by navigating to File > Examples > SparkFun SCD4x Arduino Library > Example1_BasicReadings. Alternatively, you can copy the code below into a blank Arduino sketch:
Example 1 Arduino Code
/*
  Reading CO2, humidity and temperature from the SCD4x
  By: Paul Clark
  Based on earlier code by: Nathan Seidle
  SparkFun Electronics
  Date: June 3rd, 2021
  License: MIT. See license file for more information but you can
  basically do whatever you want with this code.

  Feel like supporting open source hardware?
  Buy a board from SparkFun! https://www.sparkfun.com/products/18365

  This example prints the current CO2 level, relative humidity, and temperature in C.

  Hardware Connections:
  Attach RedBoard to computer using a USB cable.
  Connect SCD40/41 to RedBoard using Qwiic cable.
  Open Serial Monitor at 115200 baud.
*/

#include <Wire.h>

#include "SparkFun_SCD4x_Arduino_Library.h" //Click here to get the library: http://librarymanager/All#SparkFun_SCD4x
SCD4x mySensor;

void setup()
{
  Serial.begin(115200);
  Serial.println(F("SCD4x Example"));
  Wire.begin();

  //mySensor.enableDebugging(); // Uncomment this line to get helpful debug messages on Serial

  //.begin will start periodic measurements for us (see the later examples for details on how to override this)
  if (mySensor.begin() == false)
  {
    Serial.println(F("Sensor not detected. Please check wiring. Freezing..."));
    while (1)
      ;
  }

  //The SCD4x has data ready every five seconds
}

void loop()
{
  if (mySensor.readMeasurement()) // readMeasurement will return true when fresh data is available
  {
    Serial.println();

    Serial.print(F("CO2(ppm):"));
    Serial.print(mySensor.getCO2());

    Serial.print(F("\tTemperature(C):"));
    Serial.print(mySensor.getTemperature(), 1);

    Serial.print(F("\tHumidity(%RH):"));
    Serial.print(mySensor.getHumidity(), 1);

    Serial.println();
  }
  else
    Serial.print(F("."));

  delay(500);
}
Select your Board/Port and click the "Upload" button. Once the code finishes uploading, open up a Serial Monitor and check the output. You should see CO2, temperature and humidity data print out every 5 seconds:

Example 2 - Low Power Readings
The second example demonstrates how to configure the SCD4X to disable periodic measurements and enable low-power mode. This sets the SCD4x to take measurements every 30 seconds. Open the example in Arduino or copy the code below into a blank sketch:
Example 2 Arduino Code
/*
  Reading CO2, humidity and temperature from the SCD4x in Low Power mode
  By: Paul Clark
  Based on earlier code by: Nathan Seidle
  SparkFun Electronics
  Date: June 3rd, 2021
  License: MIT. See license file for more information but you can
  basically do whatever you want with this code.

  Feel like supporting open source hardware?
  Buy a board from SparkFun! https://www.sparkfun.com/products/18365

  This example prints the current CO2 level, relative humidity, and temperature in C.

  Hardware Connections:
  Attach RedBoard to computer using a USB cable.
  Connect SCD40/41 to RedBoard using Qwiic cable.
  Open Serial Monitor at 115200 baud.
*/

#include <Wire.h>

#include "SparkFun_SCD4x_Arduino_Library.h" //Click here to get the library: http://librarymanager/All#SparkFun_SCD4x
SCD4x mySensor;

void setup()
{
  Serial.begin(115200);
  Serial.println(F("SCD4x Example"));
  Wire.begin();

  //mySensor.enableDebugging(); // Uncomment this line to get helpful debug messages on Serial

  //.begin will start periodic measurements for us (see the later examples for details on how to override this)
  if (mySensor.begin() == false)
  {
    Serial.println(F("Sensor not detected. Please check wiring. Freezing..."));
    while (1)
      ;
  }

  //By default, the SCD4x has data ready every five seconds.
  //We can enable low power operation and receive a reading every ~30 seconds

  //But first, we need to stop periodic measurements otherwise startLowPowerPeriodicMeasurement will fail
  if (mySensor.stopPeriodicMeasurement() == true)
  {
    Serial.println(F("Periodic measurement is disabled!"));
  }

  //Now we can enable low power periodic measurements
  if (mySensor.startLowPowerPeriodicMeasurement() == true)
  {
    Serial.println(F("Low power mode enabled!"));
  }

  //The SCD4x has data ready every thirty seconds
}

void loop()
{
  if (mySensor.readMeasurement()) // readMeasurement will return true when fresh data is available
  {
    Serial.println();

    Serial.print(F("CO2(ppm):"));
    Serial.print(mySensor.getCO2());

    Serial.print(F("\tTemperature(C):"));
    Serial.print(mySensor.getTemperature(), 1);

    Serial.print(F("\tHumidity(%RH):"));
    Serial.print(mySensor.getHumidity(), 1);

    Serial.println();
  }
  else
    Serial.print(F("."));

  delay(1000);
}
After uploading, open the serial monitor and you should see data print out every second though it should remain static for the 30 seconds between measurements.
Example 6 - Signal Compensation
Example six shows how to input custom compensation values for temperature, altitude and ambient pressure. The code stops periodic measurements while the values are stored. These values are stored in the sensor's RAM by default but can be stored in EEPROM. When stored in RAM, the values reset if reInit is called or on a power cycle. After the settings are stored, the code reinitializes periodic measurements and prints out data for CO2, temperature, and humidity.
Example 6 Arduino Code
/*
  Signal Compensation
  By: Paul Clark
  Based on earlier code by: Nathan Seidle
  SparkFun Electronics
  Date: June 3rd, 2021
  License: MIT. See license file for more information but you can
  basically do whatever you want with this code.

  Feel like supporting open source hardware?
  Buy a board from SparkFun! https://www.sparkfun.com/products/18365

  This example prints the current CO2 level, relative humidity, and temperature in C.

  Hardware Connections:
  Attach RedBoard to computer using a USB cable.
  Connect SCD40/41 to RedBoard using Qwiic cable.
  Open Serial Monitor at 115200 baud.
*/

#include <Wire.h>

#include "SparkFun_SCD4x_Arduino_Library.h" //Click here to get the library: http://librarymanager/All#SparkFun_SCD4x
SCD4x mySensor;

void setup()
{
  Serial.begin(115200);
  Serial.println(F("SCD4x Example"));
  Wire.begin();

  //mySensor.enableDebugging(); // Uncomment this line to get helpful debug messages on Serial

  if (mySensor.begin() == false)
  {
    Serial.println(F("Sensor not detected. Please check wiring. Freezing..."));
    while (1)
      ;
  }

  //We need to stop periodic measurements before we can change the sensor signal compensation settings
  if (mySensor.stopPeriodicMeasurement() == true)
  {
    Serial.println(F("Periodic measurement is disabled!"));
  }

  //Now we can change the sensor settings.
  //There are three signal compensation commands we can use: setTemperatureOffset; setSensorAltitude; and setAmbientPressure

  Serial.print(F("Temperature offset is currently: "));
  Serial.println(mySensor.getTemperatureOffset(), 2); // Print the temperature offset with two decimal places
  mySensor.setTemperatureOffset(5); // Set the temperature offset to 5C
  Serial.print(F("Temperature offset is now: "));
  Serial.println(mySensor.getTemperatureOffset(), 2); // Print the temperature offset with two decimal places

  Serial.print(F("Sensor altitude is currently: "));
  Serial.println(mySensor.getSensorAltitude()); // Print the sensor altitude
  mySensor.setSensorAltitude(1000); // Set the sensor altitude to 1000m
  Serial.print(F("Sensor altitude is now: "));
  Serial.println(mySensor.getSensorAltitude()); // Print the sensor altitude

  //There is no getAmbientPressure command
  bool success = mySensor.setAmbientPressure(98700); // Set the ambient pressure to 98700 Pascals
  if (success)
  {
    Serial.println(F("setAmbientPressure was successful"));
  }

  //The signal compensation settings are stored in RAM by default and will reset if reInit is called
  //or if the power is cycled. To store the settings in EEPROM we can call:
  mySensor.persistSettings(); // Uncomment this line to store the sensor settings in EEPROM

  //Just for giggles, while the periodic measurements are stopped, let's read the sensor serial number
  char serialNumber[13]; // The serial number is 48-bits. We need 12 bytes plus one extra to store it as ASCII Hex
  if (mySensor.getSerialNumber(serialNumber) == true)
  {
    Serial.print(F("The sensor's serial number is: 0x"));
    Serial.println(serialNumber);
  }

  //Finally, we need to restart periodic measurements
  if (mySensor.startPeriodicMeasurement() == true)
  {
    Serial.println(F("Periodic measurements restarted!"));
  }
}

void loop()
{
  if (mySensor.readMeasurement()) // readMeasurement will return true when fresh data is available
  {
    Serial.println();

    Serial.print(F("CO2(ppm):"));
    Serial.print(mySensor.getCO2());

    Serial.print(F("\tTemperature(C):"));
    Serial.print(mySensor.getTemperature(), 1);

    Serial.print(F("\tHumidity(%RH):"));
    Serial.print(mySensor.getHumidity(), 1);

    Serial.println();
  }
  else
    Serial.print(F("."));

  delay(500);
}
Example 8 - SCD41 Single Shot
The eighth example demonstrates how to configure the SCD41 to operate in Single-Shot mode for maximum power efficiency. The code disables periodic measurements and enables single-shot measurements with the measureSingleShot function. The main loop waits for fresh data from the SCD41 and then prints out CO2, temperature, and humidity data whenever it is available.
Example 6 Arduino Code
/*
  SCD41 Low Power Single Shot
  By: Paul Clark
  Based on earlier code by: Nathan Seidle
  SparkFun Electronics
  Date: June 3rd, 2021
  License: MIT. See license file for more information but you can
  basically do whatever you want with this code.

  Feel like supporting open source hardware?
  Buy a board from SparkFun! https://www.sparkfun.com/products/18365

  This example prints the current CO2 level, relative humidity, and temperature in C.

  Hardware Connections:
  Attach RedBoard to computer using a USB cable.
  Connect SCD40/41 to RedBoard using Qwiic cable.
  Open Serial Monitor at 115200 baud.
*/

#include <Wire.h>

#include "SparkFun_SCD4x_Arduino_Library.h" //Click here to get the library: http://librarymanager/All#SparkFun_SCD4x

SCD4x mySensor(SCD4x_SENSOR_SCD41); // Tell the library we have a SCD41 connected

void setup()
{
  Serial.begin(115200);
  Serial.println(F("SCD41 Example"));
  Wire.begin();

  //mySensor.enableDebugging(); // Uncomment this line to get helpful debug messages on Serial

  if (mySensor.begin(false, true, false) == false) // Do not start periodic measurements
  //measBegin_________/     |     |
  //autoCalibrate__________/      |
  //skipStopPeriodicMeasurements_/
  {
    Serial.println(F("Sensor not detected. Please check wiring. Freezing..."));
    while (1)
      ;
  }

  //Let's call measureSingleShot to start the first conversion
  bool success = mySensor.measureSingleShot();
  if (success == false)
  {
    Serial.println(F("measureSingleShot failed. Are you sure you have a SCD41 connected? Freezing..."));
    while (1)
      ;
  }
}

void loop()
{
  while (mySensor.readMeasurement() == false) // readMeasurement will return true when fresh data is available
  {
    Serial.print(F("."));
    delay(500);
  }

  Serial.println();

  Serial.print(F("CO2(ppm):"));
  Serial.print(mySensor.getCO2());

  Serial.print(F("\tTemperature(C):"));
  Serial.print(mySensor.getTemperature(), 1);

  Serial.print(F("\tHumidity(%RH):"));
  Serial.print(mySensor.getHumidity(), 1);

  Serial.println();

  mySensor.measureSingleShotRHTOnly(); // Request just the RH and the Temperature (should take 50ms)

  while (mySensor.readMeasurement() == false) // readMeasurement will return true when fresh data is available
  {
    Serial.print(F("."));
    delay(5);
  }

  Serial.println();

  Serial.print(F("Temperature(C):"));
  Serial.print(mySensor.getTemperature(), 1);

  Serial.print(F("\tHumidity(%RH):"));
  Serial.print(mySensor.getHumidity(), 1);

  Serial.println();

  mySensor.measureSingleShot(); // Request fresh data (should take 5 seconds)
}
Troubleshooting Tips
Need Help?
If you need technical assistance or more information on a product that is not working as you expected, we recommend heading on over to the SparkFun Technical Assistance page for some initial troubleshooting.
If you can't find what you need there, the SparkFun Forums is a great place to search product forums and ask questions.
Account Registration Required
If this is your first visit to our forum, you'll need to create a Forum Account to post questions.
Resources:
For more information about the SCD4X and these breakouts, check out the links below:
- Schematics:
- Eagle Files:
- Board Dimensions
- Datasheet (SCD4X)
- Qwiic Info Page
- SparkFun SCD4X Arduino Library
- Hardware GitHub Repo