Quick Start Guide
In this Quick Start Guide we'll go over how to connect the Non-Invasive Current Sensor - ADE7953 (Qwiic) to an Arduino development board along with a split-core current transformer using the board's 3.5mm TRRS jack to measure current from an AC load. This guide assumes users understand how to use the Arduino IDE and install libraries, assemble Qwiic circuits and measure AC loads with a current transformer. If you're not familiar with these topics, we recommend reading through the more detailed pages in the Hookup Guide.
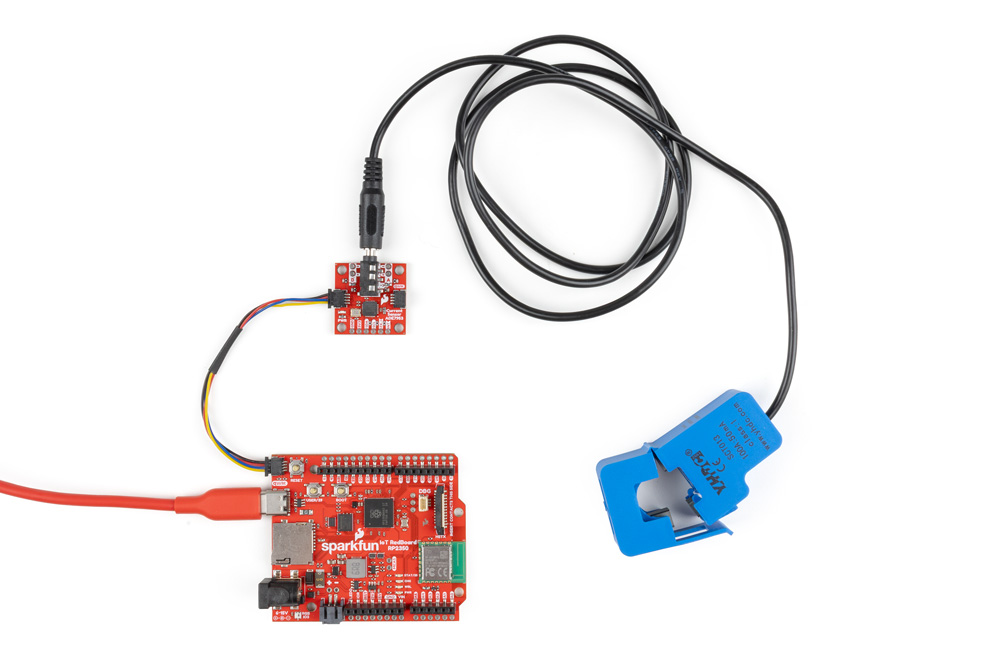
Current Sensing Assembly
- Connect the Non-Invasive Current Sensor to the RedBoard using a Qwiic cable.
- Plug the Split-Core Current Transformer into the 3.5mm TRRS jack on the Non-Invasive Current Sensor but leave the clamp open and disconnected from an AC load.
- Connect the board to a computer over USB.
- Have the wire for your AC load ready to insert into the Current Transformer's clamp once calibration in the Arduino example finishes.
[ ]
]
Arduino Example
Now we'll use the first example in the SparkFun ADE7953 Arduino library to configure and calibrate the sensor and then print out measured current in Amps.
- Open the Arduino IDE.
- Using the Arduino Library Manager, install the SparkFun ADE7953 Arduino Library by searching for "SparkFun ADE7953".
- Note: This library was built with the SparkFun Toolkit Library. Make sure to have the SparkFun Toolkit installed as well.
- Open "Example01_BasicCurrentReading". Select your Board and Port and click the Upload button.
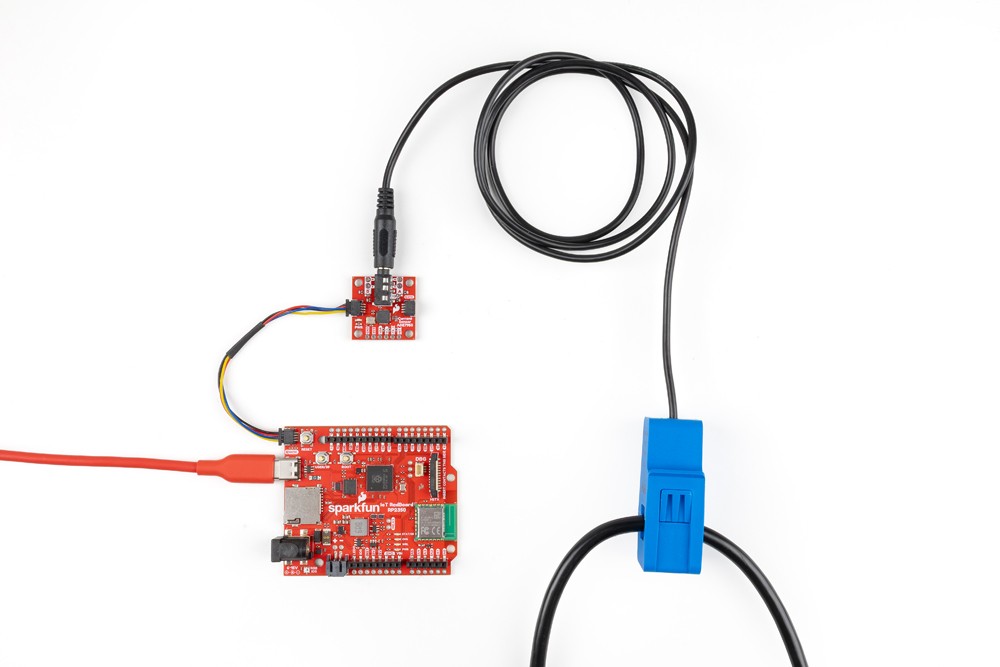
- After the code finishes uploading, open the serial monitor with the baud set to 115200. You should see the code initialize the sensor on the bus and begin auto calibration to zero out the noise floor. Make sure the clamp is open during calibration. Once the code finishes calibration and prints out "Calibration done. Reading current...", close the clamp around your AC load and you'll see current measurements in Amps print out every 250ms.
[ ]
]
As the name suggests, this is the most basic example in the ADE7953 library. The other examples cover how to use other features like zero-crossing, interrupt handling and detailed calibration to offset any noise floor. Read on to the Arduino Examples section for detailed information on most examples included in the library.