Introduction
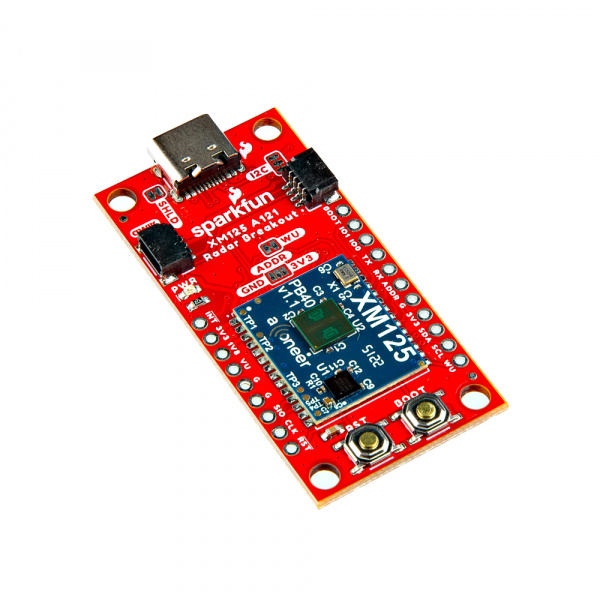
The SparkFun Qwiic Pulsed Coherent Radar Sensor features Acconeer's XM125 module and adds powerful 60 GHz radar technology to your projects. This sensor isn't limited to surface detection; it can see through walls, cabinets, and even pockets (depending on the material), making it perfect for unique applications. Measure distances with millimeter precision, detect motion, the speed of an object, or even gestures!
The XM125 boasts an impressive range of up to 20 meters, allowing you to create long-range sensing projects. The actual measurable distance is dependent on the object size, shape, dielectric properties, and lens (e.g. water level measurements up to 20 meters with lens utilization, human presence detection up to 7 meters with lens-free utilization). Despite its power, the sensor has remarkably low in power consumption, which is ideal for battery-powered applications. The real magic lies in the sensor's ability to do more than measure distance. The XM125 can differentiate between stationary objects and moving targets using pulsed coherent radar. This means you can sense an object's presence and how fast it is moving.
In this tutorial, we'll go over the hardware and how to hookup the breakout board. We will also go over a few basic Arduino examples to get started!
Required Materials
To follow along with this tutorial, you will need the following materials at a minimum. You may not need everything though depending on what you have. Add it to your cart, read through the guide, and adjust the cart as necessary.
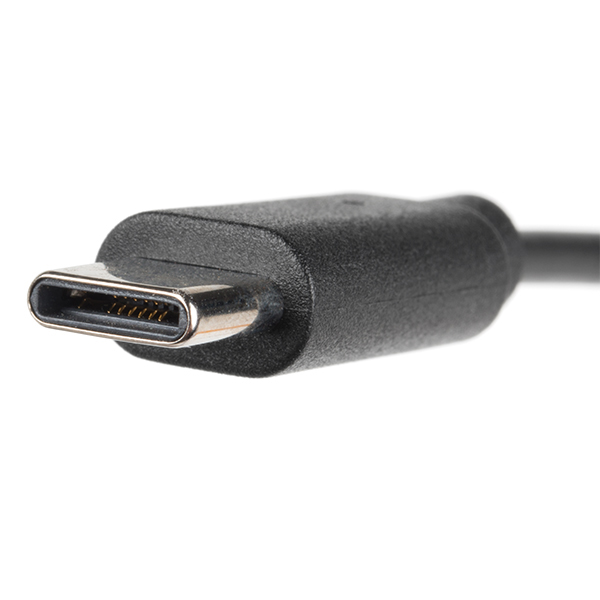
- 1x Reversible USB A to C Cable - 0.8m [CAB-15425]
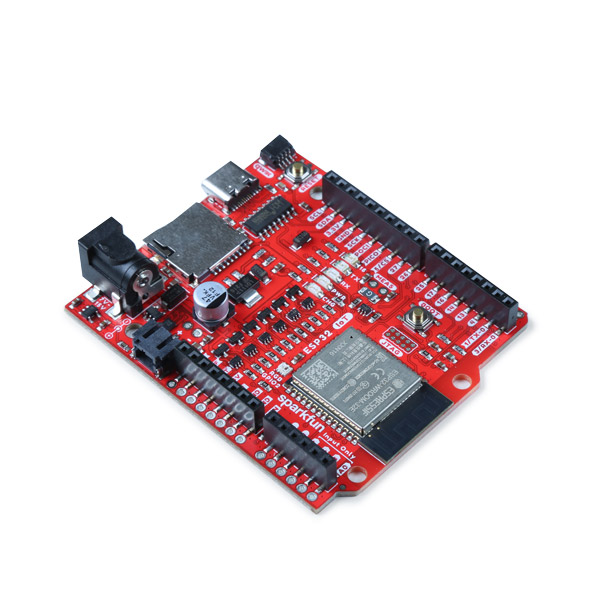
- 1x SparkFun IoT RedBoard - ESP32 Development Board [WRL-19177]
- 1x Flexible Qwiic Cable - 100mm [PRT-17259]
- 1x SparkFun Pulsed Coherent Radar Sensor - Acconeer XM125 (Qwiic) [SEN-24540]

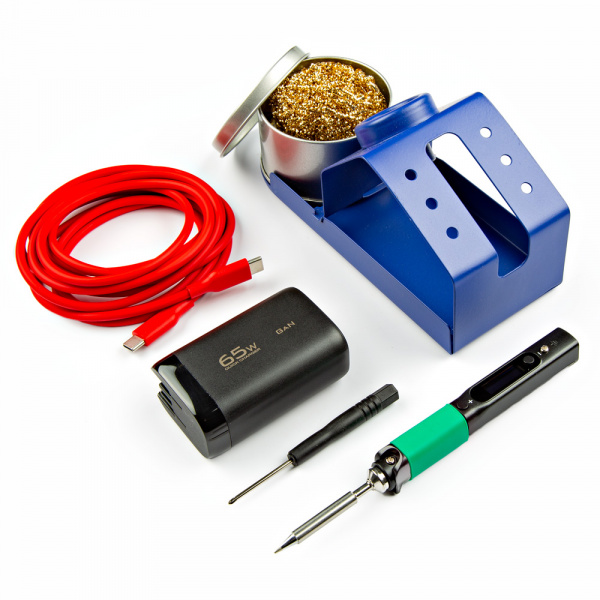
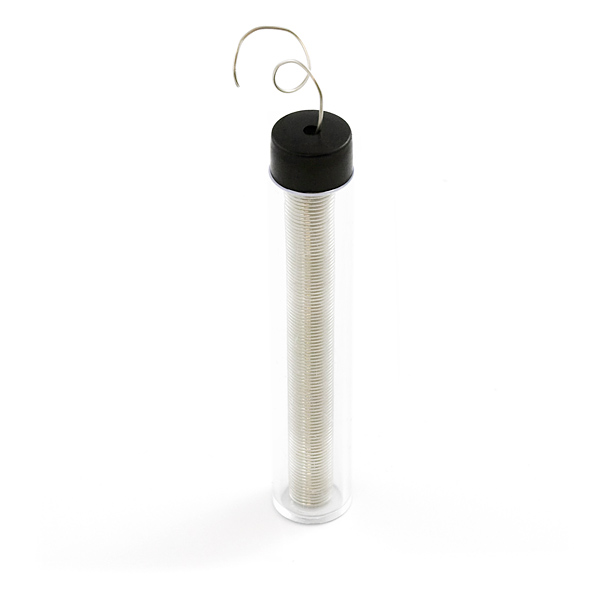
Tools (Optional)
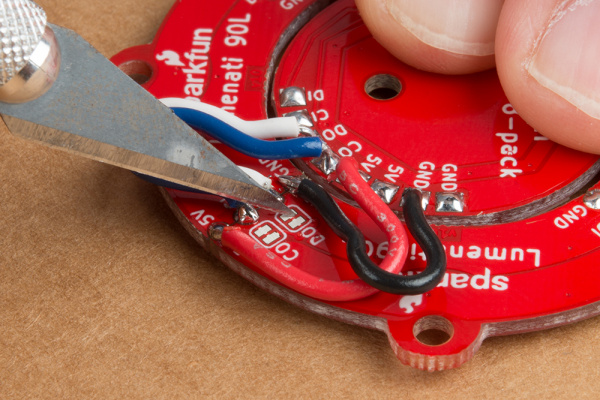
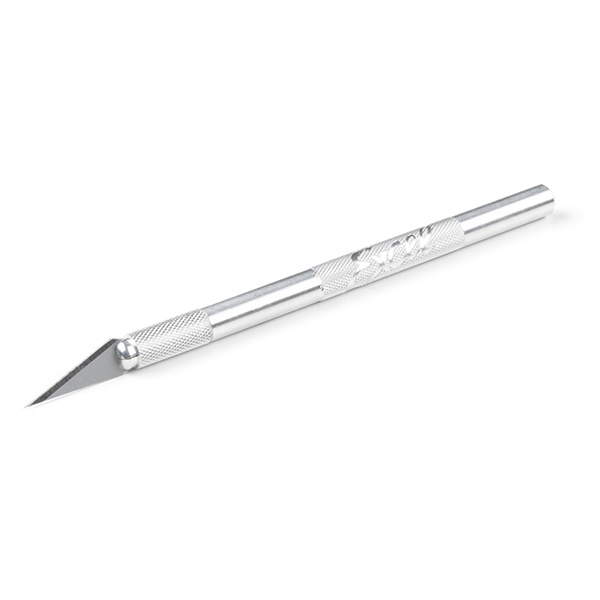
You will need a soldering iron, solder, and general soldering accessories for a secure connection when using the plated through holes. You may also need a hobby knife to modify the jumpers.


Note
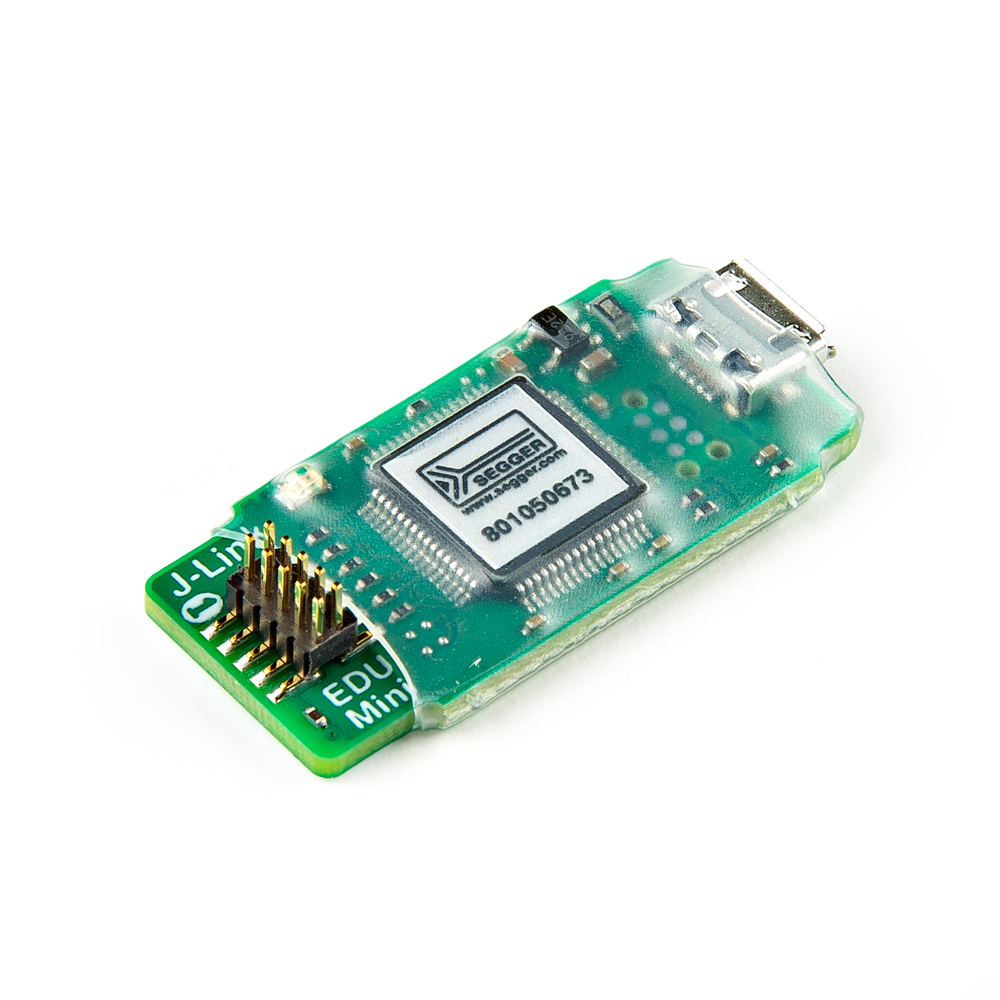
For advanced users, the Acconeer's XM125 Software User Guide recommends using a Segger J-Link debug probe. They list the J-Link BASE Compact or an ST-Link debugger. For users that are using the XM125 module for hobby or educational use, you can also use the Segger J-Link EDU Mini. The J-Link EDU Mini is a stripped-down, budget-friendly model of the J-Link debug probe created for educational use. Even with its reduced size, it maintains the J-Link features.
Prototyping Accessories (Optional)
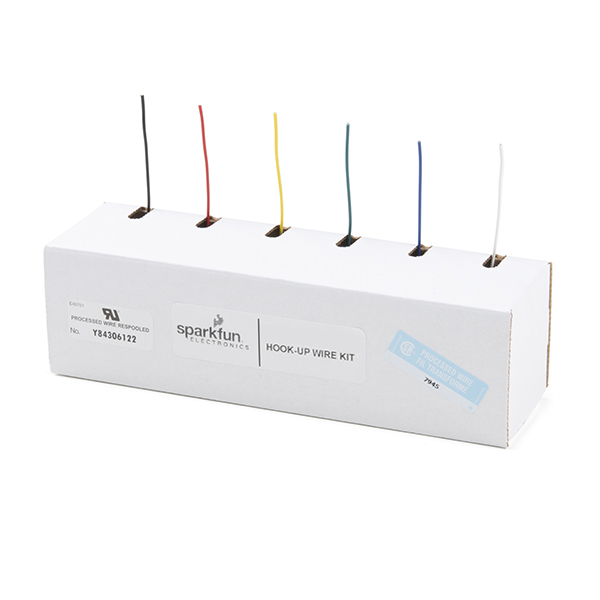
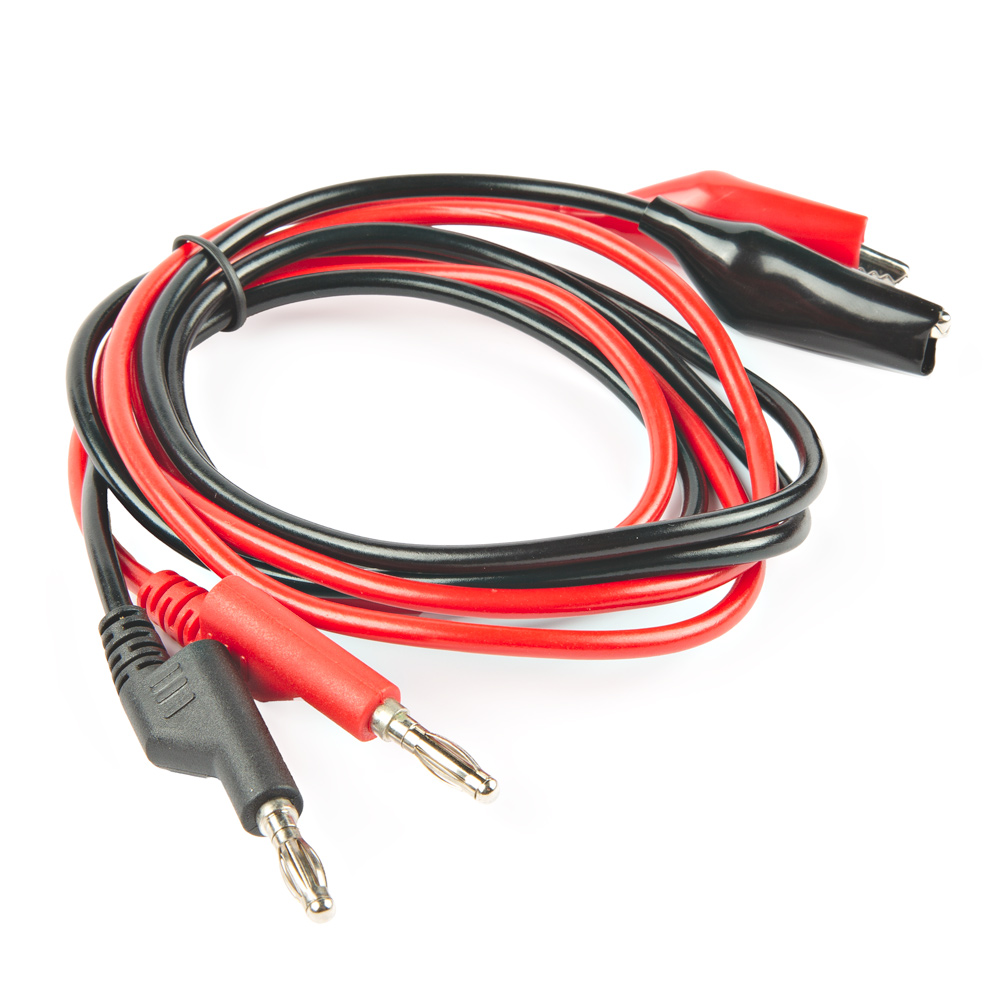
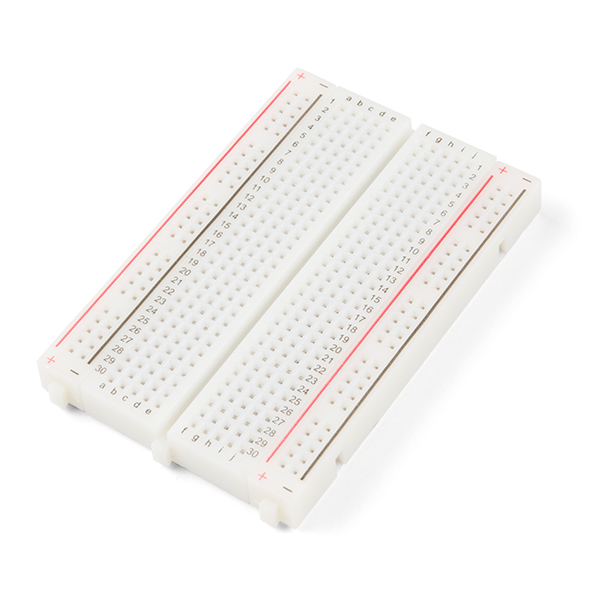
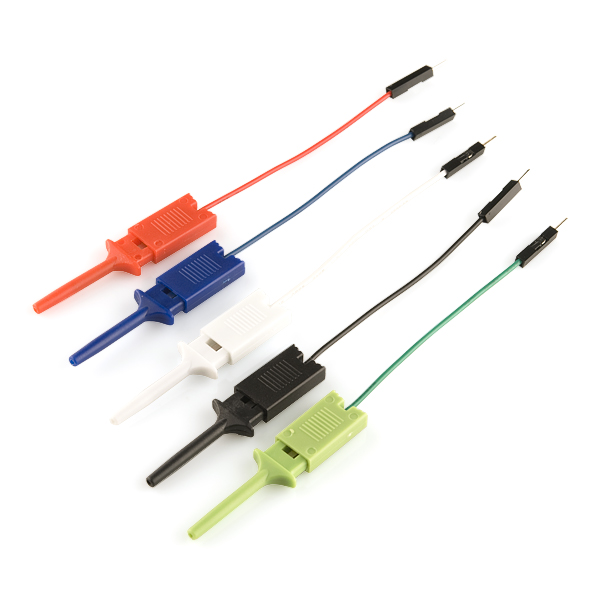
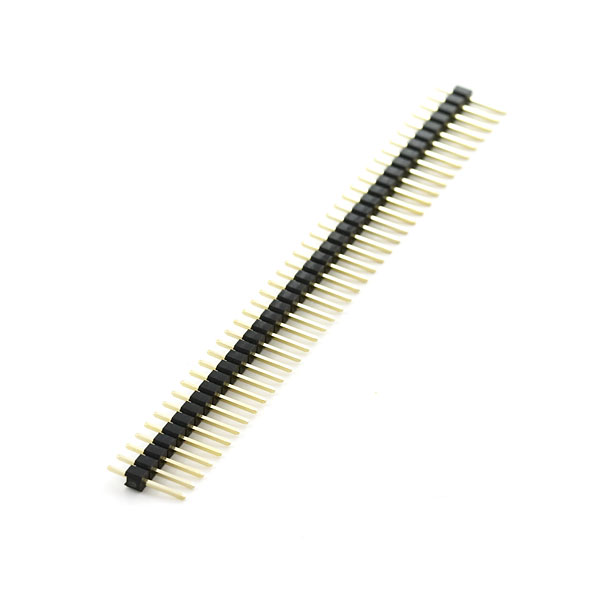
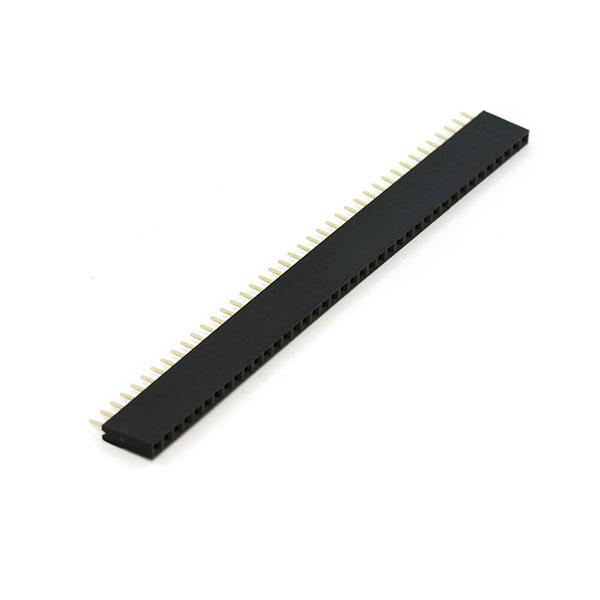
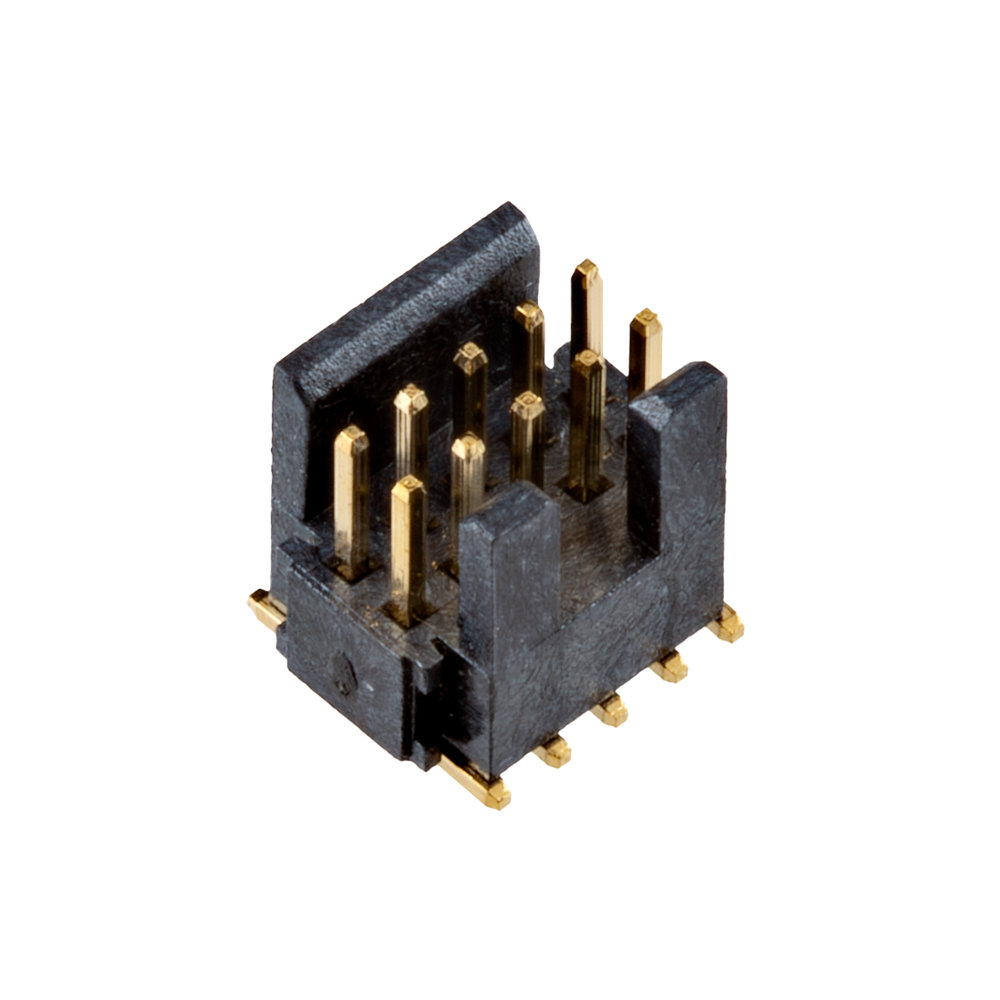
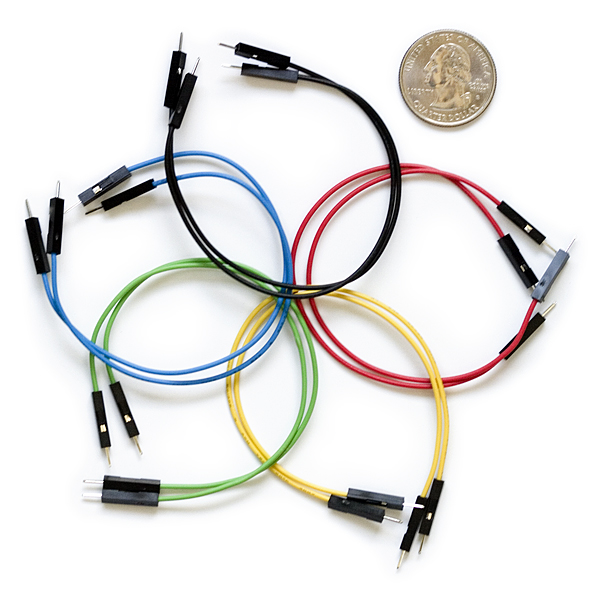
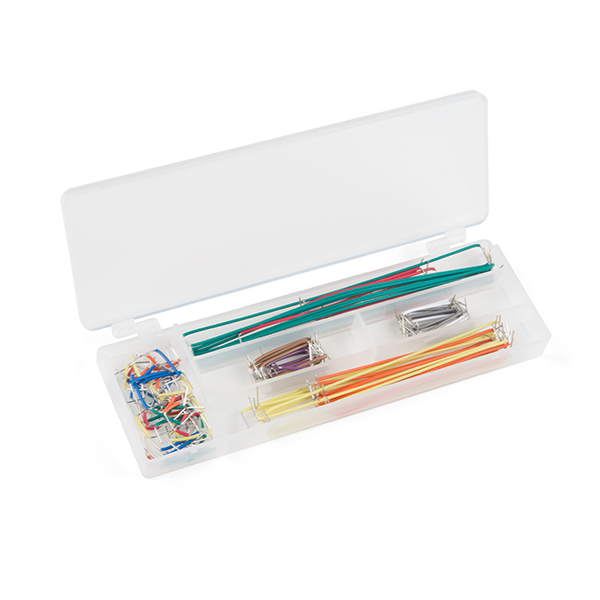
For users connecting to the PTHs, you will need the following prototyping accessories. You could use IC hooks for a temporary connection depending on your setup and what you have available. Of course, you will want to the solder header pins for a secure connection. Below are a few prototyping accessories that you may want to consider.
Suggested Reading
If you aren't familiar with the Qwiic Connection System, we recommend reading here for an overview.

If you aren’t familiar with the following concepts, we also recommend checking out a few of these tutorials before continuing.