Hardware Hookup
At a minimum, you will need to plug in the USB C cable to the SparkFun Thing Plus NORA-W306 to power and program the board.
 |
| USB Cable inserted into Thing Plus NORA-W306 |
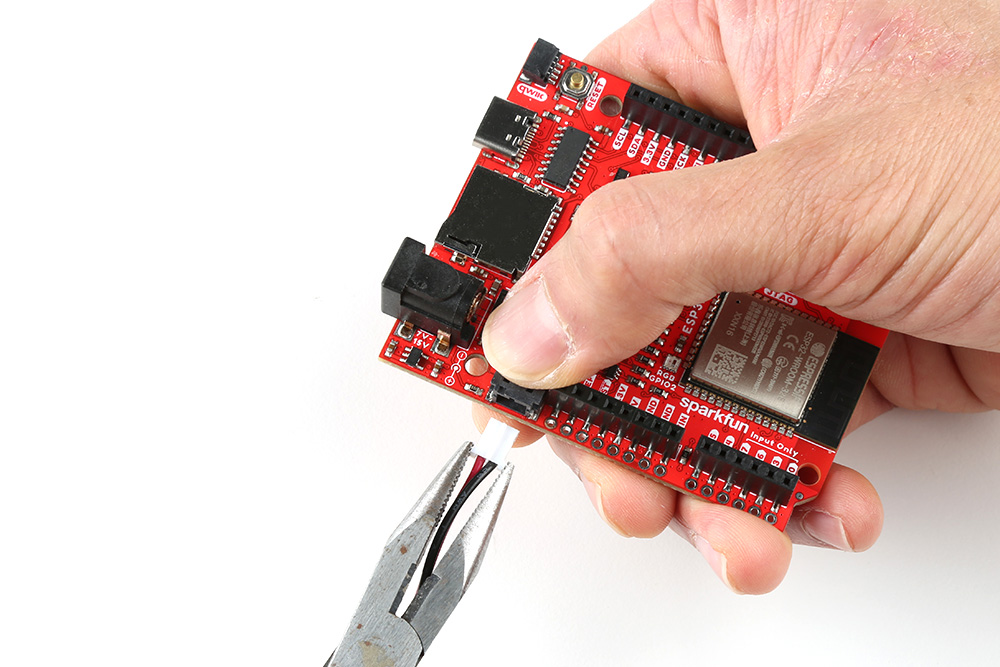
Single Cell LiPo Battery
Battery Polarity
Please make sure that you use one of our recommended Lithium Ion batteries. Some batteries use the same JST connector as ours but have the opposite polarity. Connecting one of these to your SparkFun Thing Plus NORA-W306 will destroy it. If you are going to use your own battery, it is up to you to ensure it has the correct polarity.
For remote applications, you can connect a standard single cell LiPo battery. The SparkFun Thing Plus NORA-W306 has a built-in charger too which will charge your battery at 500mA when a USB-C is connected. Please make sure your battery capacity is at least 500mAh (0.5Ah); bad things will happen if you try to charge smaller batteries using the board's default charge rate of 500mA. Of course, you can adjust the charge rate with the 3-way jumper on the back of the board. The yellow CHG charging LED will light up while the battery is charging and will turn off once charging is complete.
 |
| Battery Connected |
The MCP73831 charge IC on the board is used on a few SparkFun products. For more information about the CHG status LED, we recommend taking look at the Hardware Overview. We also recommend taking a look at this tutorial for Single Cell LiPo Battery Care.
Inserting a MicroSD Card
For those that need to store data, you can add a microSD card to your application. You will just need to insert a microSD card with the metal contacts facing the board and into the socket on the back. Compared to other microSD cards sockets in sparkFun's storefront, this will not have a click to lock the memory card in place. Just make sure to fully insert the memory card.
 |
| MicroSD Card in Socket |
You should only insert or remove the SD card while the power is turned off or disconnected. Removing the card while the SparkFun Thing Plus NORA-W306 is powered will almost certainly corrupt your data.
Connecting via Qwiic
For users that want to connect a Qwiic-enabled device, you will simply need to insert a cable between the Qwiic connectors. Then insert a USB cable between the microcontroller and your computer to power and program.
 |
| Qwiic-enabled Device Connected to Thing Plus NORA-W306 |
Connecting via PTH
For temporary connections to the PTHs, you could use IC hooks to test out the pins. However, you'll need to solder headers or wires of your choice to the board for a secure connection. You can choose between a combination of header pins and jumper wires, or stripping wire and soldering the wire directly to the board.

