I2C
Device Scan
This sketch allows users to scan for devices connected to the primary I2C bus of the RAM5 Thing Plus. The example code can be found in the GitHub repository. However, users can also simply click on the button (below), to download the code; or expand the box (below), to copy the code.
i2c_scanner.ino
// --------------------------------------
// i2c_scanner
//
// Modified from https://playground.arduino.cc/Main/I2cScanner/
// --------------------------------------

#include <Wire.h>

// Set I2C bus to use: Wire, Wire1, etc.
#define WIRE Wire

int toggle = 0;

void setup() {
  WIRE.begin();

  pinMode(8, OUTPUT);

  Serial.begin(115200);
  while (!Serial)
    delay(10);
  Serial.println("\nI2C Scanner");
}


void loop() {
  if (toggle == 0) {
    digitalWrite(8, HIGH);
    toggle = 1;
  } else {
    digitalWrite(8, LOW);
    toggle = 0;
  }


  byte error, address;
  int nDevices;

  Serial.println("Scanning...");

  nDevices = 0;
  for (address = 1; address < 127; address++) {
    // The i2c_scanner uses the return value of
    // the Write.endTransmisstion to see if
    // a device did acknowledge to the address.
    WIRE.beginTransmission(address);
    error = WIRE.endTransmission();

    if (error == 0) {
      Serial.print("I2C device found at address 0x");
      if (address < 16)
        Serial.print("0");
      Serial.print(address, HEX);
      Serial.println("  !");

      nDevices++;
    } else if (error == 4) {
      Serial.print("Unknown error at address 0x");
      if (address < 16)
        Serial.print("0");
      Serial.println(address, HEX);
    }
  }
  if (nDevices == 0)
    Serial.println("No I2C devices found\n");
  else
    Serial.println("done\n");

  delay(700);  // wait 5 seconds for next scan
}
Peripheral Devices
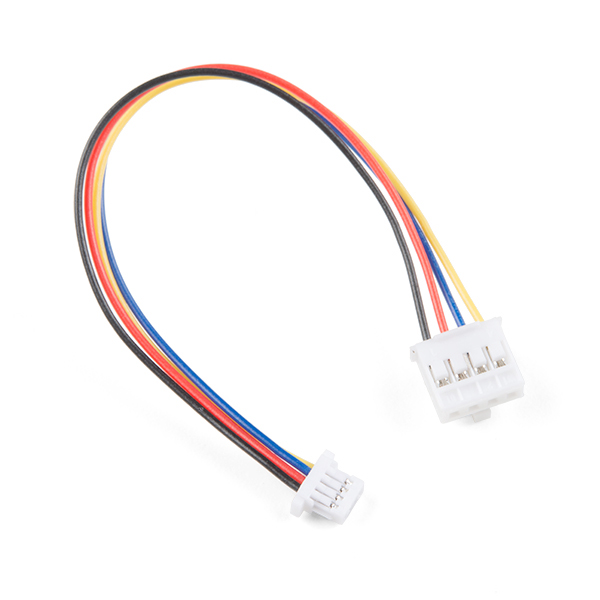
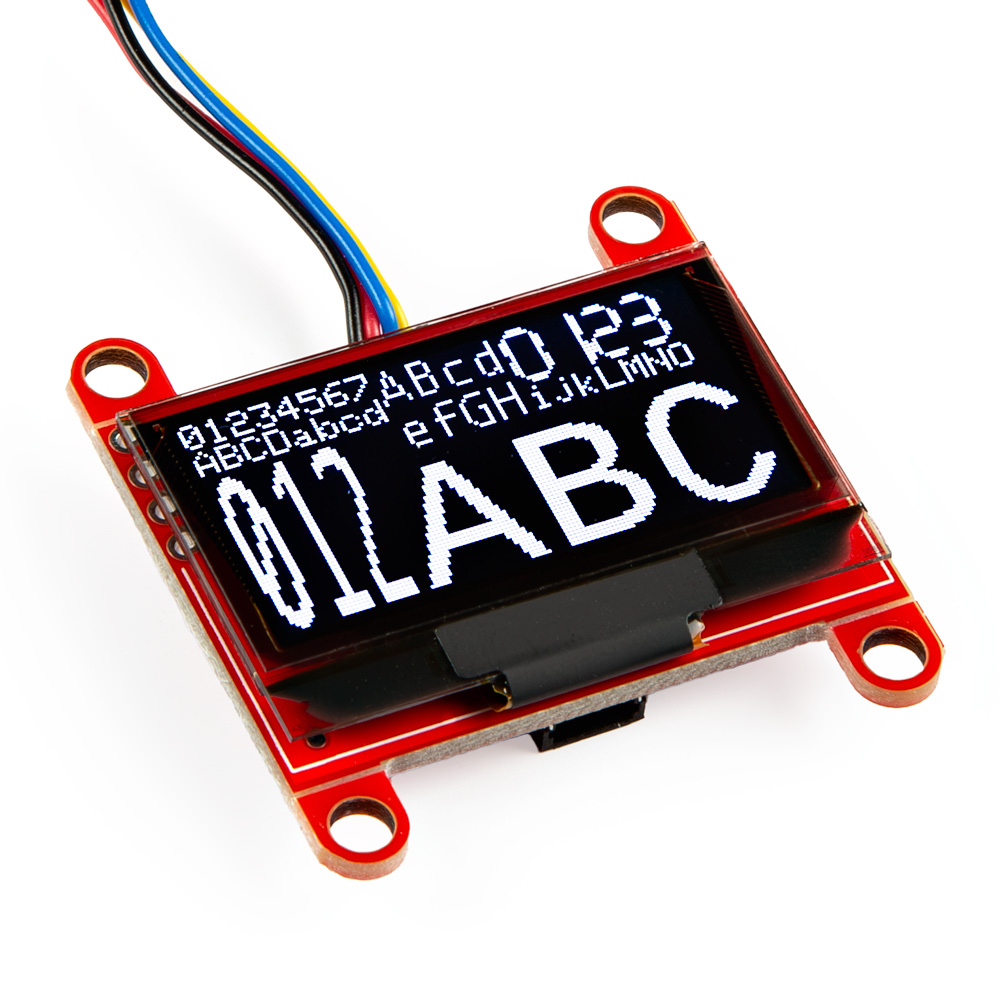
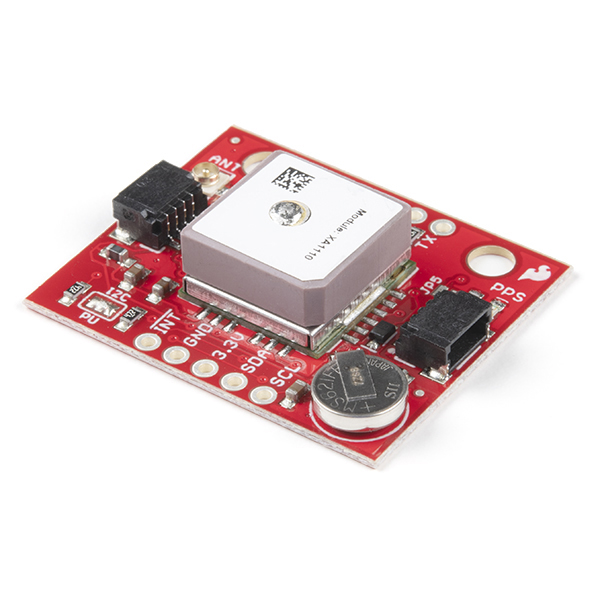
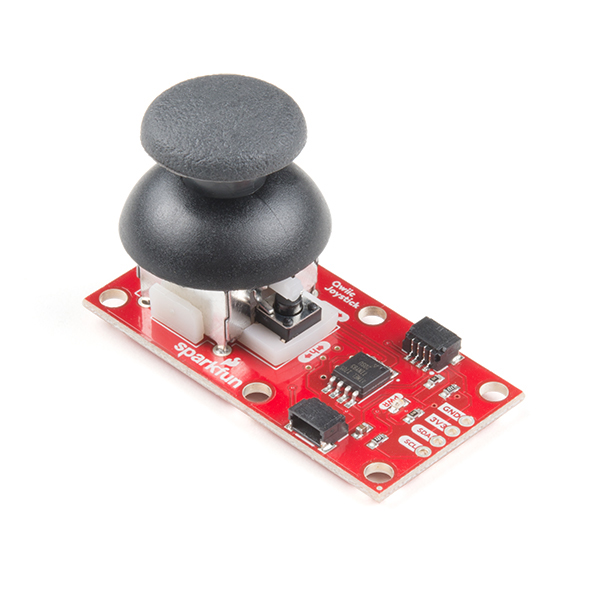
The RA6M5 Thing Plus features a Qwiic connector to seamlessly integrate with devices from SparkFun's Qwiic Ecosystem. While users are free to utilize any I2C device, we recommend the Qwiic devices from our catalog.
Optional Hardware
-
SparkFun Qwiic Cable Kit
KIT-15081 -
Qwiic Cable - Grove Adapter (100mm)
PRT-15109 -
SparkFun Qwiic OLED - (1.3in., 128x64)
LCD-23453 -
SparkFun GPS Breakout - XA1110 (Qwiic)
GPS-14414 -
SparkFun Qwiic Joystick
COM-15168 -
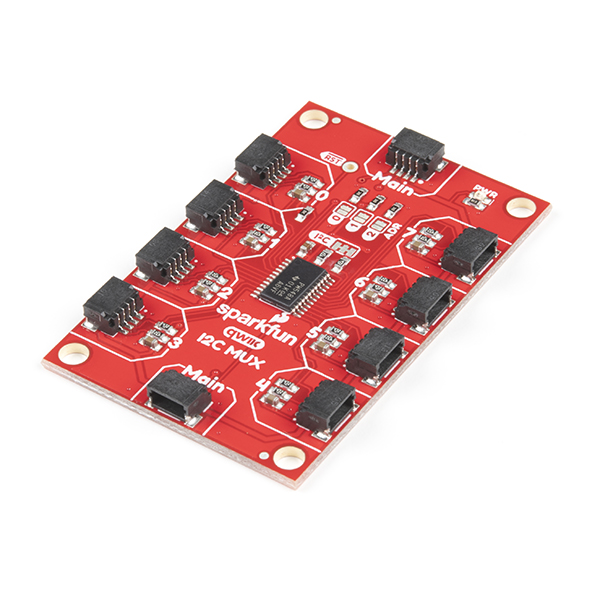
SparkFun Qwiic Mux Breakout - 8 Channel (TCA9548A)
BOB-16784 -
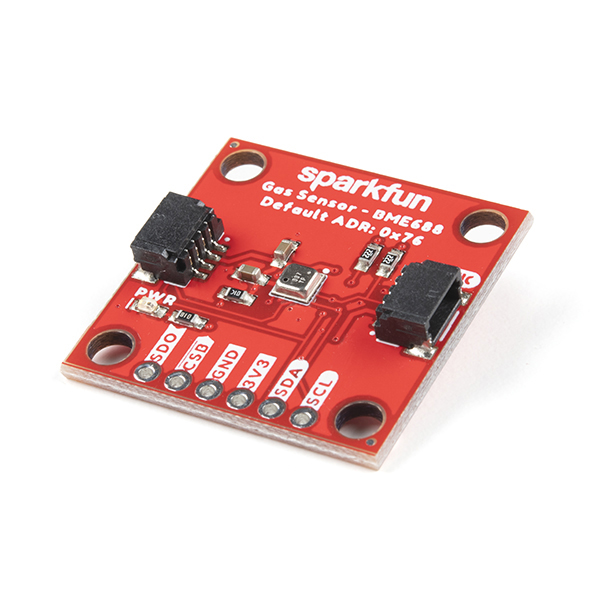
SparkFun Environmental Sensor - BME688 (Qwiic)
SEN-19096 -
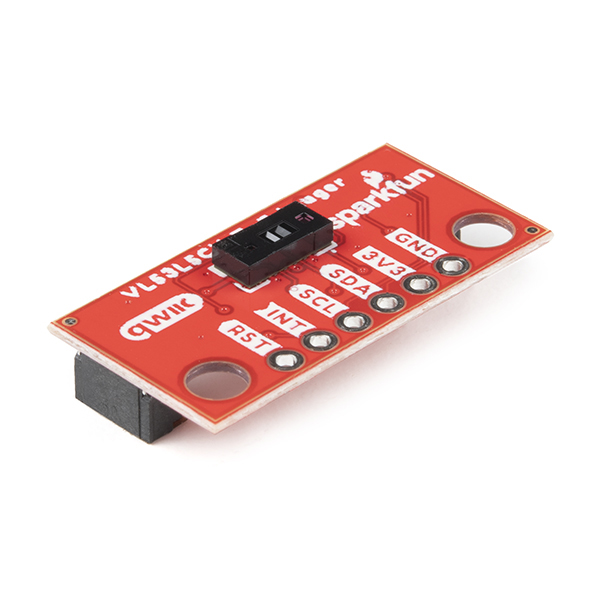
SparkFun Qwiic Mini ToF Imager - VL53L5CX
SEN-19013
MAX17048 Fuel Gauge
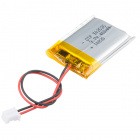
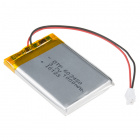
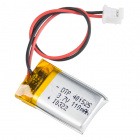
The MAX17048 fuel gauge measures the approximate charge/discharge rate, state of charge, and voltage of a connected LiPo battery. We recommend the SparkFun MAX1704x Arduino library be utilized in the Arduino IDE, to connect to the MAX17048 on the RA6M5 Thing Plus. Once the library is installed in the Arduino IDE, users will find several example sketches listed in the File > Examples > SparkFun MAX1704x Fuel Gauge Arduino Library > drop-down menu. We recommend the following examples for users:
Example1_Simple.inoExample4_MAX17048_KitchenSink.ino
Optional Hardware
Users can find this sketch in the File > Examples > SparkFun MAX1704x Fuel Gauge Arduino Library > Example1_Simple drop-down menu.
Example1_Simple.ino
/******************************************************************************
Example1_Simple
By: Paul Clark
Date: October 23rd 2020

Based extensively on:
MAX17043_Simple_Serial.cpp
SparkFun MAX17043 Example Code
Jim Lindblom @ SparkFun Electronics
Original Creation Date: June 22, 2015

This file demonstrates the simple API of the SparkFun MAX17043 Arduino library.

This example will print the gauge's voltage and state-of-charge (SOC) readings
to Serial (115200 baud)

This code is released under the MIT license.

Distributed as-is; no warranty is given.
******************************************************************************/

#include <Wire.h> // Needed for I2C

#include <SparkFun_MAX1704x_Fuel_Gauge_Arduino_Library.h> // Click here to get the library: http://librarymanager/All#SparkFun_MAX1704x_Fuel_Gauge_Arduino_Library

SFE_MAX1704X lipo; // Defaults to the MAX17043

//SFE_MAX1704X lipo(MAX1704X_MAX17043); // Create a MAX17043
//SFE_MAX1704X lipo(MAX1704X_MAX17044); // Create a MAX17044
//SFE_MAX1704X lipo(MAX1704X_MAX17048); // Create a MAX17048
//SFE_MAX1704X lipo(MAX1704X_MAX17049); // Create a MAX17049

double voltage = 0; // Variable to keep track of LiPo voltage
double soc = 0; // Variable to keep track of LiPo state-of-charge (SOC)
bool alert; // Variable to keep track of whether alert has been triggered

void setup()
{
    Serial.begin(115200); // Start serial, to output debug data
  while (!Serial)
    ; //Wait for user to open terminal
  Serial.println(F("MAX17043 Example"));

  Wire.begin();

  lipo.enableDebugging(); // Uncomment this line to enable helpful debug messages on Serial

  // Set up the MAX17043 LiPo fuel gauge:
  if (lipo.begin() == false) // Connect to the MAX17043 using the default wire port
  {
    Serial.println(F("MAX17043 not detected. Please check wiring. Freezing."));
    while (1)
      ;
  }

    // Quick start restarts the MAX17043 in hopes of getting a more accurate
    // guess for the SOC.
    lipo.quickStart();

    // We can set an interrupt to alert when the battery SoC gets too low.
    // We can alert at anywhere between 1% - 32%:
    lipo.setThreshold(20); // Set alert threshold to 20%.
}

void loop()
{
  // lipo.getVoltage() returns a voltage value (e.g. 3.93)
  voltage = lipo.getVoltage();
  // lipo.getSOC() returns the estimated state of charge (e.g. 79%)
  soc = lipo.getSOC();
  // lipo.getAlert() returns a 0 or 1 (0=alert not triggered)
  alert = lipo.getAlert();

  // Print the variables:
  Serial.print("Voltage: ");
  Serial.print(voltage);  // Print the battery voltage
  Serial.println(" V");

  Serial.print("Percentage: ");
  Serial.print(soc); // Print the battery state of charge
  Serial.println(" %");

  Serial.print("Alert: ");
  Serial.println(alert);
  Serial.println();

  delay(500);
}
Users can find this sketch in the File > Examples > SparkFun MAX1704x Fuel Gauge Arduino Library > Example4_MAX17048_KitchenSink drop-down menu.
Example4_MAX17048_KitchenSink.ino
/******************************************************************************
Example4: test all the things on the MAX17048
By: Paul Clark, SparkFun Electronics
Date: October 23rd 2020

This example is an everything-but-the-kitchen-sink test of the MAX17048.

This code is released under the MIT license.

Distributed as-is; no warranty is given.
******************************************************************************/

#include <Wire.h> // Needed for I2C

#include <SparkFun_MAX1704x_Fuel_Gauge_Arduino_Library.h> // Click here to get the library: http://librarymanager/All#SparkFun_MAX1704x_Fuel_Gauge_Arduino_Library

SFE_MAX1704X lipo(MAX1704X_MAX17048); // Create a MAX17048

void setup()
{
    Serial.begin(115200); // Start serial, to output debug data
  while (!Serial)
    ; //Wait for user to open terminal
  Serial.println(F("MAX17048 Example"));

  Wire.begin();

  lipo.enableDebugging(); // Uncomment this line to enable helpful debug messages on Serial

  // Set up the MAX17048 LiPo fuel gauge:
  if (lipo.begin() == false) // Connect to the MAX17048 using the default wire port
  {
    Serial.println(F("MAX17048 not detected. Please check wiring. Freezing."));
    while (1)
      ;
  }

  // Just because we can, let's reset the MAX17048
  Serial.println(F("Resetting the MAX17048..."));
  delay(1000); // Give it time to get its act back together

  // Read and print the reset indicator
  Serial.print(F("Reset Indicator was: "));
  bool RI = lipo.isReset(true); // Read the RI flag and clear it automatically if it is set
  Serial.println(RI); // Print the RI
  // If RI was set, check it is now clear
  if (RI)
  {
    Serial.print(F("Reset Indicator is now: "));
    RI = lipo.isReset(); // Read the RI flag
    Serial.println(RI); // Print the RI
  }

  // To quick-start or not to quick-start? That is the question!
  // Read the following and then decide if you do want to quick-start the fuel gauge.
  // "Most systems should not use quick-start because the ICs handle most startup problems transparently,
  //  such as intermittent battery-terminal connection during insertion. If battery voltage stabilizes
  //  faster than 17ms then do not use quick-start. The quick-start command restarts fuel-gauge calculations
  //  in the same manner as initial power-up of the IC. If the system power-up sequence is so noisy that the
  //  initial estimate of SOC has unacceptable error, the system microcontroller might be able to reduce the
  //  error by using quick-start."
  // If you still want to try a quick-start then uncomment the next line:
    //lipo.quickStart();

  // Read and print the device ID
  Serial.print(F("Device ID: 0x"));
  uint8_t id = lipo.getID(); // Read the device ID
  if (id < 0x10) Serial.print(F("0")); // Print the leading zero if required
  Serial.println(id, HEX); // Print the ID as hexadecimal

  // Read and print the device version
  Serial.print(F("Device version: 0x"));
  uint8_t ver = lipo.getVersion(); // Read the device version
  if (ver < 0x10) Serial.print(F("0")); // Print the leading zero if required
  Serial.println(ver, HEX); // Print the version as hexadecimal

  // Read and print the battery threshold
  Serial.print(F("Battery empty threshold is currently: "));
  Serial.print(lipo.getThreshold());
  Serial.println(F("%"));

    // We can set an interrupt to alert when the battery SoC gets too low.
    // We can alert at anywhere between 1% and 32%:
    lipo.setThreshold(20); // Set alert threshold to 20%.

  // Read and print the battery empty threshold
  Serial.print(F("Battery empty threshold is now: "));
  Serial.print(lipo.getThreshold());
  Serial.println(F("%"));

  // Read and print the high voltage threshold
  Serial.print(F("High voltage threshold is currently: "));
  float highVoltage = ((float)lipo.getVALRTMax()) * 0.02; // 1 LSb is 20mV. Convert to Volts.
  Serial.print(highVoltage, 2);
  Serial.println(F("V"));

  // Set the high voltage threshold
  lipo.setVALRTMax((float)4.1); // Set high voltage threshold (Volts)

  // Read and print the high voltage threshold
  Serial.print(F("High voltage threshold is now: "));
  highVoltage = ((float)lipo.getVALRTMax()) * 0.02; // 1 LSb is 20mV. Convert to Volts.
  Serial.print(highVoltage, 2);
  Serial.println(F("V"));

  // Read and print the low voltage threshold
  Serial.print(F("Low voltage threshold is currently: "));
  float lowVoltage = ((float)lipo.getVALRTMin()) * 0.02; // 1 LSb is 20mV. Convert to Volts.
  Serial.print(lowVoltage, 2);
  Serial.println(F("V"));

  // Set the low voltage threshold
  lipo.setVALRTMin((float)3.9); // Set low voltage threshold (Volts)

  // Read and print the low voltage threshold
  Serial.print(F("Low voltage threshold is now: "));
  lowVoltage = ((float)lipo.getVALRTMin()) * 0.02; // 1 LSb is 20mV. Convert to Volts.
  Serial.print(lowVoltage, 2);
  Serial.println(F("V"));

  // Enable the State Of Change alert
  Serial.print(F("Enabling the 1% State Of Change alert: "));
  if (lipo.enableSOCAlert())
  {
    Serial.println(F("success."));
  }
  else
  {
    Serial.println(F("FAILED!"));
  }

  // Read and print the HIBRT Active Threshold
  Serial.print(F("Hibernate active threshold is: "));
  float actThr = ((float)lipo.getHIBRTActThr()) * 0.00125; // 1 LSb is 1.25mV. Convert to Volts.
  Serial.print(actThr, 5);
  Serial.println(F("V"));

  // Read and print the HIBRT Hibernate Threshold
  Serial.print(F("Hibernate hibernate threshold is: "));
  float hibThr = ((float)lipo.getHIBRTHibThr()) * 0.208; // 1 LSb is 0.208%/hr. Convert to %/hr.
  Serial.print(hibThr, 3);
  Serial.println(F("%/h"));
}

void loop()
{
  // Print the variables:
  Serial.print("Voltage: ");
  Serial.print(lipo.getVoltage());  // Print the battery voltage
  Serial.print("V");

  Serial.print(" Percentage: ");
  Serial.print(lipo.getSOC(), 2); // Print the battery state of charge with 2 decimal places
  Serial.print("%");

  Serial.print(" Change Rate: ");
  Serial.print(lipo.getChangeRate(), 2); // Print the battery change rate with 2 decimal places
  Serial.print("%/hr");

  Serial.print(" Alert: ");
  Serial.print(lipo.getAlert()); // Print the generic alert flag

  Serial.print(" Voltage High Alert: ");
  Serial.print(lipo.isVoltageHigh()); // Print the alert flag

  Serial.print(" Voltage Low Alert: ");
  Serial.print(lipo.isVoltageLow()); // Print the alert flag

  Serial.print(" Empty Alert: ");
  Serial.print(lipo.isLow()); // Print the alert flag

  Serial.print(" SOC 1% Change Alert: ");
  Serial.print(lipo.isChange()); // Print the alert flag

  Serial.print(" Hibernating: ");
  Serial.print(lipo.isHibernating()); // Print the alert flag

  Serial.println();

  delay(500);
}
BME688 Environmental Sensor
Users are free to utilize any hardware they already have; however, we recommend the BME688 environmental sensor. The board includes a Qwiic connector on the edge of the board and can be easily attached to the RA6M5 Thing Plus with a Qwiic cable. In addition, a hookup guide and Arduino library for the sensor are available.
Optional Hardware
Install Arduino Library
Users will need to install the Bosch BME68x Arduino library for the sensor. In the Arduino IDE, users can install it by searching for BME68x Sensor Library, in the Library Manager:
BME68x Sensor Library
Users can find this sketch in the File > Examples > BME68x Sensor library > forced_mode drop-down menu. For more details on utilizing the BME68x breakout board, please refer to our hookup guide for the sensor.
forced_mode.ino
I2C Modifications
By default, this example utilizes the SPI bus; therefore, some modifications must be made:
-
The chip select pin no longer needs to be defined:
#ifndef PIN_CS #define PIN_CS SS #endif -
The I2C bus must be initialized, instead of the SPI bus:
SPI.begin();Wire.begin(); -
The sensor must be initialized with the Wire class, instead of the SPI class:
/* initializes the sensor based onSPIWire library */bme.begin(PIN_CS, SPI);bme.begin(BME68X_I2C_ADDR_LOW, Wire)
/**
 * Copyright (C) 2021 Bosch Sensortec GmbH
 *
 * SPDX-License-Identifier: BSD-3-Clause
 *
 */

#include "Arduino.h"
#include "bme68xLibrary.h"

#ifndef PIN_CS
#define PIN_CS SS
#endif

Bme68x bme;

/**
 * @brief Initializes the sensor and hardware settings
 */
void setup(void)
{
    SPI.begin();
    Serial.begin(115200);

    while (!Serial)
        delay(10);

    /* initializes the sensor based on SPI library */
    bme.begin(PIN_CS, SPI);

    if(bme.checkStatus())
    {
        if (bme.checkStatus() == BME68X_ERROR)
        {
            Serial.println("Sensor error:" + bme.statusString());
            return;
        }
        else if (bme.checkStatus() == BME68X_WARNING)
        {
            Serial.println("Sensor Warning:" + bme.statusString());
        }
    }

    /* Set the default configuration for temperature, pressure and humidity */
    bme.setTPH();

    /* Set the heater configuration to 300 deg C for 100ms for Forced mode */
    bme.setHeaterProf(300, 100);

    Serial.println("TimeStamp(ms), Temperature(deg C), Pressure(Pa), Humidity(%), Gas resistance(ohm), Status");
}

void loop(void)
{
    bme68xData data;

    bme.setOpMode(BME68X_FORCED_MODE);
    delayMicroseconds(bme.getMeasDur());

    if (bme.fetchData())
    {
        bme.getData(data);
        Serial.print(String(millis()) + ", ");
        Serial.print(String(data.temperature) + ", ");
        Serial.print(String(data.pressure) + ", ");
        Serial.print(String(data.humidity) + ", ");
        Serial.print(String(data.gas_resistance) + ", ");
        Serial.println(data.status, HEX);
    }
}

