Introduction
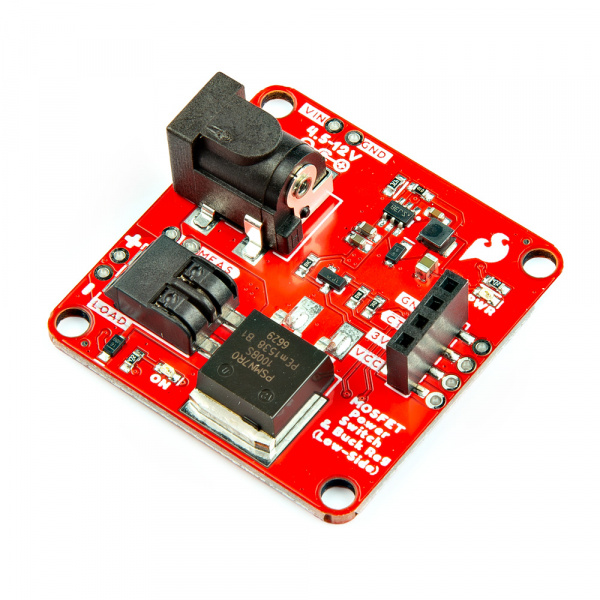
Does your microcontroller need to control a high voltage item, like a 12V LED strip, while needing to be powered as well? Do you want to avoid having multiple power adapters for your project and microcontroller? The MOSFET Power Switch and Buck Regulator (Low-Side) is one of those products that we needed ourselves at SparkFun, so we figured other folks may have the same problem. Power the board with up to 12V and control up to 10A, all while providing a sweet 3.3V to your control board.
In this tutorial, we will go over the hardware, how to connect to the board, and provide some Arduino examples.
Required Materials
To follow along with this tutorial, you will need the following materials. We made a general list below since there are several options available to connect to the MOSFET Power Control and Buck Regulator (Low-Side). We'll list the specific parts used in each of the examples later in the tutorial. You may not need everything though depending on what you have. Add it to your cart, read through the guide, and adjust the cart as necessary.
- 1x Microcontroller
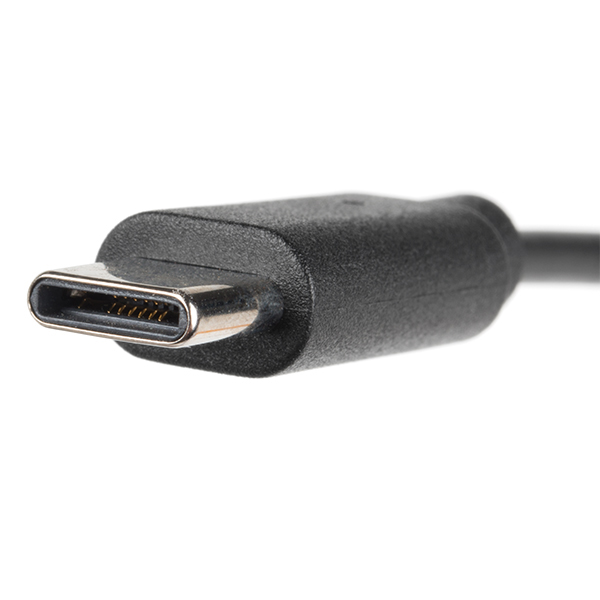
- 1x USB Cable
- 1x SparkFun MOSFET Power Switch and Buck Regulator (Low-Side)
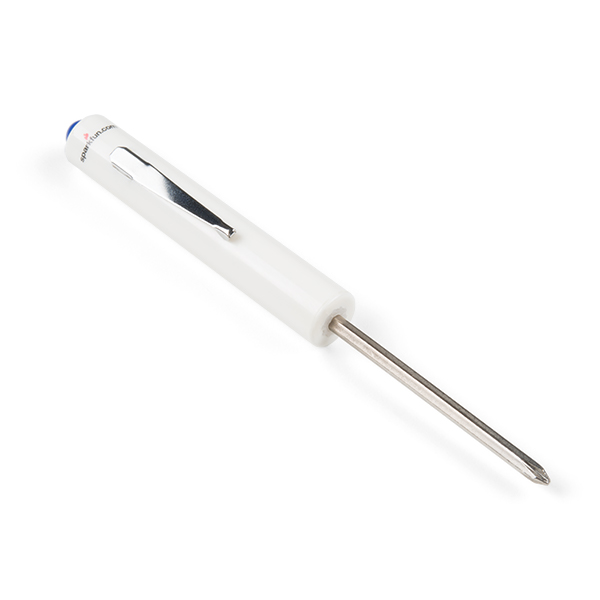
- 1x SparkFun Mini Screwdriver
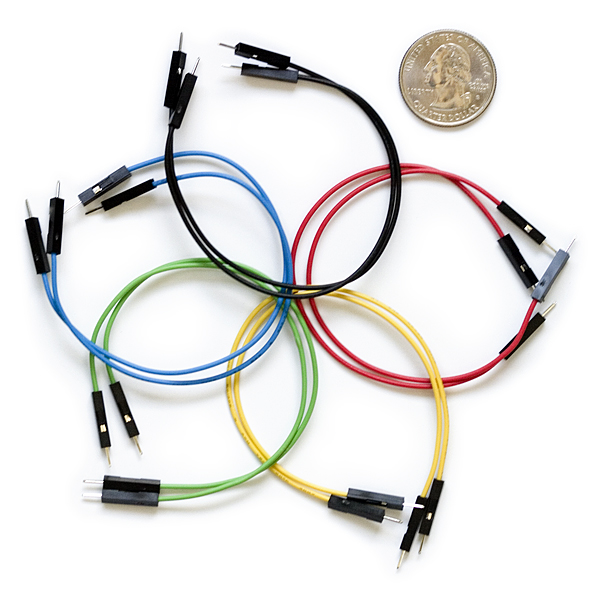
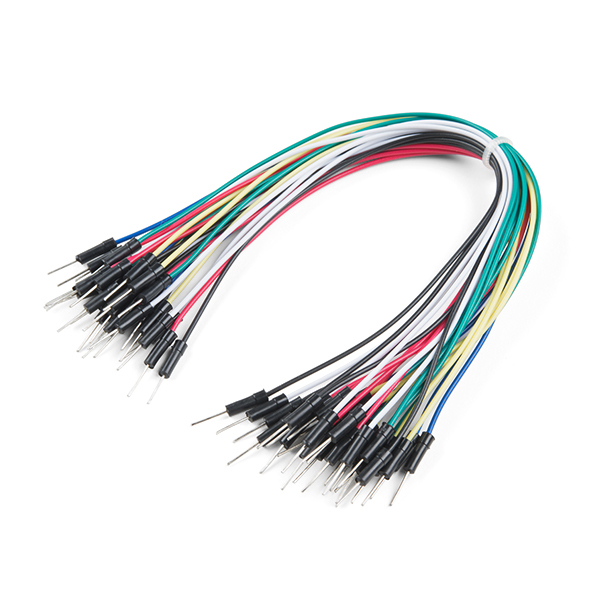
- 1x Pack of Jumper Wires
- 1x High Power Load
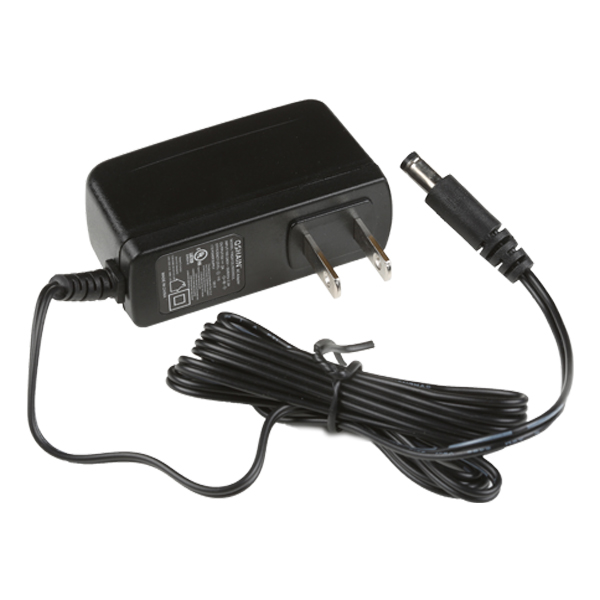
- 1x Wall Adapter
Microcontroller
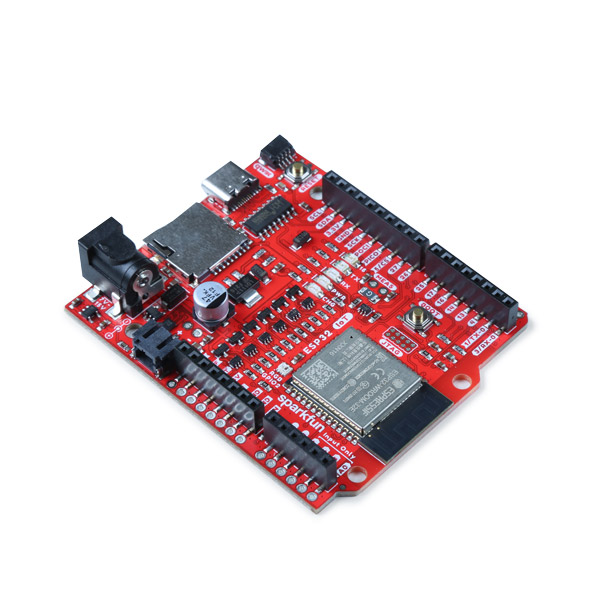
For the scope of the tutorial, we will be using an Arduino microcontroller. In this case, we will be using the SparkFun IoT RedBoard - ESP32. You can use any Arduino microcontroller with digital or PWM pins. Make sure to also include a USB cable that is compatible with your microcontroller.
Tip
The 3.3V output from the MOSFET Power Switch and Buck Regulator (Low-Side) provides another alternative to power microcontrollers that may not be able to accept higher voltages. For example, most of the Thing Plus Development Boards only accept a maximum of 6V at their VIN pin, and they most operate at 3.3V. So this board is especially handy in those use-cases. Additionally, even though the Arduino Pro Mini can accept up to 12V, this will require its onboard linear regulator to work very had to regulate that voltage down to 3.3V. Thus, this MOSFET Power Switch and Buck Regulator (Low-Side) would be the "cooler" choice.
Note
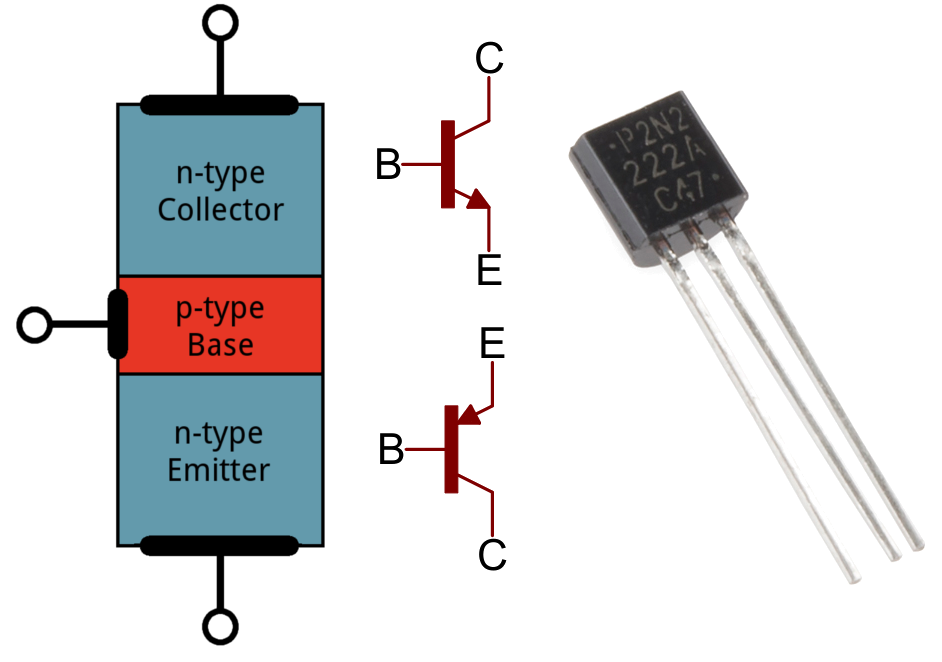
The tutorial focuses on using a microcontroller with Arduino. However, if your microcontroller has a digital or PWM, you can also control the N-channel MOSFET controller as well! You can also use this using a micro:bit with MakeCode or Raspberry Pi's RP2040 microcontroller with MicroPython!
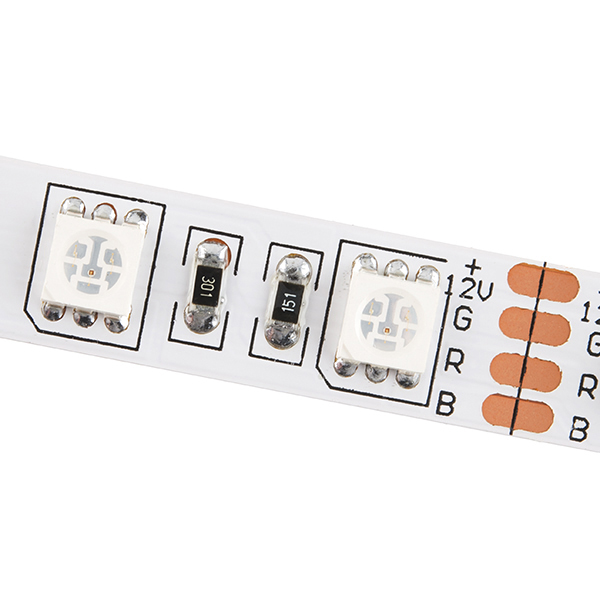
12V LEDs
The MOSFET Power Switch and Buck Regulator (Low-Side) can control 12V LEDs. For users with a 12V RGB LED strip, you can control one channel.
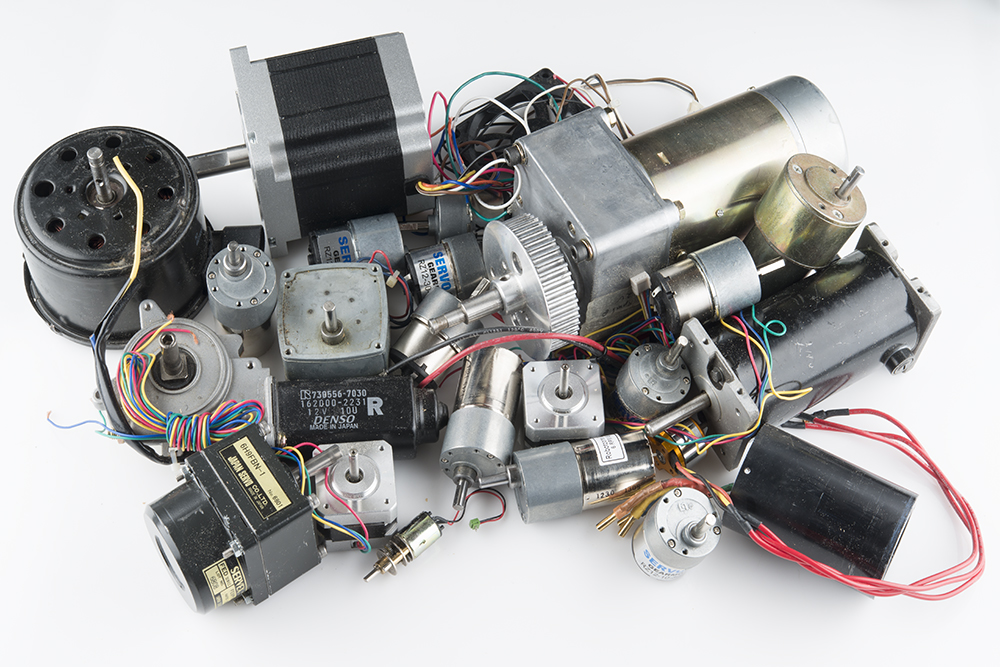
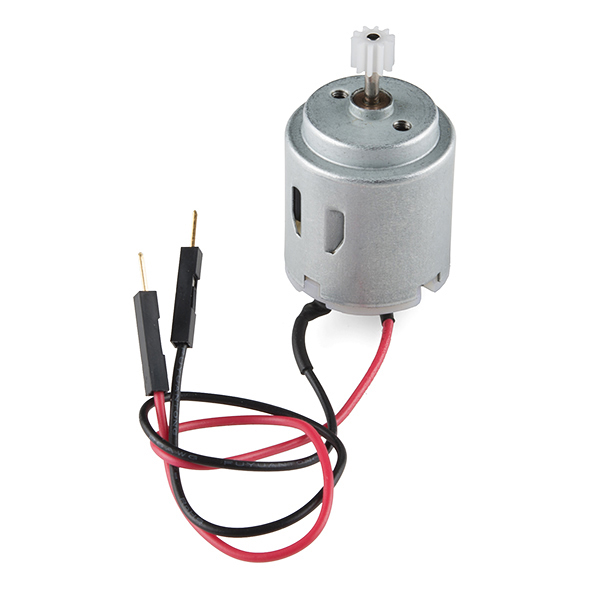
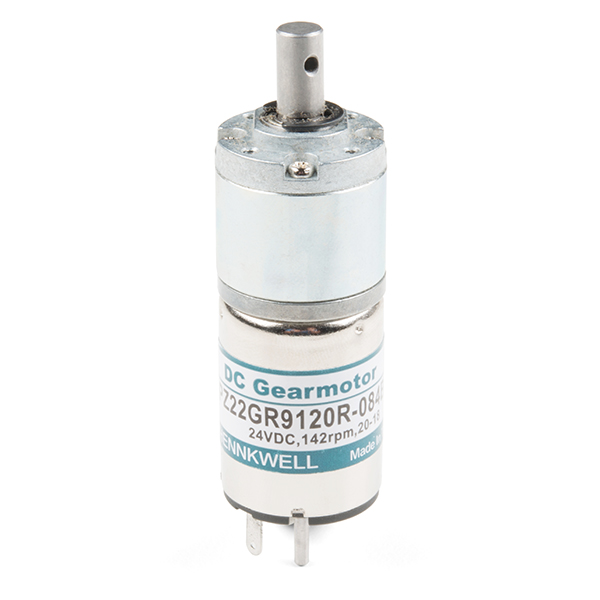
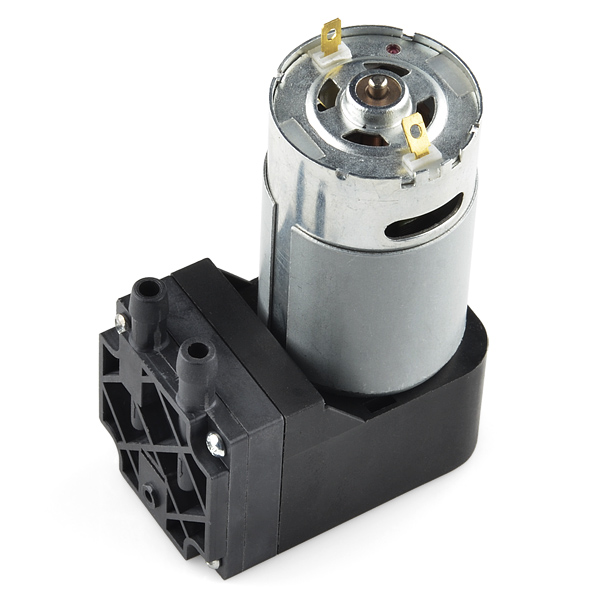
Motors
There are a variety of motors with different ratings. Below are a few different motors that you could use for users that just need a motor to spin in one direction.

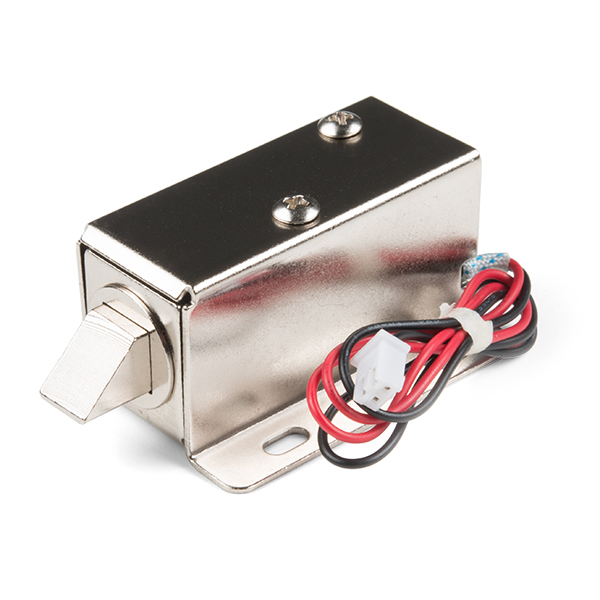
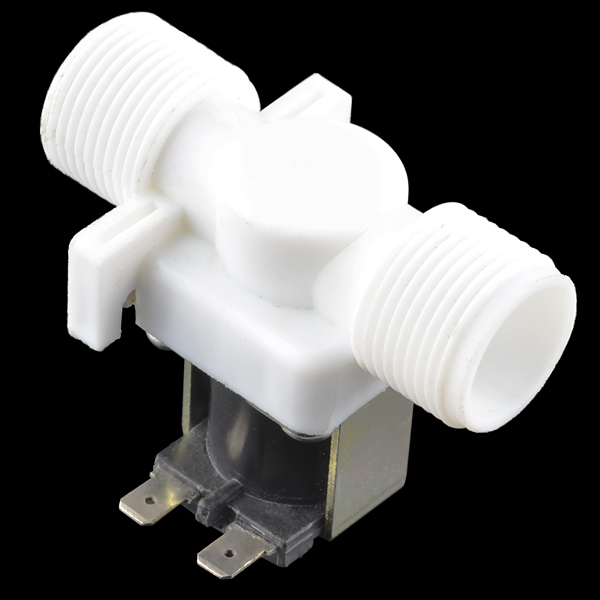
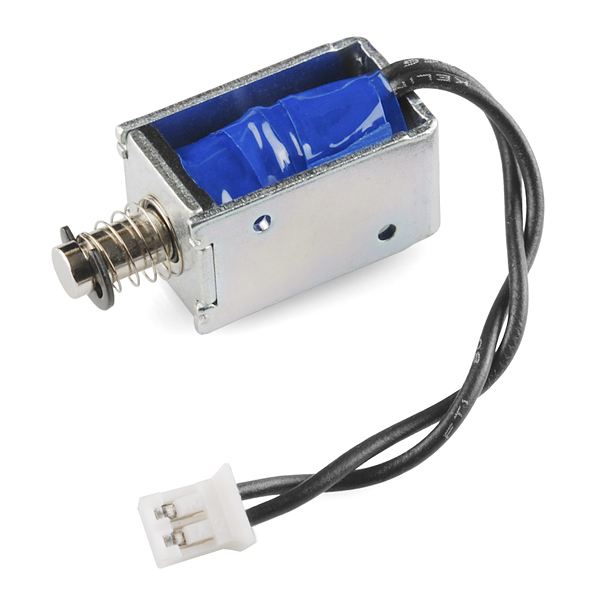
Solenoid
Check below if you need a latching solenoid to lock a box of your secret stash of cookies, solenoid valve to water some plants, or even have the small solenoid tap a glass cup of water! Similar to the motors, each solenoid will have a different rating.
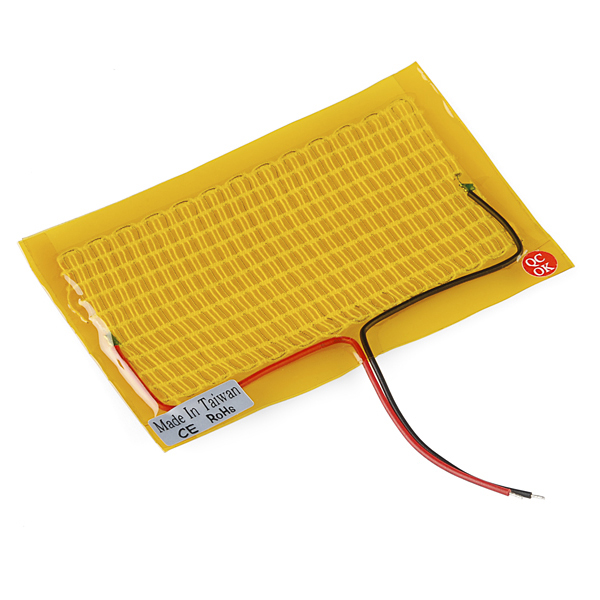
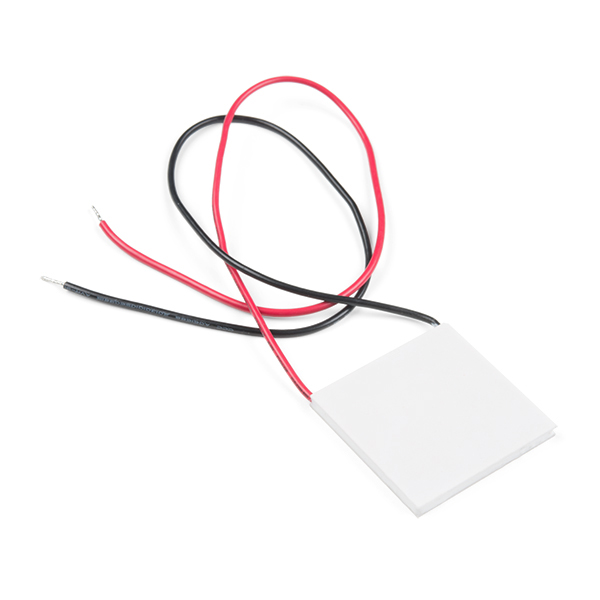
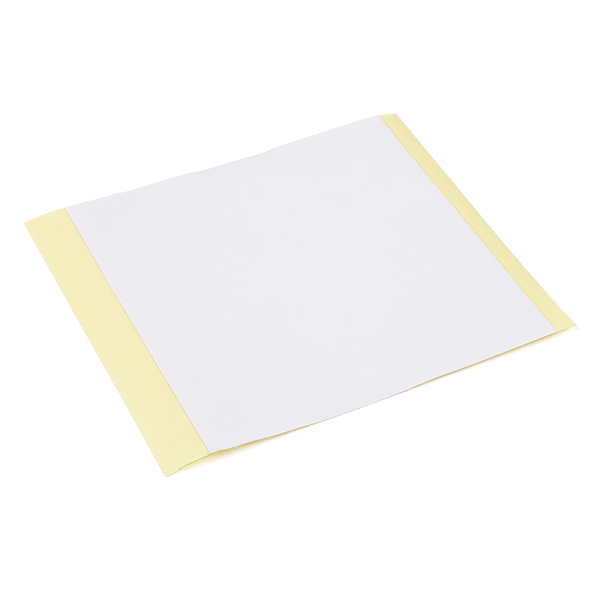
Heating Element
Feeling cold? Try adding a small heating pad to warm up your hands or even a horse bit for an early morning ride! Or maybe you want to make a mini-refrigerator to keep your drinks cool with a thermoelectric cooler.

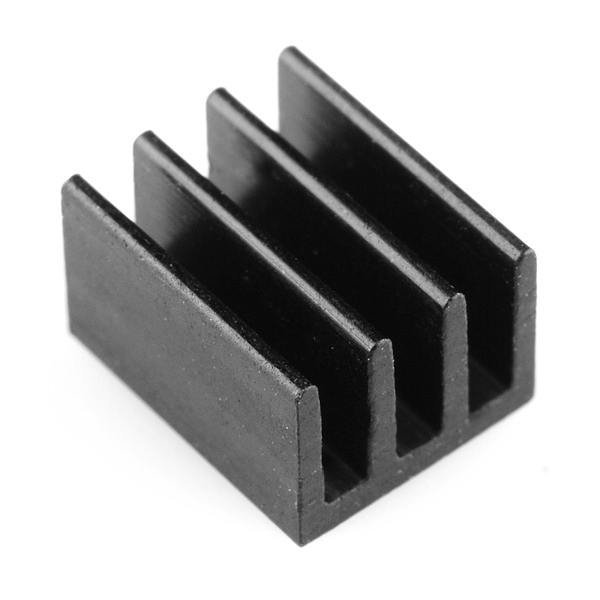
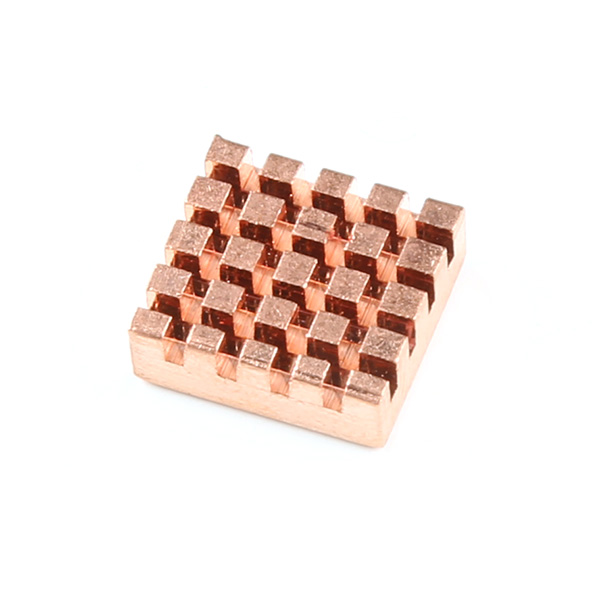
Heatsink
Is your MOSFET getting too hot to the touch? You can add a small heatsink to help dissipate some heat. The small heatsink listed below fits the exposed ground plane on the back of the board. If you need a slightly bigger heat sink, there is also the copper heatsink (note that it's a little bigger than the size of the exposed ground plane). You can also use the copper heatsink with the thermoelectric cooler listed above.
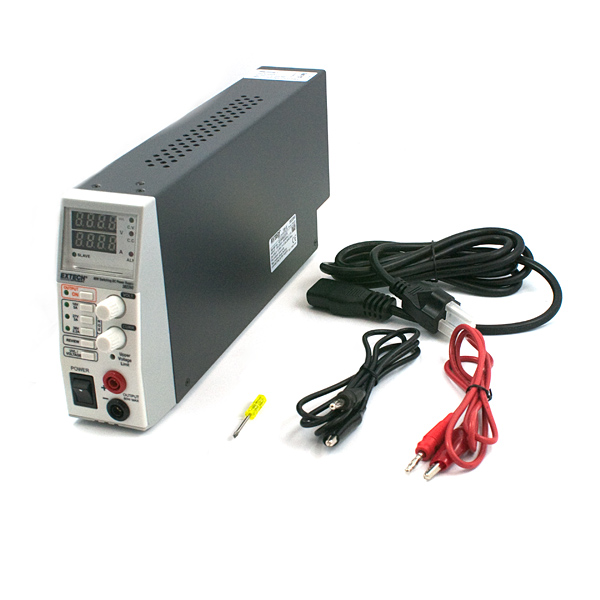
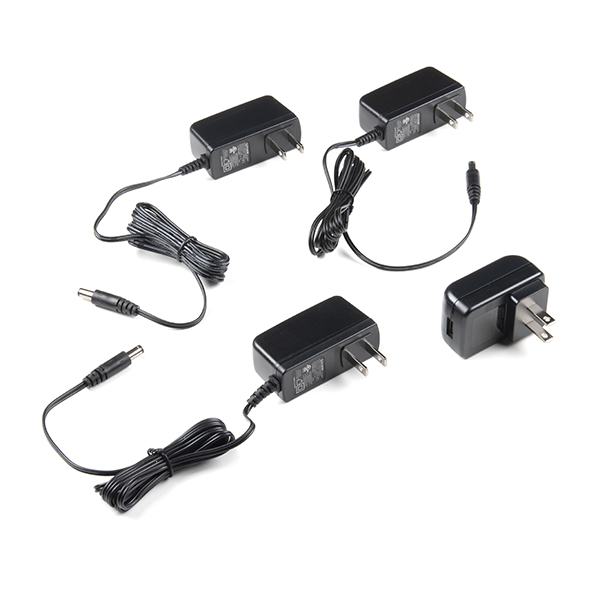
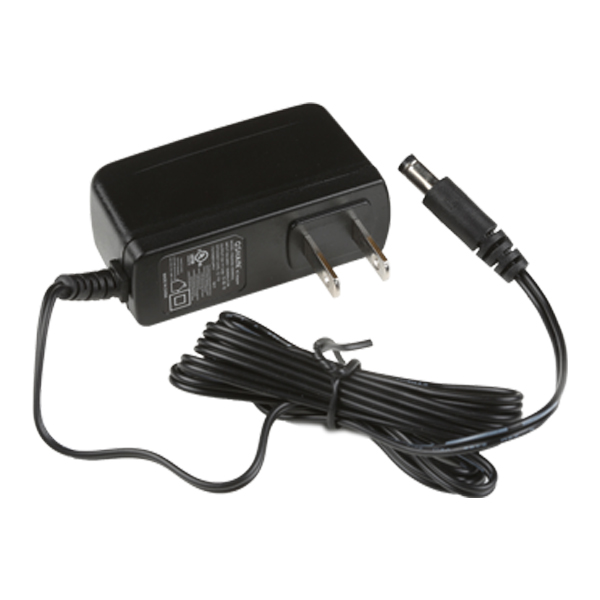
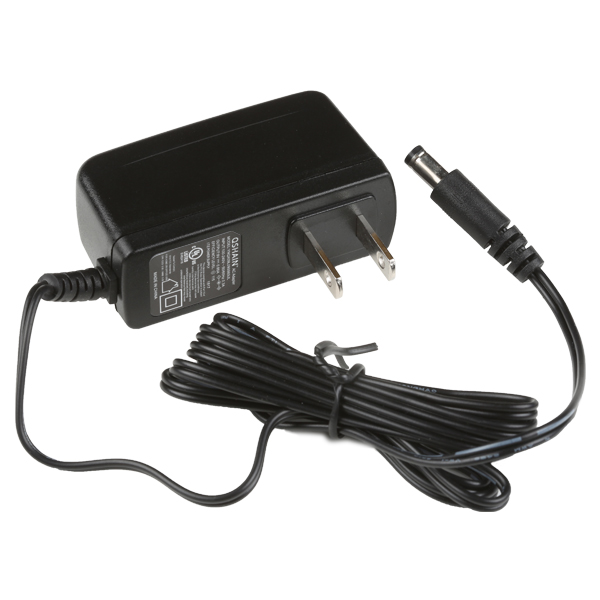
Power Supply
The power supply that you use will depend on your load and project requirements. For example, the small solenoid is rated for 5V while the latching solenoid is rated for 12V. Below are a few power supplies available in SparkFun's catalog. Not sure which power supply that you need? Try grabbing the power supply sample kit!
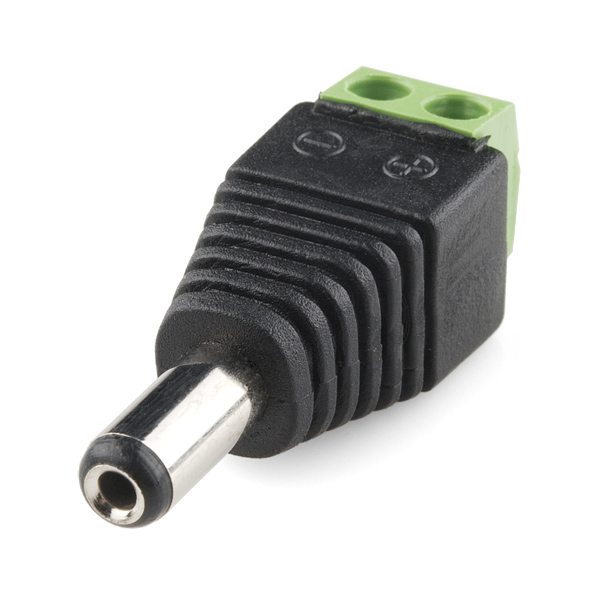
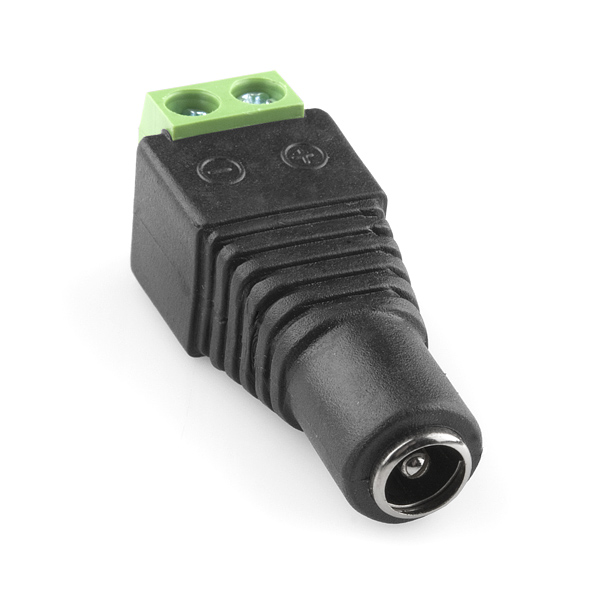
If you decided to connect a few MOSFET Power Switch and Buck Regulators (Low-Side) together using the same power supply, you may want to include the following barrel jack adapters.
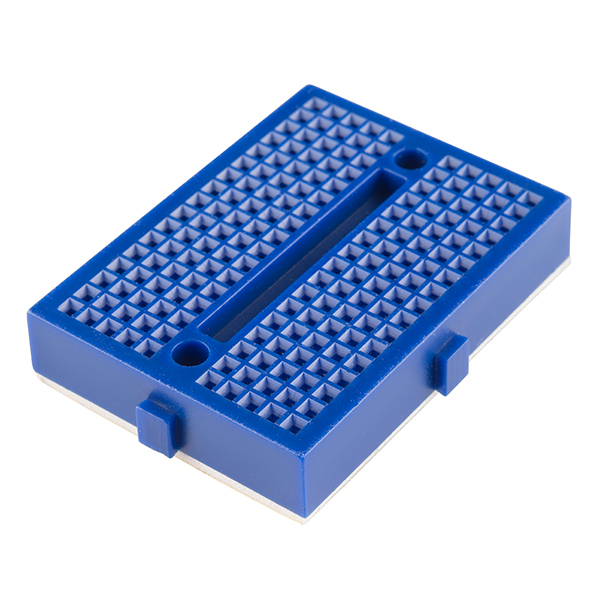
Prototyping Accessories (Optional)
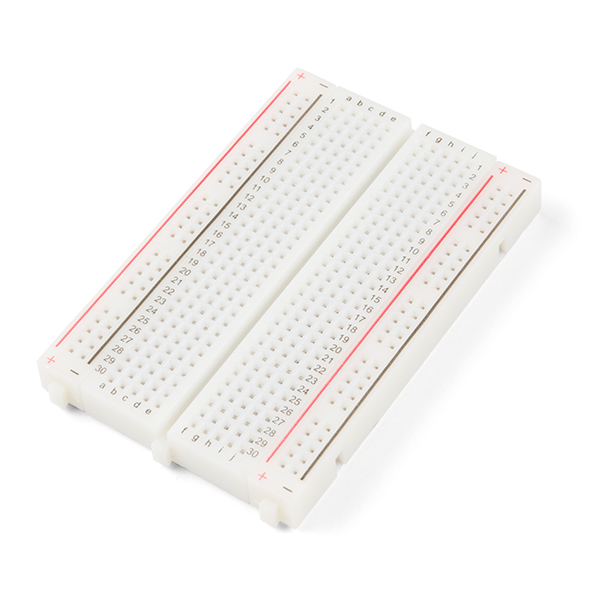
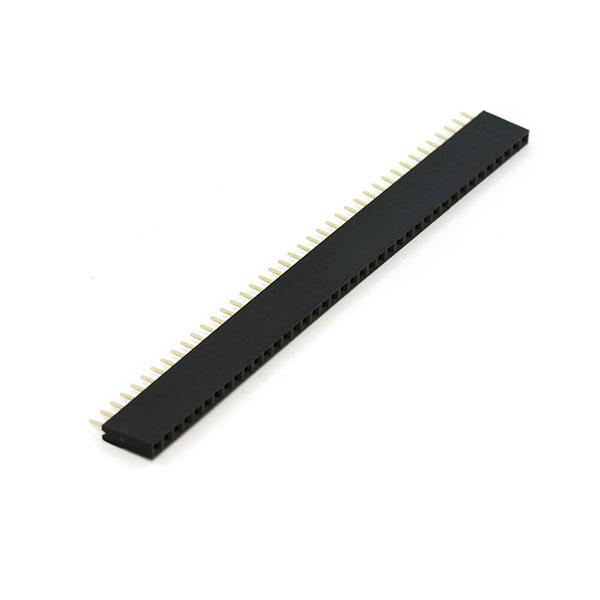
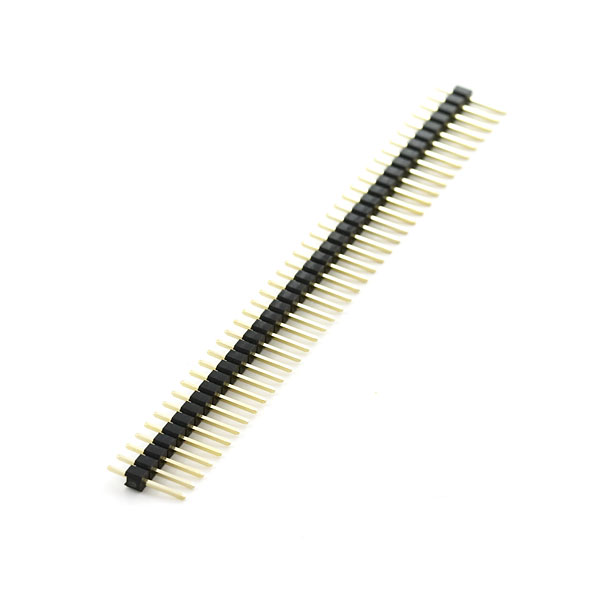
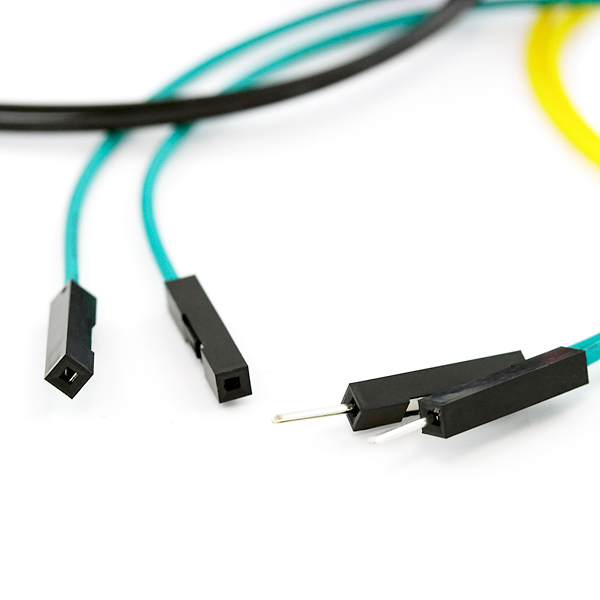
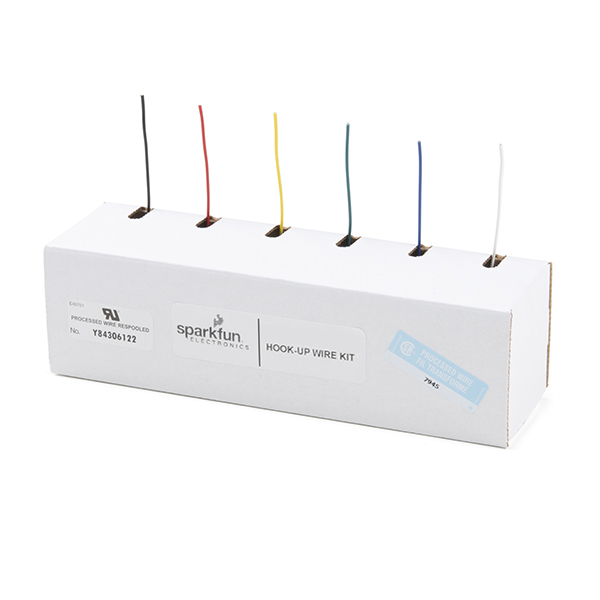
We've designed the board to allow for an easy connection with the rest of the system using M/M jumper wires. Depending on your application, you can solder header pins or you may need an additional breadboard. Below are a few prototyping accessories that you may want to consider.
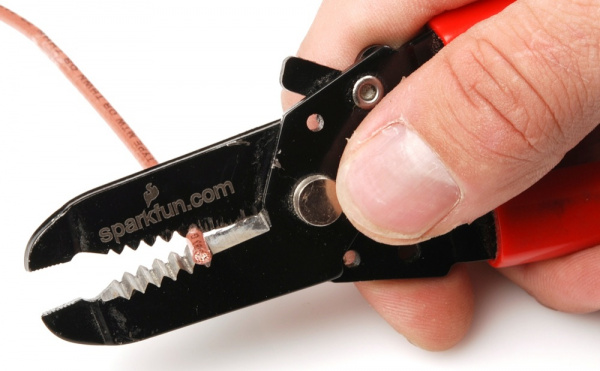
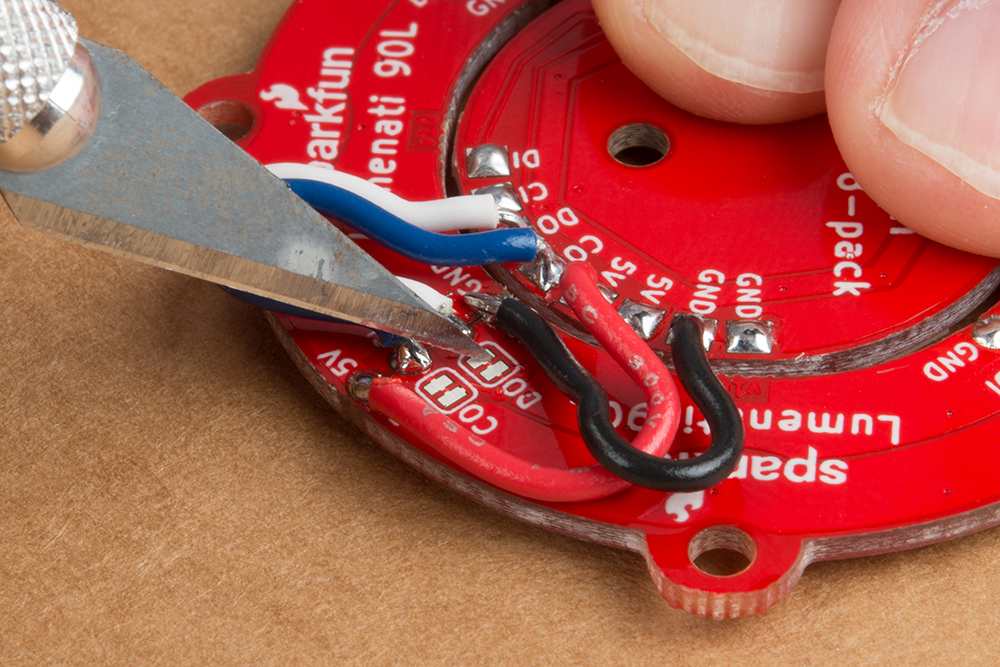
Tools (Optional)
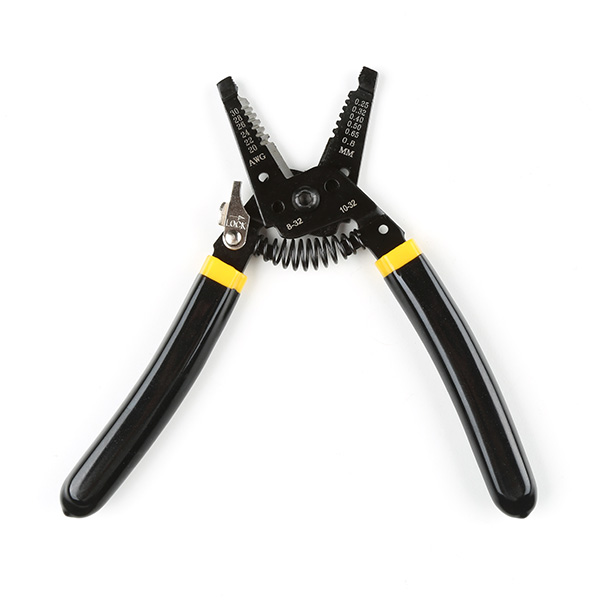
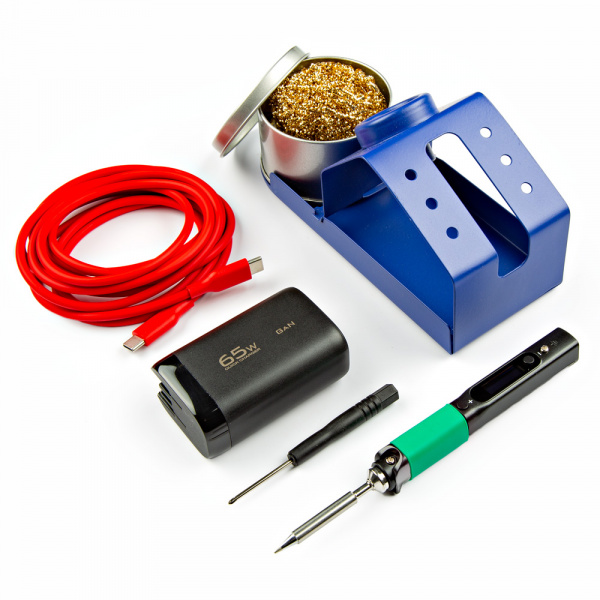
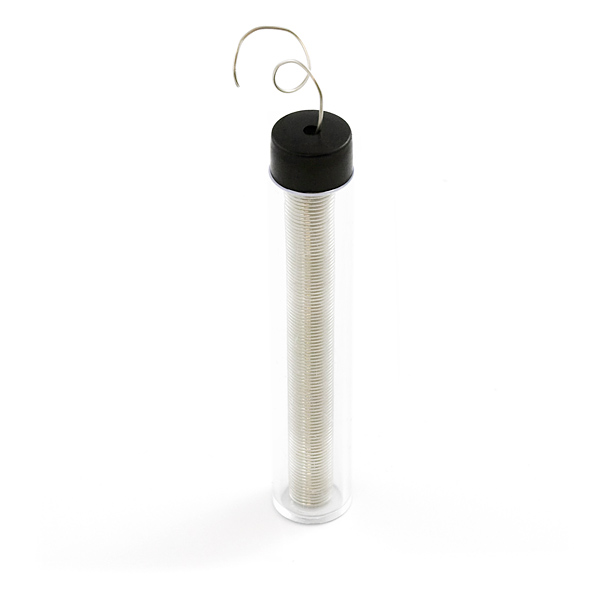
Besides the mini screwdriver, there may be other tools that you may need. For a secure connection, you will need to solder two wires between your microcontroller and the breakout board. This requires some assembly and soldering. You may already have a few of these items but if not, the tools and hardware below help with that assembly.
You Will Also Need
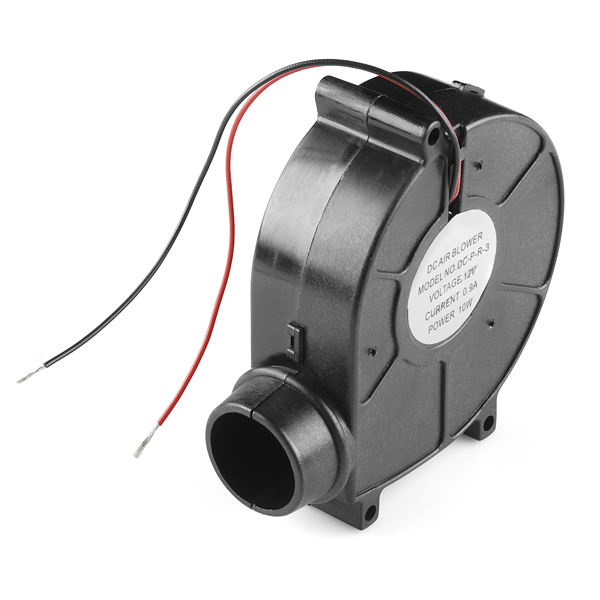
If you decide to do some "magic," try grabbing the following with the squirrel cage blower.
- Ping Pong Ball
Suggested Reading
If you aren’t familiar with the following concepts, we also recommend checking out a few of these tutorials before continuing.