Hardware Assembly
Now that we're familiar with the MCP4725 and the rest of this Qwiic breakout, let's connect it to a microcontroller to output some precise analog voltages.
Qwiic Assembly
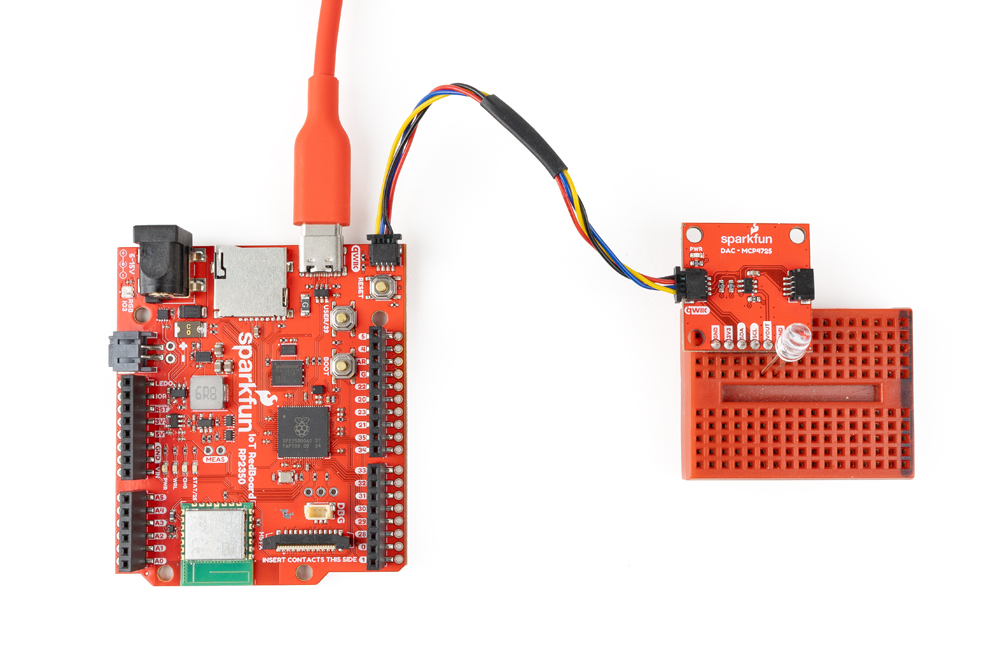
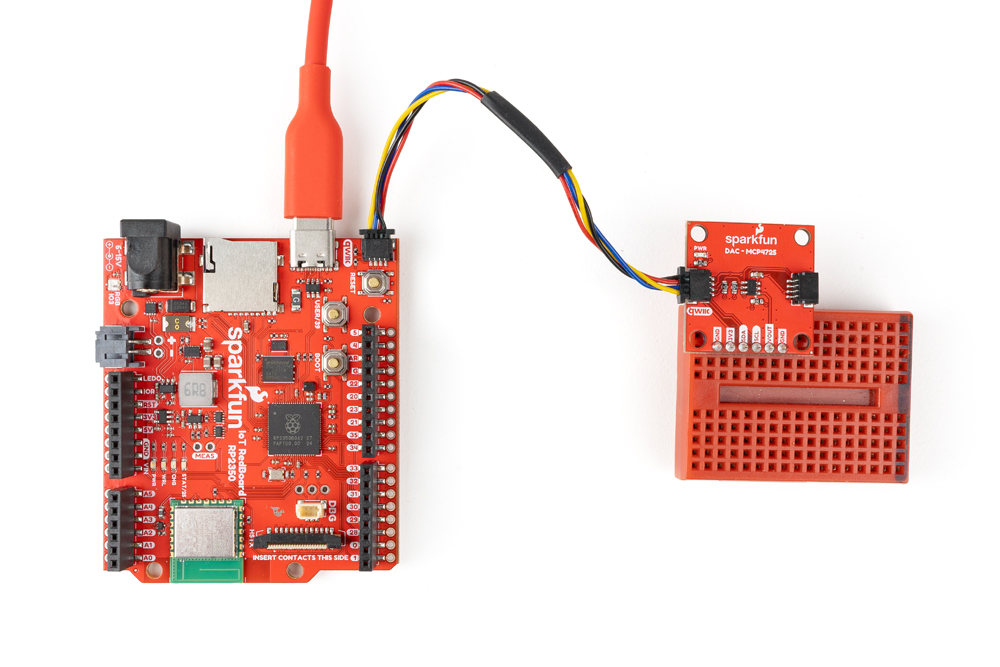
Since this is a Qwiic breakout, all you'll need to do is connect the breakout to a Qwiic-enabled development board like the RedBoard IoT - RP2350 like the photo below:
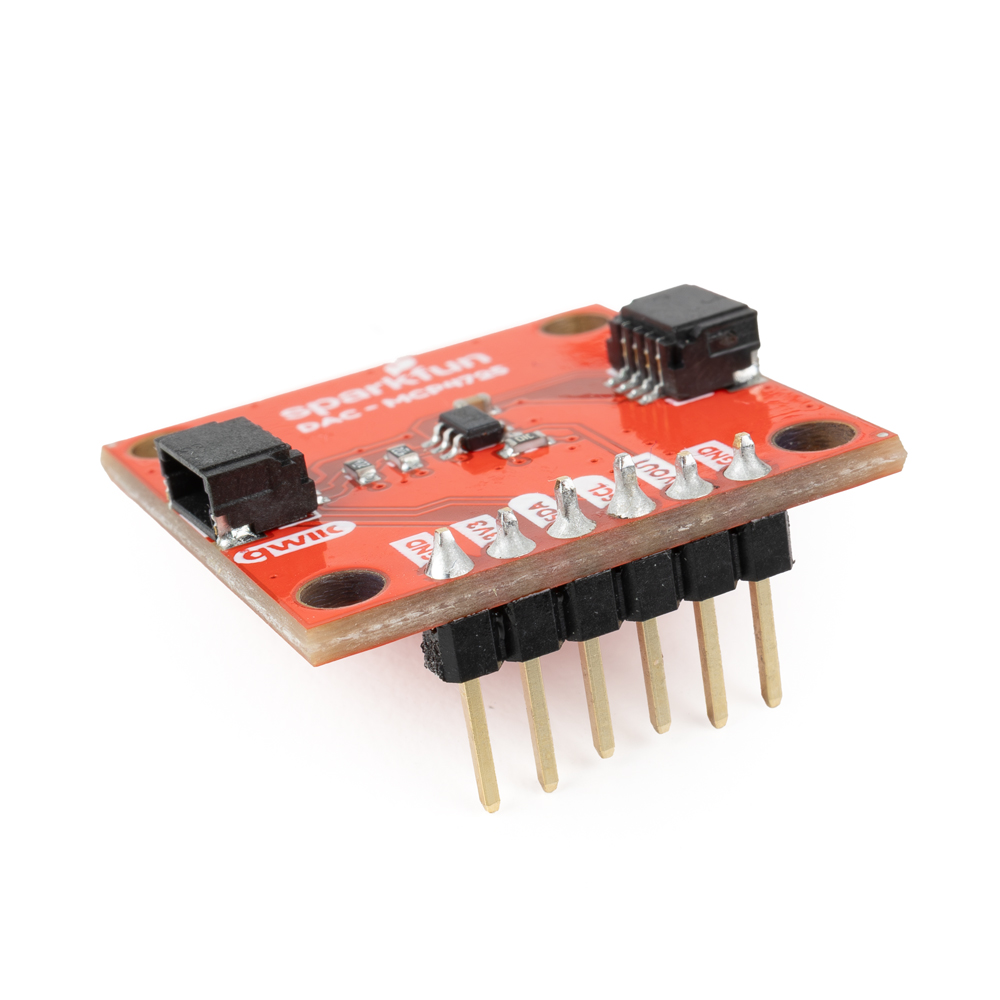
We've soldered headers to the PTH for easy prototyping and assembling the demo circuit to drive an LED connected to the voltage output.
Connect Analog Voltage Output
Now connect the analog voltage output to whatever device you want to send the analog signals to. In this demo, we've connected that output to an LED to provide a nice visual representation of the signal: