Arduino Example
The Arduino Library for the SparkFun OLED boards comes with a slew of examples to get you going. Here we'll just run through a basic "the gang's all here" display.
Note
This example is pretty specific to the 1.3" OLED board. It requires the entirety of the pixels and would need to be heavily modified to be used by any of our other OLED boards.
Example: Display all the things
Example Arduino Code
    #include <Wire.h>

    #include <SparkFun_Qwiic_OLED.h> //http://librarymanager/All#SparkFun_Qwiic_OLED
    Qwiic1in3OLED myOLED; // 128x64

    // Fonts
    #include <res/qw_fnt_5x7.h>
    #include <res/qw_fnt_8x16.h>
    #include <res/qw_fnt_31x48.h>
    #include <res/qw_fnt_7segment.h>
    #include <res/qw_fnt_largenum.h>

    void setup()
    {
    Wire.begin();

    myOLED.begin();

    myOLED.erase();

    myOLED.setFont(QW_FONT_5X7);
    myOLED.text(0,0,"01234567");

    myOLED.setFont(QW_FONT_5X7);
    myOLED.text(0,8,"ABCDabcd");

    myOLED.setFont(QW_FONT_8X16);
    myOLED.text(48,0,"ABcd");

    myOLED.setFont(QW_FONT_8X16);
    myOLED.text(48,13,"efGH");

    myOLED.setFont(QW_FONT_7SEGMENT);
    myOLED.text(80,0,"0123");

    myOLED.setFont(QW_FONT_5X7);
    myOLED.text(80,17,"ijkLMNO");

    myOLED.setFont(QW_FONT_LARGENUM);
    myOLED.text(0,16,"012");

    myOLED.setFont(QW_FONT_31X48);
    myOLED.text(36,27,"ABC");

    myOLED.display();
    }

    void loop()
    {
    }
Make sure you've selected the correct board and port in the Tools menu and then hit the upload button. You should see something similar to the following.
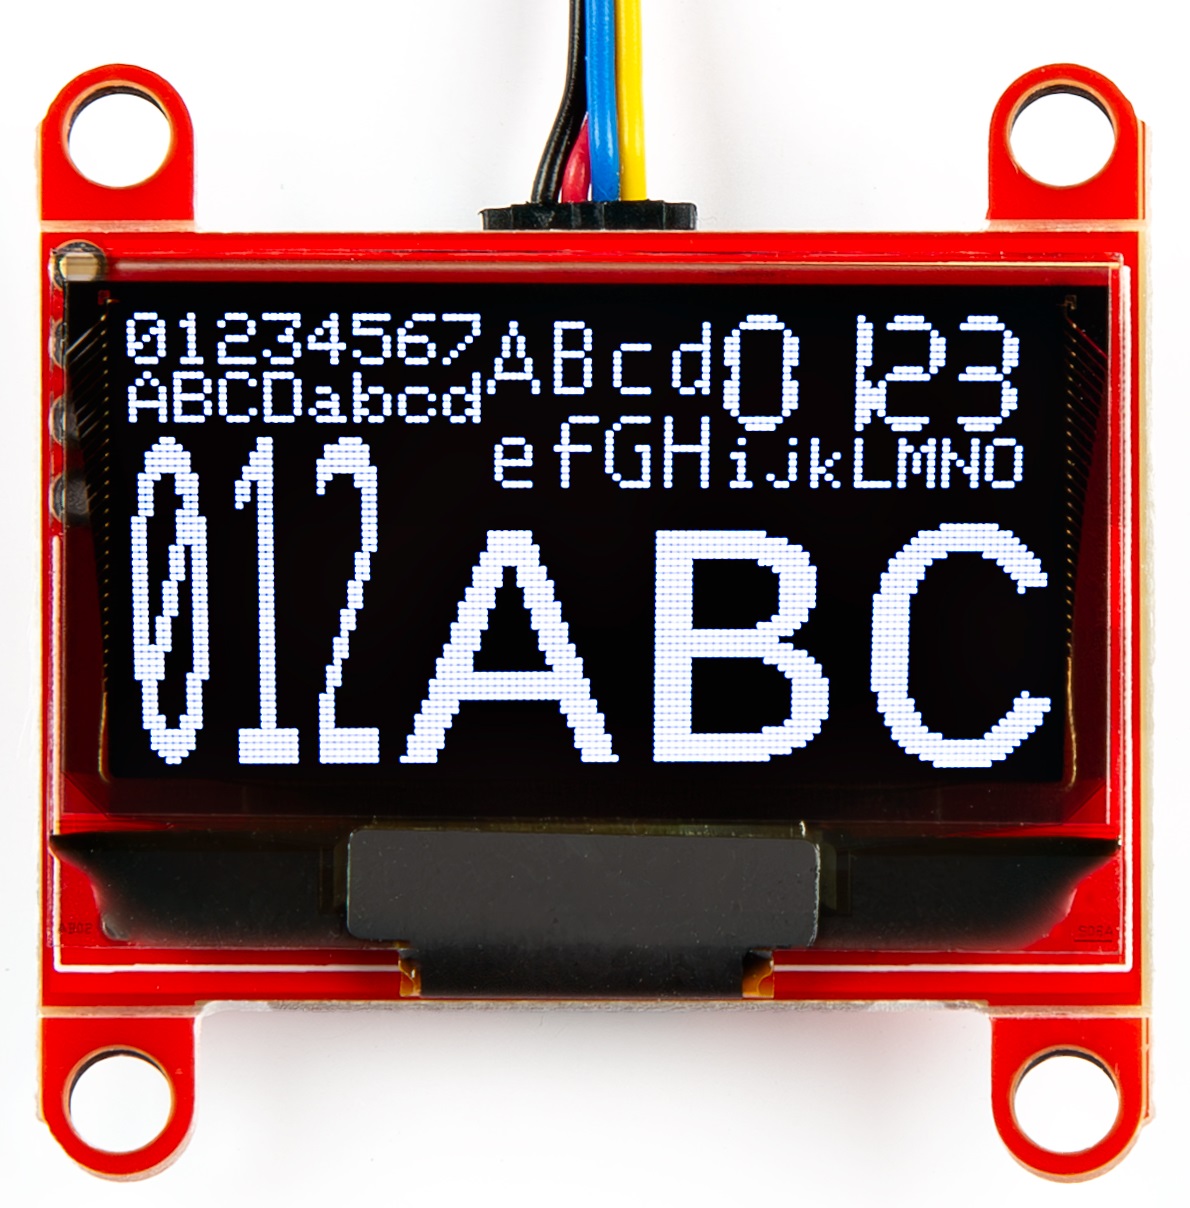
OLED Screen