Firmware Overview
The BlueSMiRF v2 comes pre-programmed with the latest version of our open-source firmware. However, users are free to modify the firmware and/or reprogram their board for their purposes.
Our firmware provides short-range, point-to-point communication; allowing serial UART data to be transmitted between two Bluetooth devices. It includes support for both the SPP and BLE protocols and features a massive >10kB buffer for each RX and TX channel to compensate for transmission delays. The firmware also offers a set of AT-commands to configure the BlueSMiRF v2's settings: including the baud rate, flow control, LED mode, and Over-The-Air (OTA) updates over a 2.4GHz WiFi network to name a few.
- Serial Bluetooth® Point-to-Point Communication
- Bluetooth Protocols Supported
- Serial Port Profile (SPP)
- Bluetooth Low Energy (BLE)
- Firmware Over-the-Air (OTA) Updates via 2.4GHz WiFi
Bluetooth Protocols
While Bluetooth Classic (Serial Port Profile or "SPP") is the primary communication protocol, which makes it highly compatible with Android devices and most computers, the BlueSMiRF v2 also supports Bluetooth Low Energy (BLE) protocol for connecting with Apple devices and other low-power devices.
Dependencies
For users looking to modify the firmware for their own use case, the following dependencies must be installed in the Arduino IDE:
- Arduino Core: esp32 v2.0.11
- Board Manager URL:
- Libraries:
- Bluetooth Serial: ESP32 Arduino core (built-in)
- ESP32-OTA-Pull: v1.0.0
- ESP32_BleSerial: v1.0.4
- JC_Button: v2.1.2
Info
For documentation on the Bluetooth Serial library that is built into the ESP32 Arduino core, please refer to Espressif's API guide.
Board Settings
To upload the firmware, users will need to compile and upload the firmware in the Arduino IDE with the following board settings:
- Board: ESP32 Dev Module
- Flash Size: 8MB
- Partition Scheme:
- Default: Use custom partition file named
BlueSMiRF_Partitions.csv- Partitions:
- app0 (0x3C0000): 3.9MB
- app1 (0x3C0000): 3.9MB
- spiffs (0x1000): 4096
- Partitions:
- Alternative: Built-in
Minimal SPIFFs (1.9MB APP with OTA)
- Default: Use custom partition file named
- PSRAM: Enabled
Bootloader Mode
Users can manually force the ESP32 into the serial bootloader mode with the PAIR button, to upload new firmware to the BlueSMiRF v2. Please, refer to the PAIR Button section below for more information.
Update Methods
From time to time, SparkFun will release new firmware for the BlueSMiRF v2 product line to add and improve functionality. For most users, firmware can be upgraded over a 2.4GHz WiFi network using the OTA method. Users can also update the firmware by manually reprogramming the device with the new firmware.
Over-The-Air (OTA)
Because it's much easier to use, we recommend this method. However, it does require an internet connection through your local WiFi network. Once the AT-WiFiSSID and AT-WiFiPassword settings have been entered for your local WiFi network, the ATC command can be issued to check for new firmware. If new firmware is available, send the ATU command to begin an update.
- Enter command mode:
- UART Interface:
$$$ - Bluetooth Serial Link:
+++(remote access)
- UART Interface:
- Configure the
AT-WiFiSSIDandAT-WiFiPasswordparameters for your local WiFi network - Save the new settings (
ATW) - Issue the
ATCcommand to check for new firmware. - If new firmware is available, send the
ATUcommand to begin an update. - The device will restart after the update process is complete
Example
Below, is an example of this method using the UART interface. In the example, the WiFi network's SSID is sparkfun-guest and its password is sparkfun6333. The highlighted lines represent the commands that were sent.
Terminal
BlueSMiRF-v1.0

$$$
OK
at-wifissid=sparkfun-guest
AT-WIFISSID=sparkfun-guest
OK
at-wifipassword=sparkfun6333
AT-WIFIPASSWORD=sparkfun6333
OK
atw
ATW
OK
atc
ATC
Connecting to sparkfun-guest...
Connected!
Checking to see if an update is available from https://raw.githubusercontent.com/sparkfun/SparkFun_BlueSMiRF-v2_Binaries/main/BlueSMiRF-Firmware.json

Current firmware version: v1.0

New firmware version available: 1.1

OK
atu
ATU
Connecting to sparkfun-guest...
Connected!
Getting new firmware
Installing new firmware

[ 0%

[ 1%

[ 2%

.
.
.

[=================== 99%

[==================== 100%
]
BlueSMiRF-v1.1
Manually Reprogramming
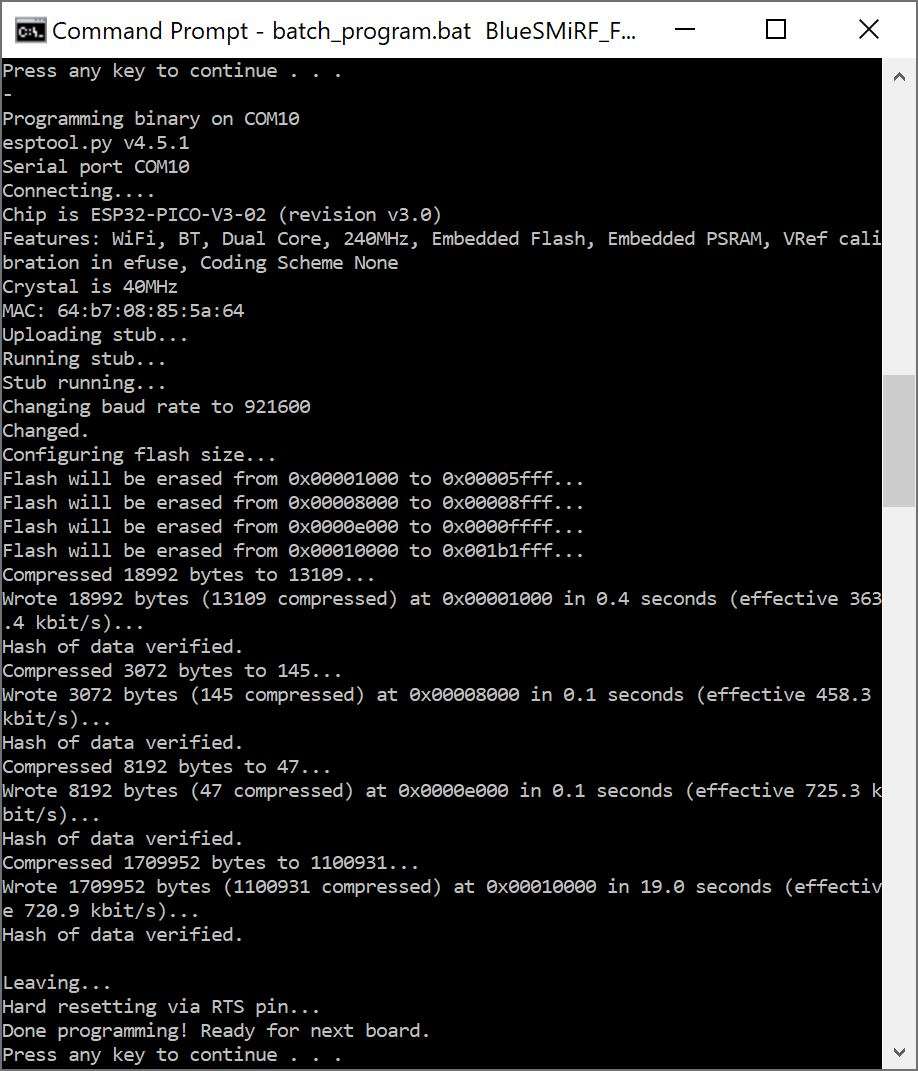
If for some reason the OTA method can't be used, users can also manually reprogram the microcontroller on the BlueSMiRF v2.
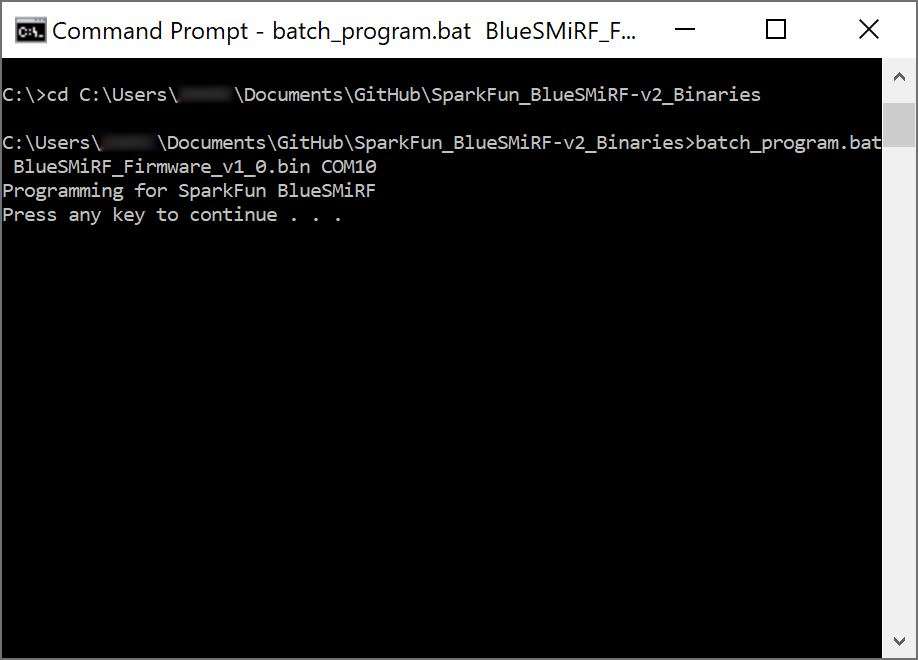
- Download the Firmware: Download and unzip the contents of the SparkFun_BlueSMiRF-v2_Binaries GitHub repository.
Download BlueSMiRF v2 Binaries GitHub Repo (ZIP) -
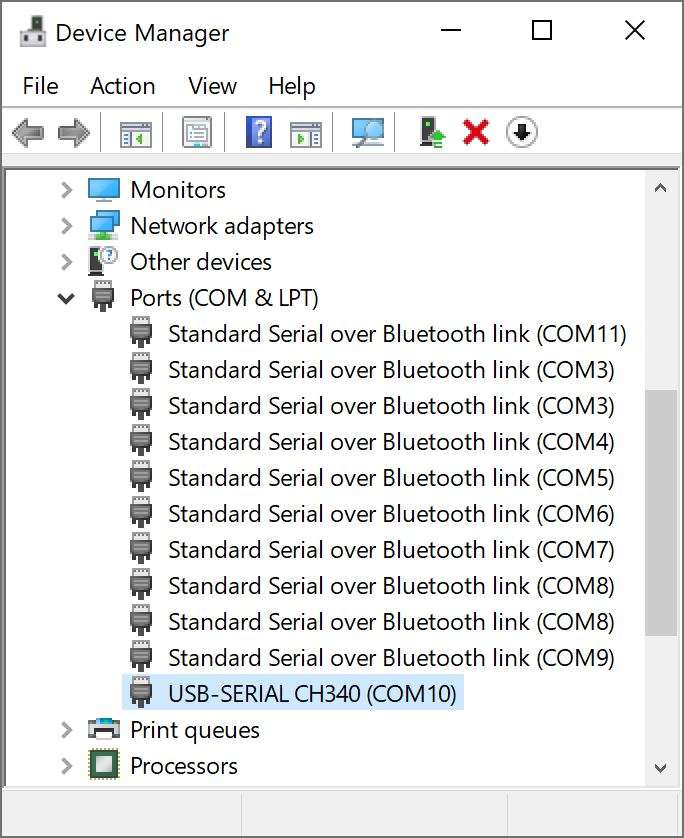
Connect Hardware: Wire the BlueSMiRF v2 to a USB-to-Serial converter, ensuring the TX and RX connections are crossed over. To automatically trigger a reset, connect the converter's
DTRpin to the BlueSMiRF v2'sRSTPTH pad.USB-to-Serial Converter BlueSMiRF v2 DTR RST (PTH Pad) RXI TXO RXI TXO 3V3 VCC GND GND