Qwiic Micro OLED (0.66", 64x48)
Introduction
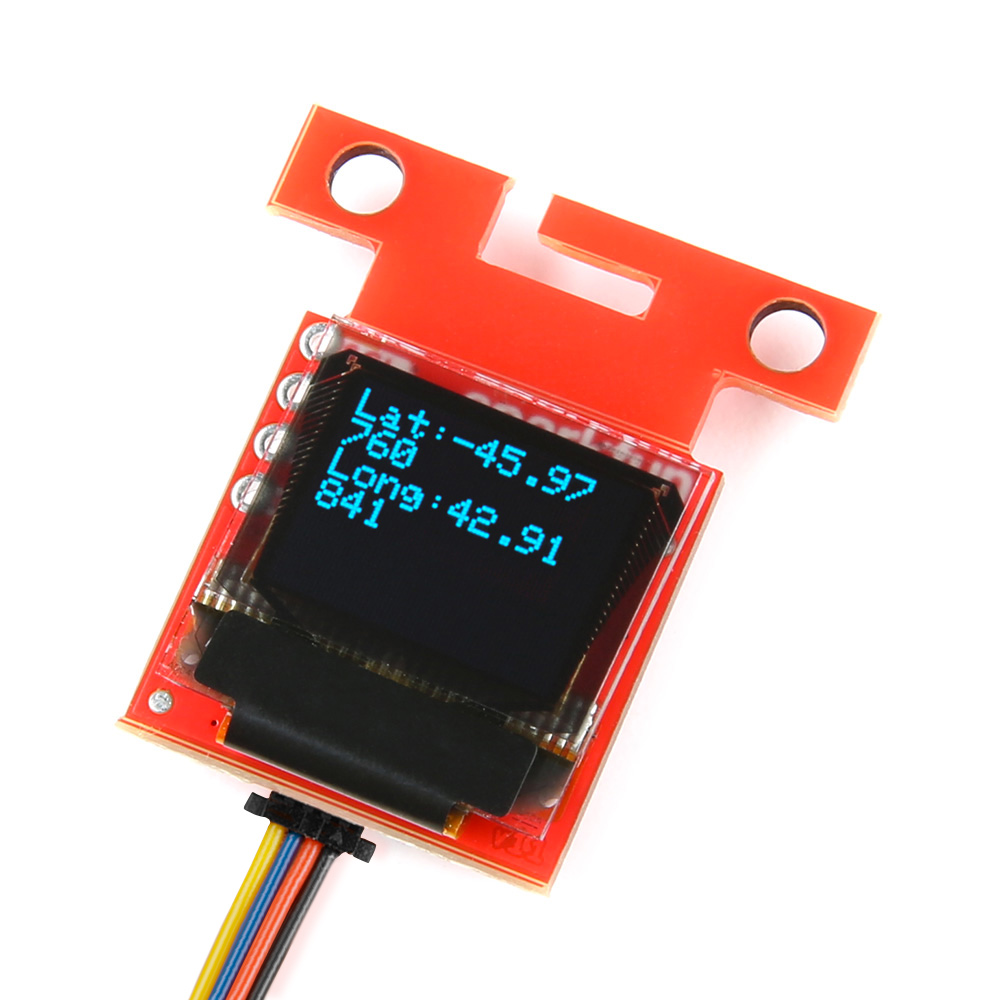
The Qwiic Micro OLED is a Qwiic enabled version of our micro OLED display! This small monochrome, blue-on-black OLED display displays incredibly clear images.
This hookup guide will show you how to get started drawing objects and characters on your OLED.
Required Materials
To follow along with this tutorial, you will need the following materials. You may not need everything though depending on what you have. Add it to your cart, read through the guide, and adjust the cart as necessary.
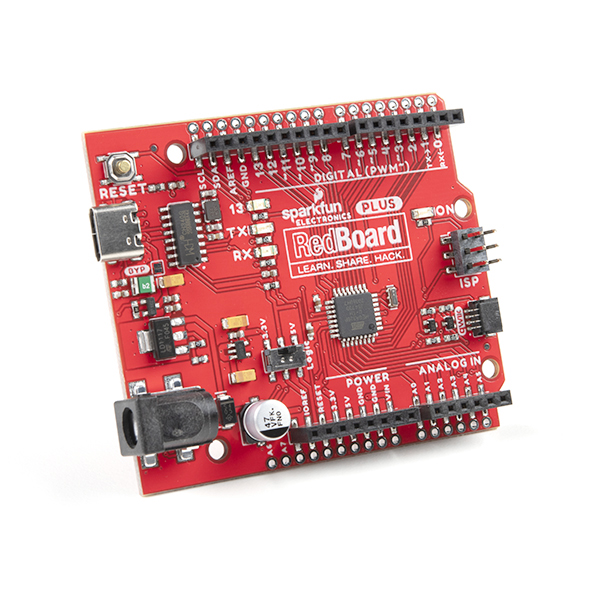
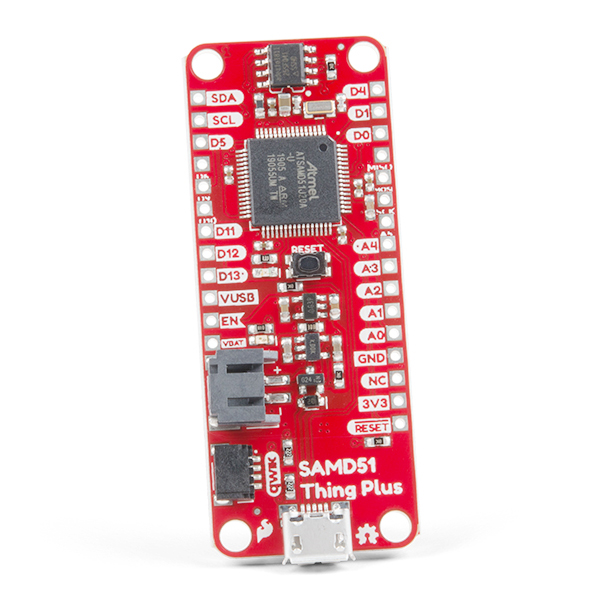
- 1x SparkFun RedBoard Plus [DEV-18158]
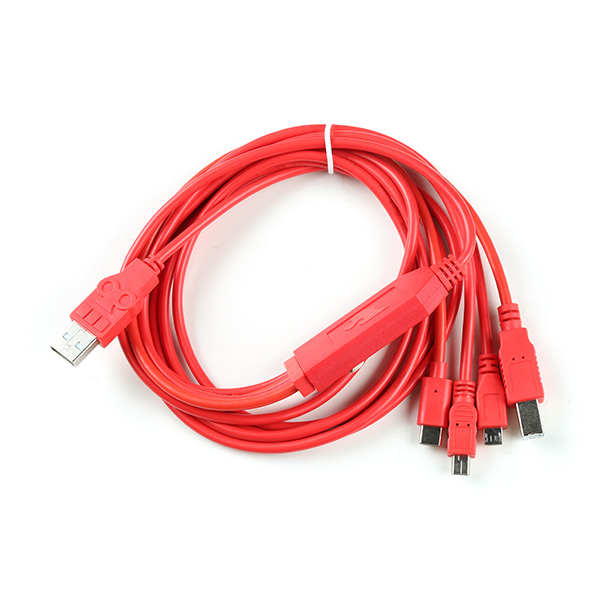
- 1x Reversible USB A to C Cable - 0.8m [CAB-15425]
- 1x Qwiic Cable
- Flexible Qwiic Cable - 50mm [PRT-17260], for short distances
- Flexible Qwiic Cable - 500mm [PRT-17257], for those that need to wire the board farther away from your microcontroller
- 1x SparkFun Micro OLED Breakout (Qwiic) [LCD-22495]
Microcontroller
To get started, you'll need a microcontroller to, well, control everything. We used the RedBoard with the ATmega328P for the Qwiic micro OLED. However, any of the other microcontrollers that are compatible with the Qwiic OLED Arduino Library will work as well. Below are a few from the list that we provided earlier.
USB Cable
Below are a few USB cables from the SparkFun catalog. Make sure to grab the associated USB cable that is compatible with your microcontroller.

Qwiic
If the controller you choose doesn't have a built-in Qwiic connector, one of the following Qwiic shields that matches your preference of microcontroller is needed:
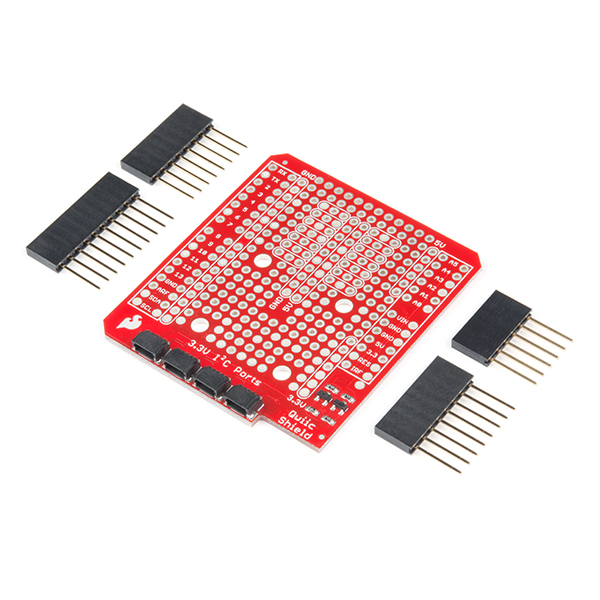
You will also need a Qwiic cable to connect the shield to your OLED, choose a length that suits your needs.


Of course, you will also need a Qwiic Micro OLED if you have not added that to you cart already.
Suggested Reading
If you aren't familiar with the Qwiic Connection System, we recommend reading here for an overview.

We would also recommend taking a look at the following tutorials if you aren't familiar with them.
Hardware Overview
Listed below are some of the operating ranges and characteristics of the Qwiic Micro OLED.
| Characteristic | Range |
|---|---|
| Voltage | 3.3V |
| Temperature | -40°C to 85°C |
| I2C Address | 0X3D (Default) or 0X3C (Closed Jumper) |
Pins
Power and I2C pins are broken out to the 1x4 PTH pins as well as the two horizontal Qwiic connectors.
| Pin | Description | Direction |
|---|---|---|
| GND | Ground | In |
| 3.3V | Power | In |
| SDA | I2C Data | In |
| SCL | I2C Clock | In |
Jumpers
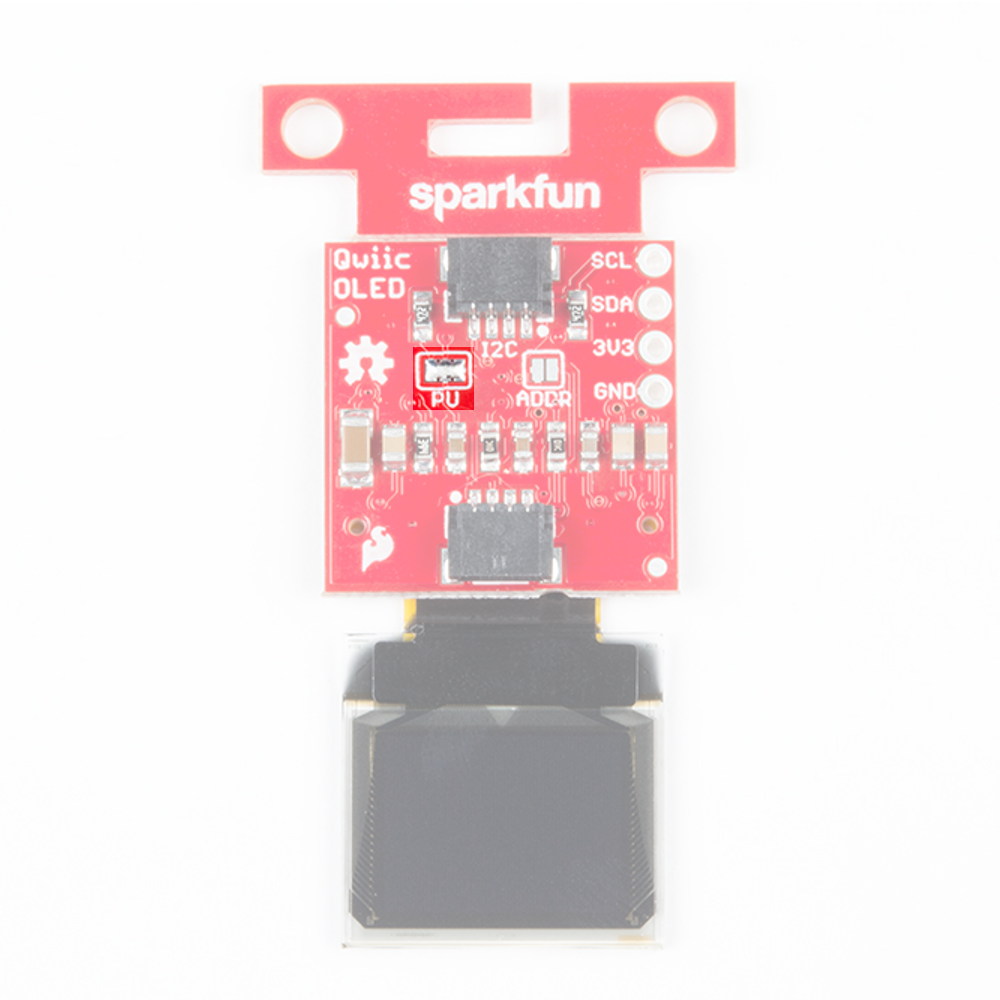
There are several jumpers on board that can be changed to facilitate several different functions. The first of which is the I2C pull-up jumper to disable the 2.2kΩ pull up resistors on the I2C data and clock lines, highlighted below. If multiple boards are connected to the I2C bus, the equivalent resistance goes down, increasing your pull up strength. If multiple boards are connected on the same bus, make sure only one board has the pull-up resistors connected.
 |
| I2C Pull-Up Jumper |
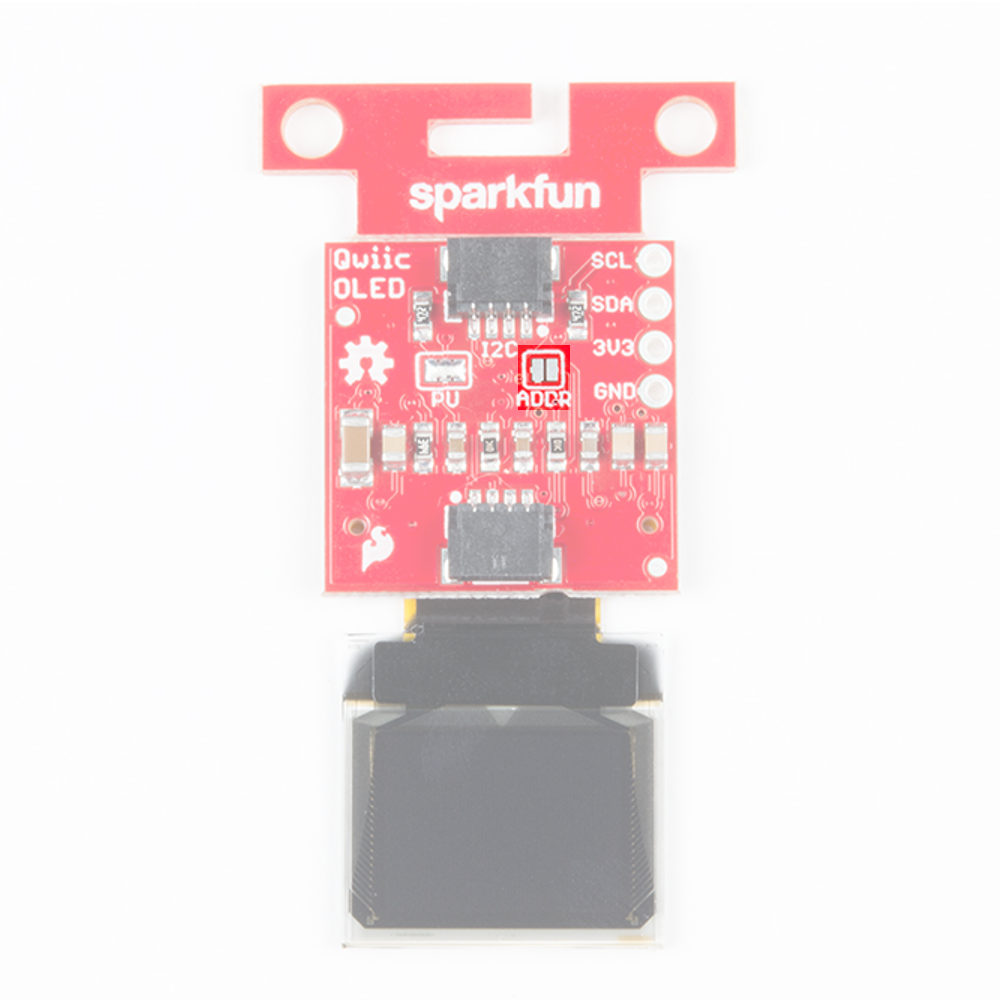
The ADDR jumper (highlighted below) can be used to change the I2C address of the board. The default jumper is open by default, pulling the address pin high and giving us an I2C address of 0X3D. Closing this jumper will ground the address pin, giving us an I2C address of 0X3C.
 |
| Address Jumper |
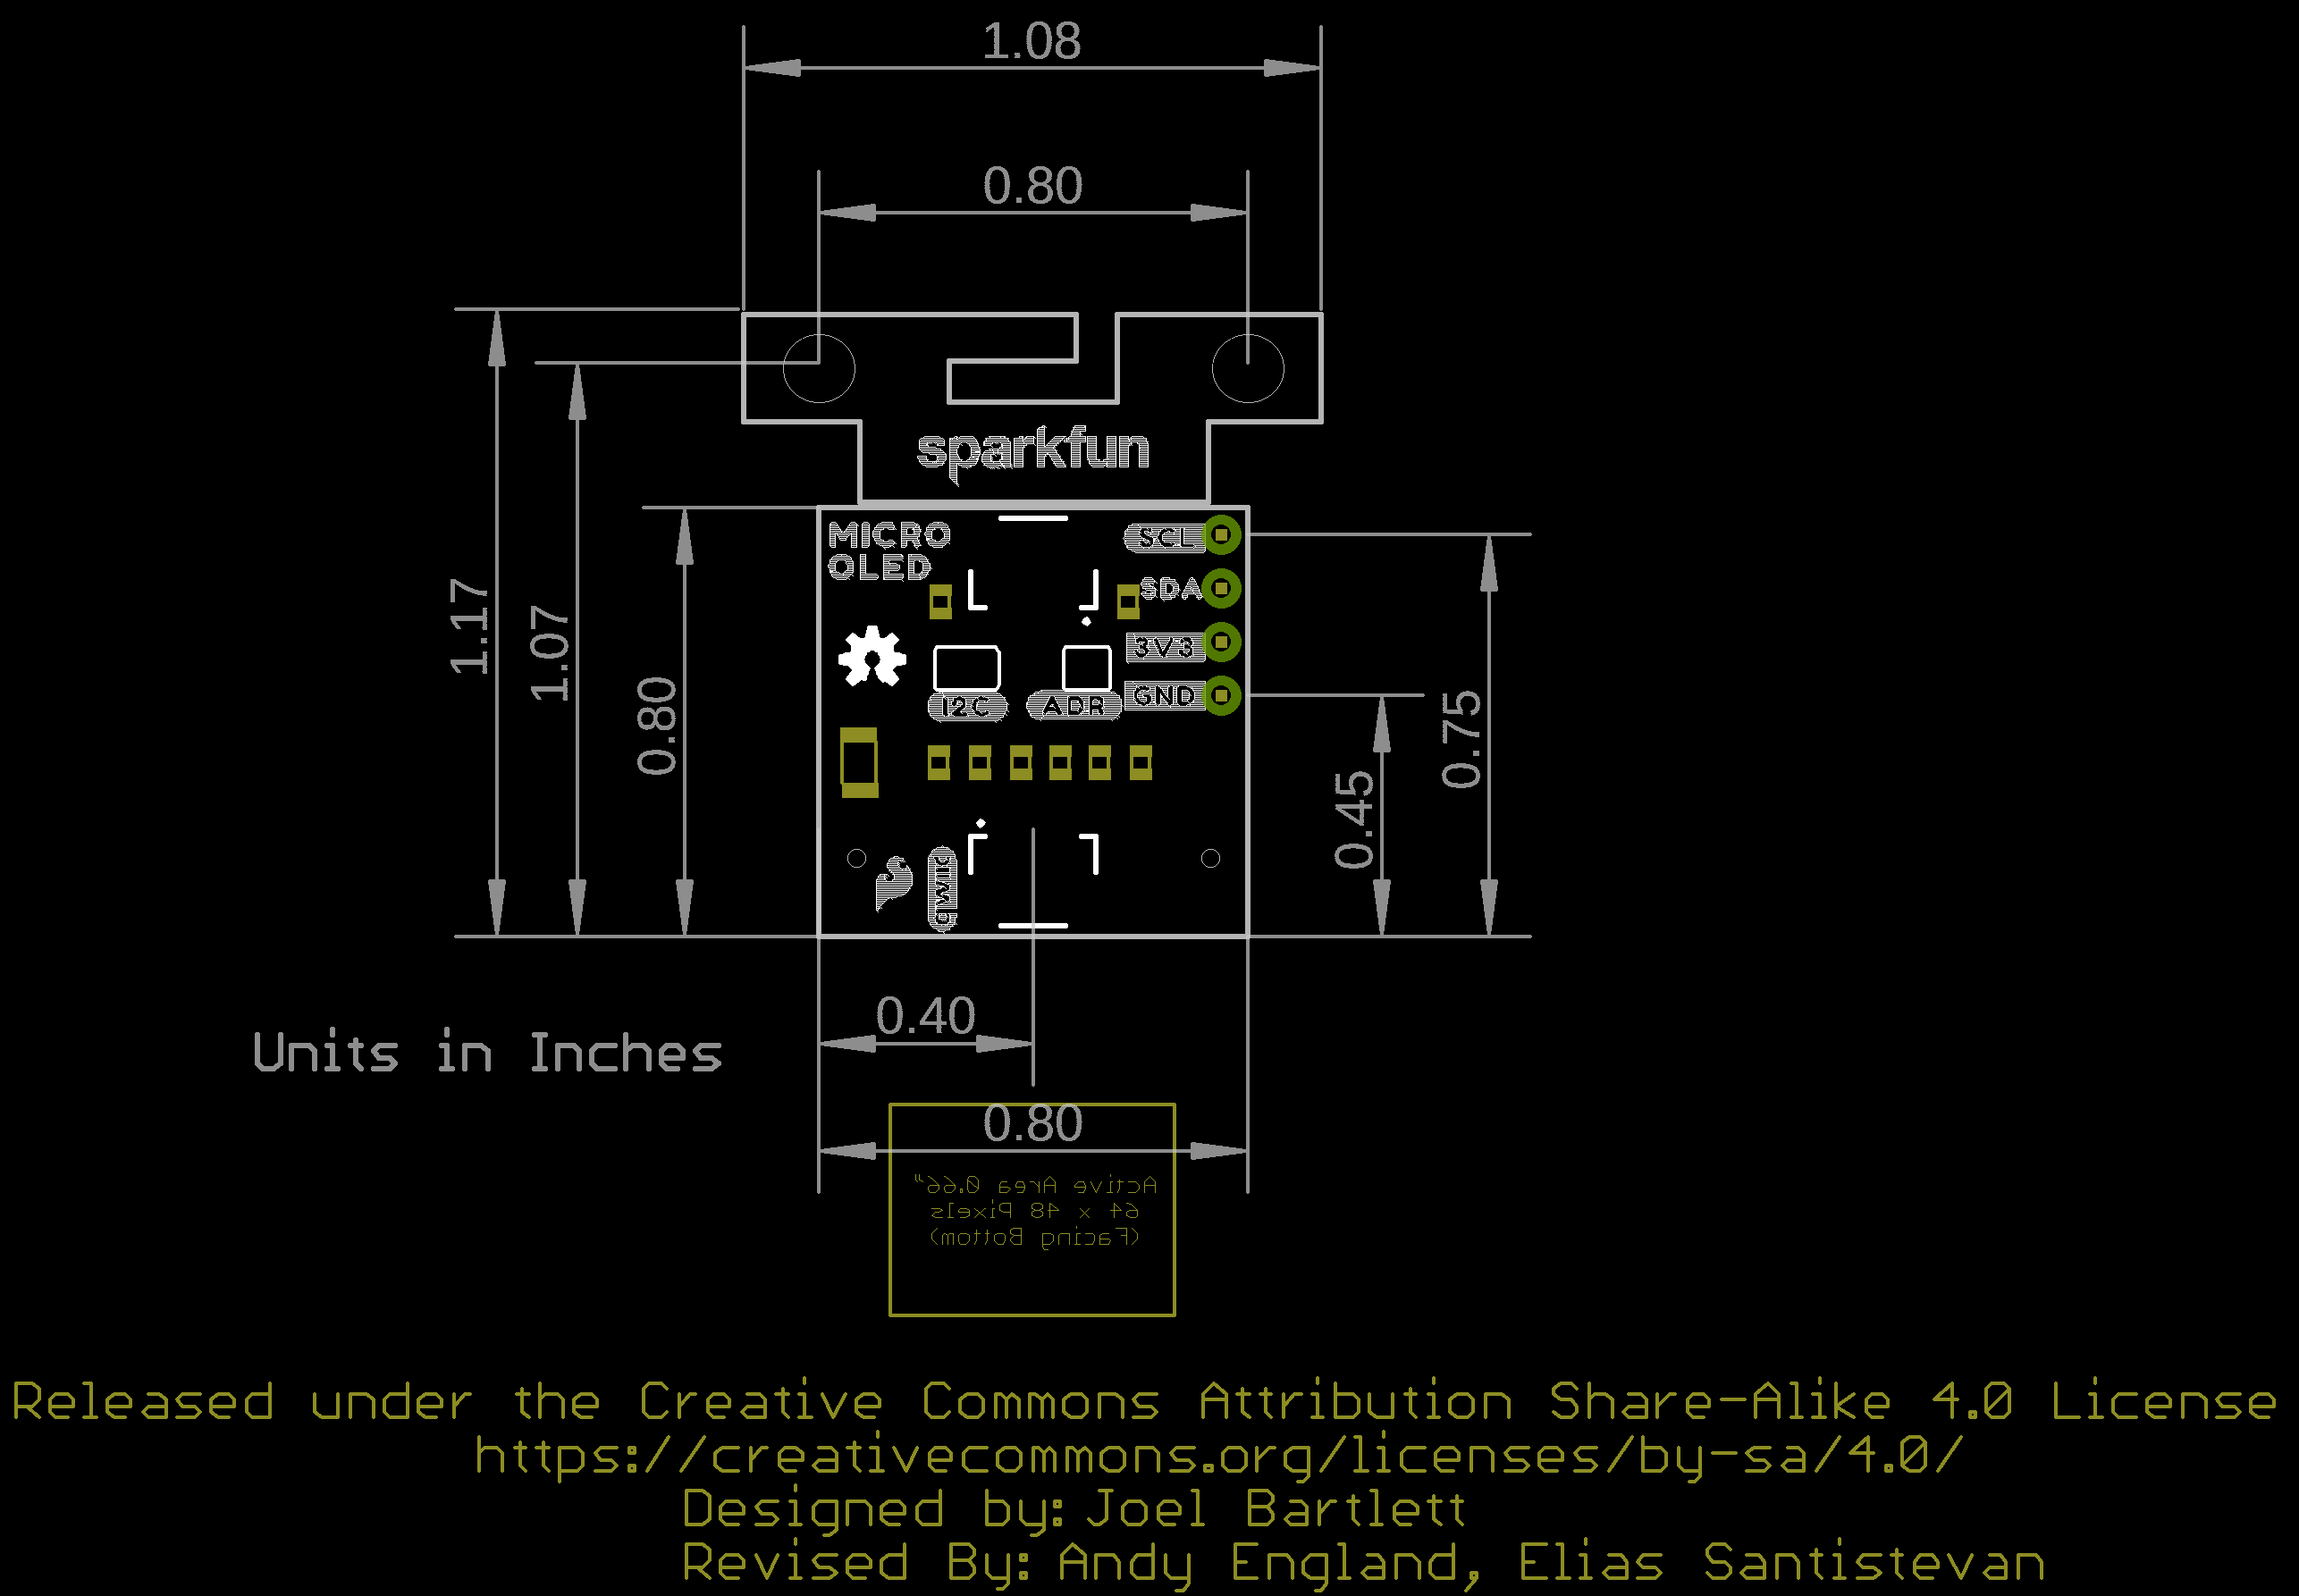
Board Dimensions
Revision Change
For V11, we have optimized the two mounting hole locations to match the mounting holes located on a standard 1.0" x 1.0" Qwiic-sized board. The overall functionality of the Qwiic Micro OLED breakout board is the same as the previous version!
The overall board size is 1.08" x 1.17". There is a v-score for users that want to remove the mounting holes.
 |
| Board Dimensions |
Hardware Assembly
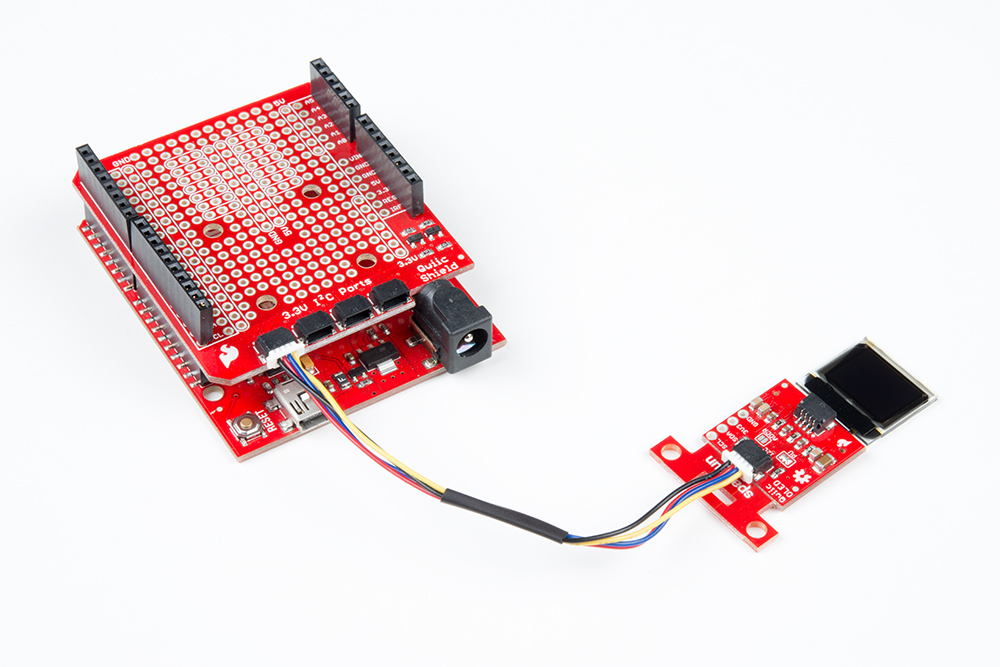
If you haven't yet assembled your Qwiic Shield, now would be the time to head on over to that tutorial. With the shield assembled, SparkFun's Qwiic environment means that connecting the screen could not be easier. Just plug one end of the Qwiic cable into the OLED display, the other into the Qwiic Shield and you'll be ready to start displaying images on your little display.
 |
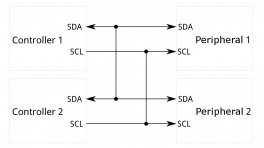
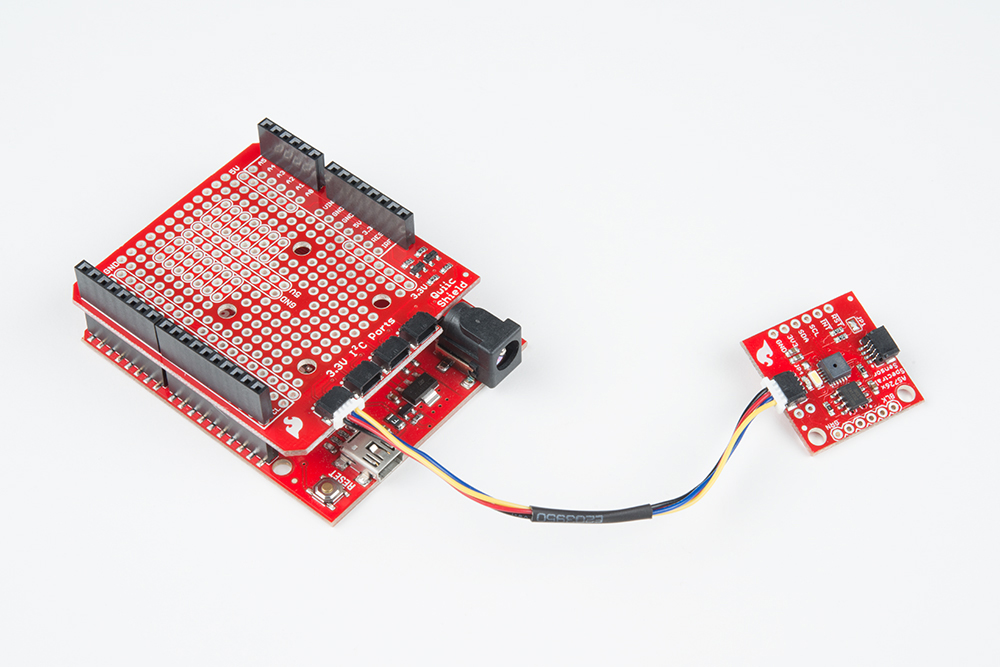
If you have a built-in Qwiic connector, you can skip the hardware assembly of the Qwiic Shield and simply insert a Qwiic cable between the two boards. Have more than one Qwiic-enabled device? You can daisy chain it to the board as well! Below is an example with the SAM-M8Q and the Qwiic Micro OLED daisy chained together to the RedBoard Qwiic.
 |
Note
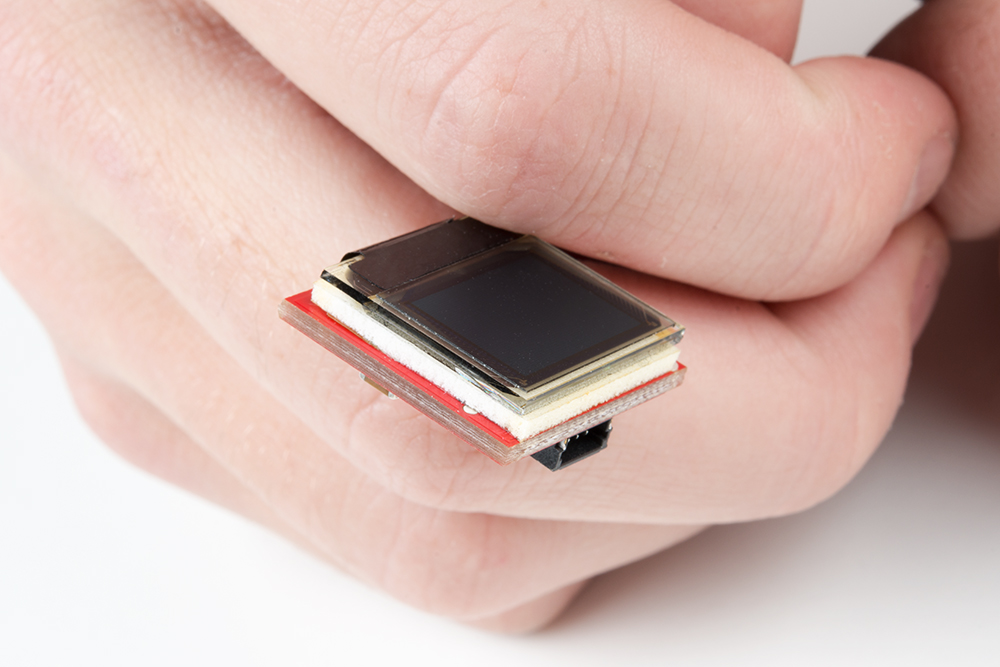
The initial launch of the Qwiic micro OLED breakout board had the OLED loosely attached to the breakout board. For users that received those boards, be careful handling it! You can either use your own enclosure for the OLED display, or you can use some double sided foam tape for a less permanent solution.
 |
The current production of the boards includes the double sided foam tape.
Software
The SparkFun Micro OLED Breakout (Qwiic) uses the SparkFun QWIIC OLED Arduino Library. The SparkFun Qwiic OLED library Getting Started guide has library setup instructions and usage examples. Additionally, the full library API documentation is available in the SparkFun Qwiic OLED Library API Reference guide.
Resources
Now that you've successfully got your OLED displaying things, it's time to incorporate it into your own project!
For more on the Qwiic Micro OLED, check out the links below:
- Schematic (PDF)
- Eagle Files (ZIP)
- Datasheet (PDF)
- Bitmap Generator
- Qwiic System Landing Page
- Qwiic Micro OLED Python Package
- GitHub Hardware Repo -- Board design files for the Qwiic Micro OLED.
- Product Showcase: Qwiic Presence Sensor & OLED